
 Save
Save
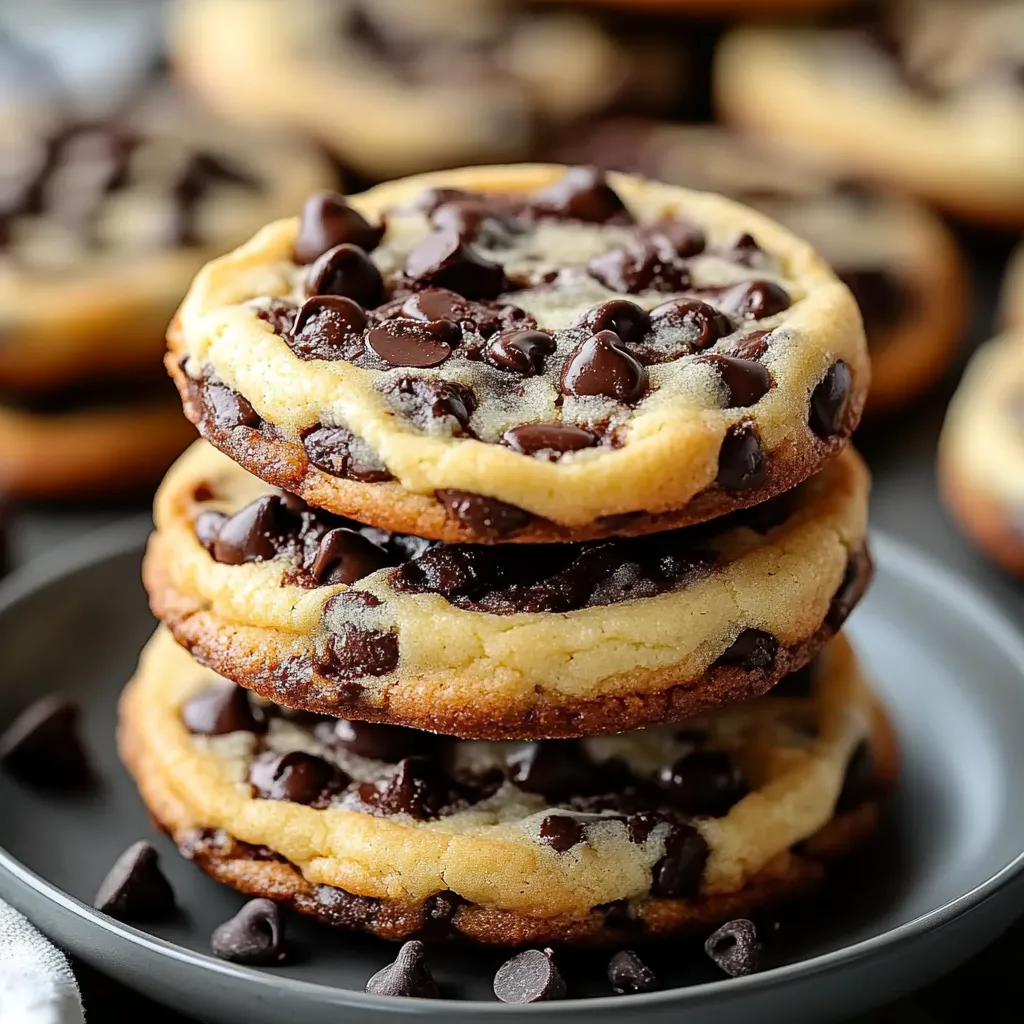
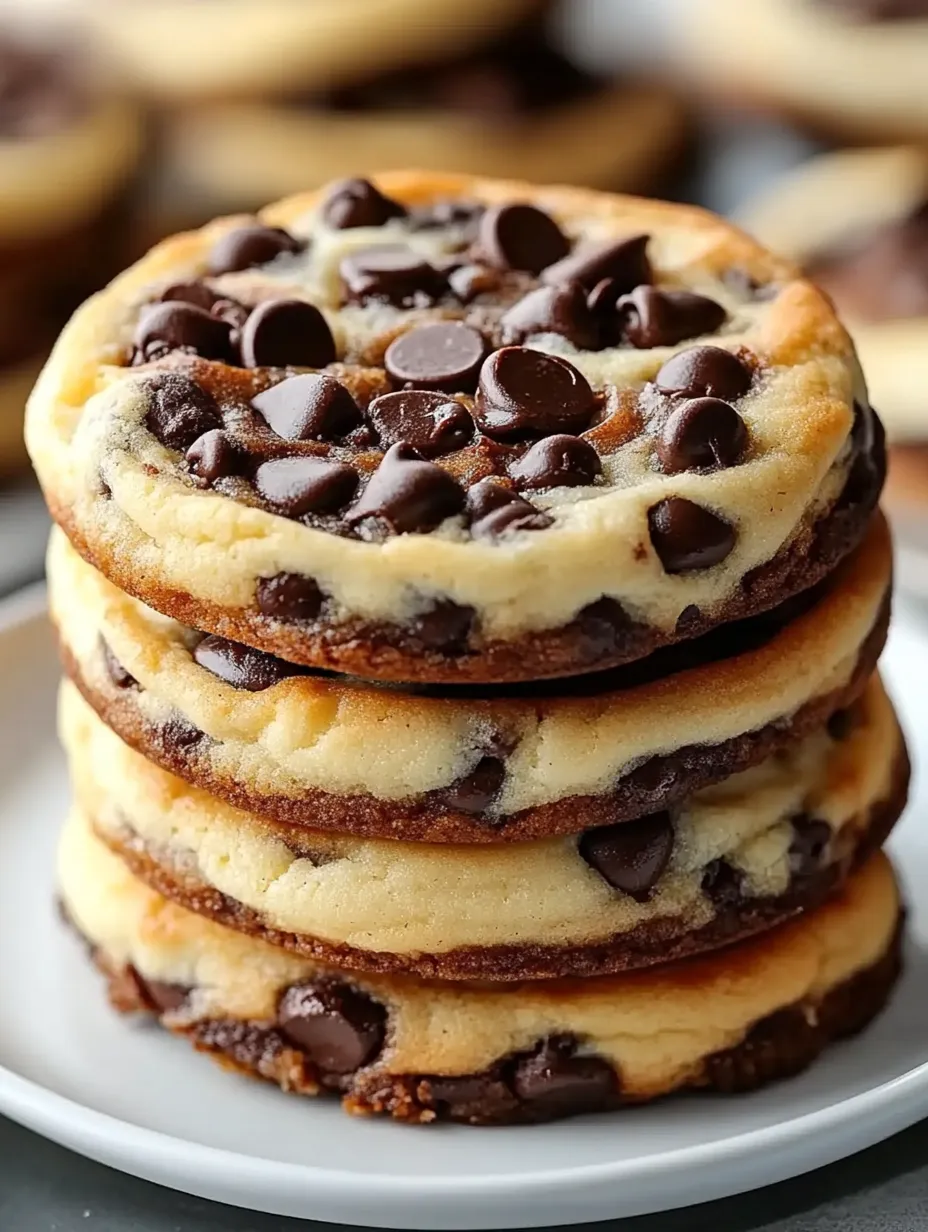
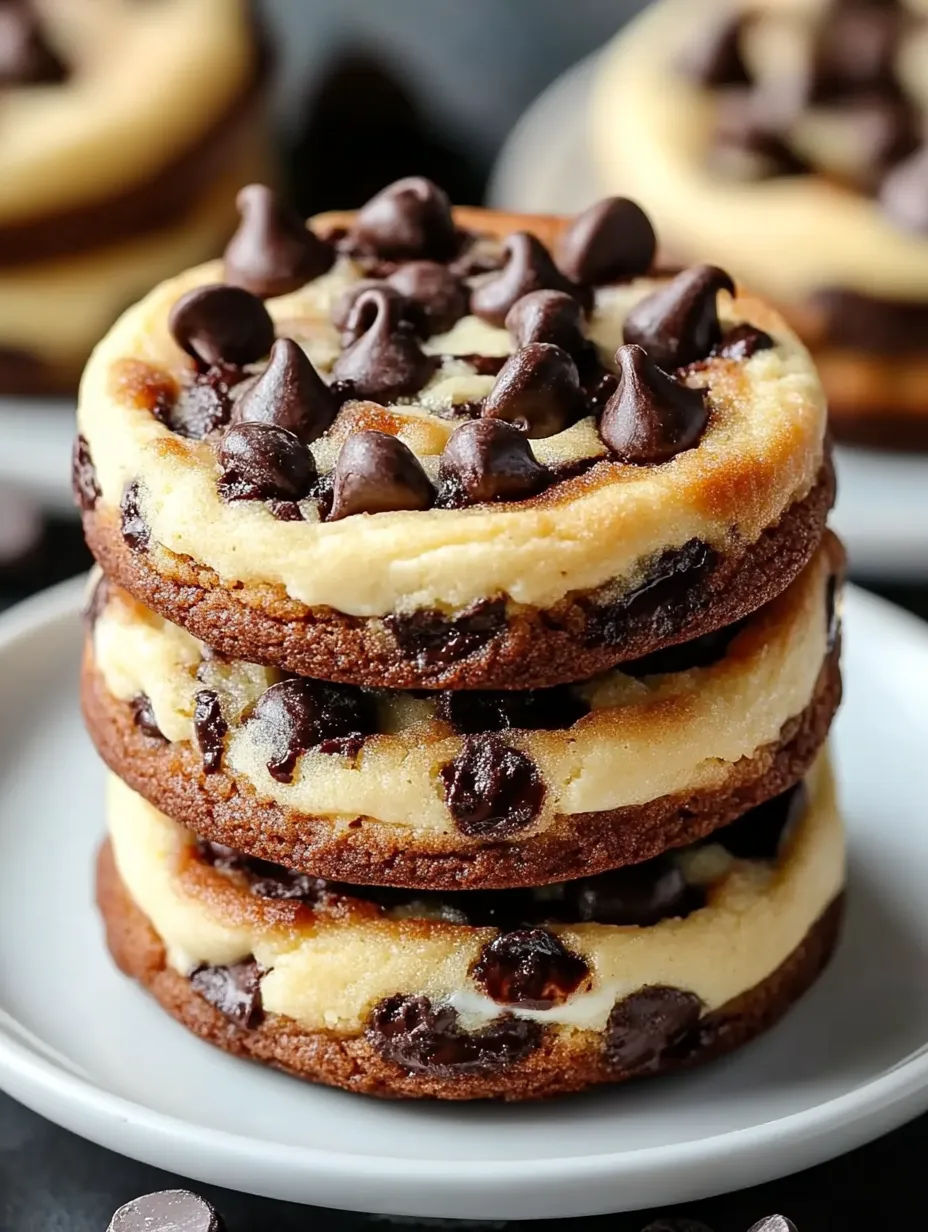
Chocolate chip cheesecake cookies came into my life during a rainy weekend when I couldn't decide between making cookies or cheesecake. Why not both? I thought, and proceeded to create what's now become my most requested recipe at family gatherings. These treats combine that familiar comfort of a chewy chocolate chip cookie with pockets of creamy, tangy cheesecake hidden inside. The contrast between textures - soft cookie exterior giving way to smooth cheesecake filling - creates something truly special.
Last Christmas, my brother-in-law (who typically avoids sweets) ate four of these in one sitting while standing by the dessert table. When I caught his eye, he just shrugged and said, "These aren't regular cookies." High praise from a man who once told me pie was "unnecessary."
What You'll Need
- Unsalted butter: Room temperature butter creates that perfect chewy cookie texture
- Brown sugar: Adds moisture and that subtle caramel undertone
- White sugar: Creates crisp edges while keeping centers soft
- Eggs: Binds everything together for proper structure
- Vanilla extract: Enhances all other flavors without stealing the spotlight
- All-purpose flour: The foundation of any good cookie
- Baking soda: Provides just enough lift without making them cakey
- Salt: Balances sweetness and makes chocolate taste more chocolatey
- Semi-sweet chocolate chips: The standard for a reason, though dark chocolate works beautifully too
- Cream cheese: The star ingredient that creates that tangy cheesecake center
Cookie Creation Magic
- Butter Beating Basics:
- Start by creaming butter with both sugars until the mixture looks fluffy and lightens in color. This usually takes me about 3 minutes with an electric mixer. Don't rush this step - it's what gives your cookies that perfect texture. The sugar crystals cut through the butter, creating tiny air pockets that result in chewy cookies rather than dense ones.
- Egg Integration:
- Add eggs one at a time, mixing well after each. Adding them gradually helps them incorporate properly without overbeating the dough. The eggs should disappear completely into the butter mixture, creating a smooth, satiny batter before moving to the next step.
- Flour Finesse:
- Whisk your dry ingredients separately before adding them to the wet ingredients. This isn't just baking snobbery - it ensures the leavening agents and salt are evenly distributed throughout. Mix just until the flour disappears - overmixing develops gluten, which makes for tough cookies (and nobody wants that).
- Cheesecake Center Secrets:
- Beat room temperature cream cheese with sugar and vanilla until smooth and lump-free. Cold cream cheese will fight you every step of the way, leaving lumps that never fully incorporate. If your filling seems too soft, refrigerate it for 15-20 minutes before assembling the cookies - you want it firm enough to stay put in the center.
My teenage daughter started helping me make these cookies when she was ten, claiming the job of "filling supervisor." She's developed an uncanny knack for knowing exactly how much cheesecake filling each cookie can handle without bursting. When I asked her secret, she just shrugged and said, "It's a gift, Mom." Now she makes them for her friends, who apparently think she's some kind of baking genius.
Creative Cookie Customization
Make them seasonal by adding pumpkin spice to the cheesecake filling in fall or peppermint extract during the holidays. Try dark chocolate chips instead of semi-sweet for more sophisticated flavor. For true indulgence, swirl a bit of caramel or Nutella into the cheesecake center before sealing the cookie. White chocolate chips create a sweeter, creamier version that's perfect for those who find traditional chocolate chip cookies too intense.
Storage Smarts
Store baked cookies in an airtight container at room temperature for up to three days. If your kitchen runs warm, refrigerating them might be better to keep that cheesecake center safe. They actually taste amazing cold, straight from the fridge - the contrast between textures becomes even more pronounced. For longer storage, freeze the assembled cookie dough balls on a baking sheet, then transfer to a freezer bag. You can bake them straight from frozen, just add 2-3 minutes to the baking time.
Troubleshooting Tips
If your cookies spread too much, your butter was probably too warm or you didn't chill the dough long enough. Cookies that don't spread at all usually mean the dough was overmixed or there was too much flour. If your filling leaks out, you either used too much or didn't seal the edges well enough. Don't worry though - even the "fails" taste amazing and disappear quickly.
I've made these cookies for everything from casual movie nights to fancy dinner parties, and they never fail to impress. There's something almost magical about that first bite - the familiar warmth of a chocolate chip cookie giving way to the unexpected creaminess of cheesecake. It's like getting two desserts in one, without having to choose between classics. And isn't that what kitchen creativity is all about? Finding new ways to enjoy the things we already love.
Common Recipe Questions
- → Why add cream cheese to cookies?
- Cream cheese adds richness, moisture, and a subtle tanginess that enhances the flavor while creating an exceptionally soft, tender texture.
- → Can I use reduced-fat cream cheese?
- Full-fat cream cheese works best for texture and flavor, but reduced-fat can work in a pinch. Avoid fat-free versions as they contain more moisture.
- → Why should I chill the dough?
- Chilling the dough for 30 minutes helps prevent excessive spreading during baking, resulting in thicker, chewier cookies.
- → Can I freeze the cookie dough?
- Yes, scoop the dough into balls, freeze on a baking sheet until solid, then transfer to a freezer bag for up to 3 months. Bake from frozen, adding 1-2 minutes to the time.
- → What can I substitute for chocolate chips?
- Try white chocolate chips, butterscotch chips, chopped nuts, or dried fruit for different flavor variations.