
 Save
Save
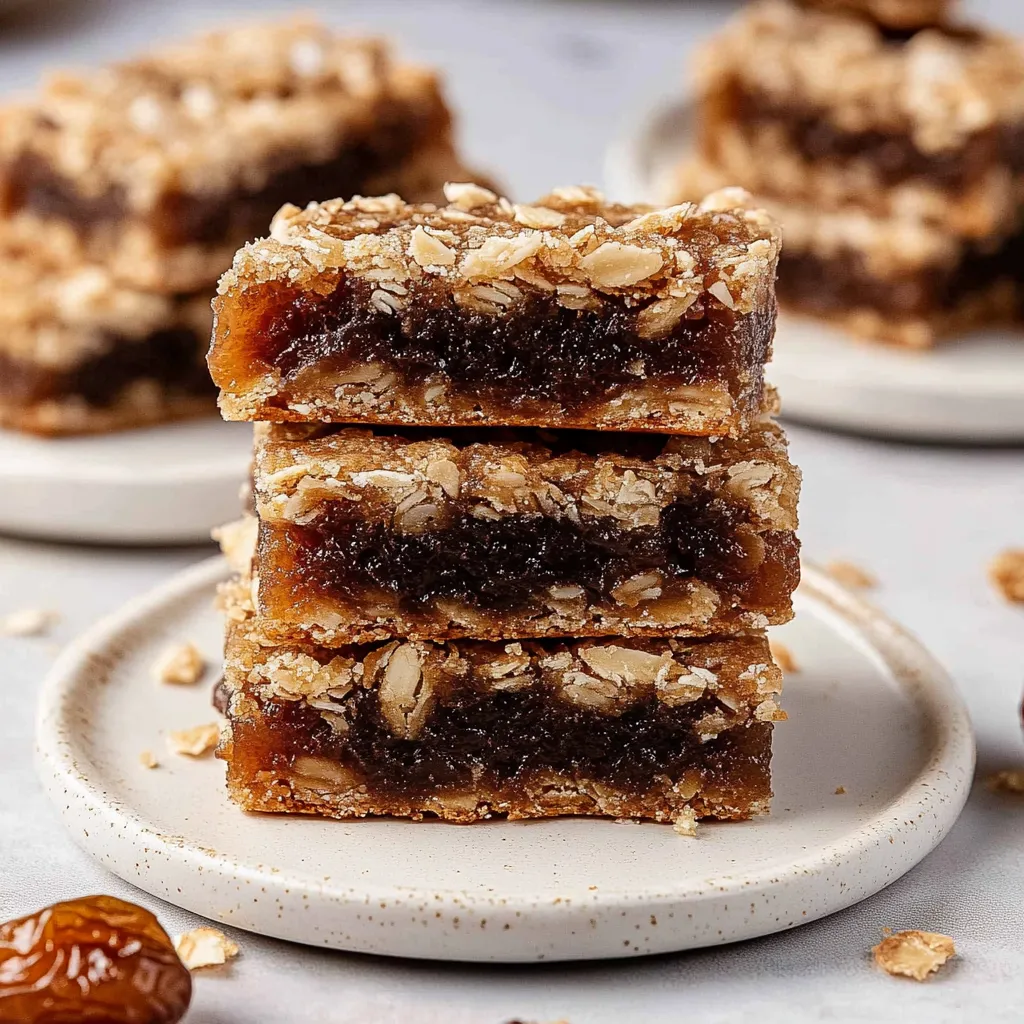
I stumbled on this date bar recipe during a desperate attempt to use up a Costco-sized container of Medjool dates that had been taking up valuable real estate in my pantry. These bars immediately took me back to my grandmother's kitchen - she made something similar that I'd completely forgotten about until that first buttery, date-filled bite brought the memory rushing back.
My husband, who typically wrinkles his nose at anything he deems "health food adjacent," grabbed one of these thinking they were some kind of streusel-topped blondie. After devouring it in three bites, he reached for another, then asked if I could make them again for his work potluck. When I told him they were basically just dates and oats, he looked genuinely confused before shrugging and grabbing a third.
What Goes In The Mix
- Medjool dates: The star of the show, providing natural caramel-like sweetness
- Pecans: They add the perfect nutty crunch against the soft date filling
- Lemon juice: Just a touch to balance all that sweetness
- Rolled oats: Creates that homey, rustic texture in the crust
- All-purpose flour: Holds everything together
- Brown sugar: Adds depth to the crust (the dates handle most of the sweetening)
- Butter: Because everything's better with butter
- Cinnamon: For that warm, comforting spice note
Bar-Making Magic
- Date Filling Finesse:
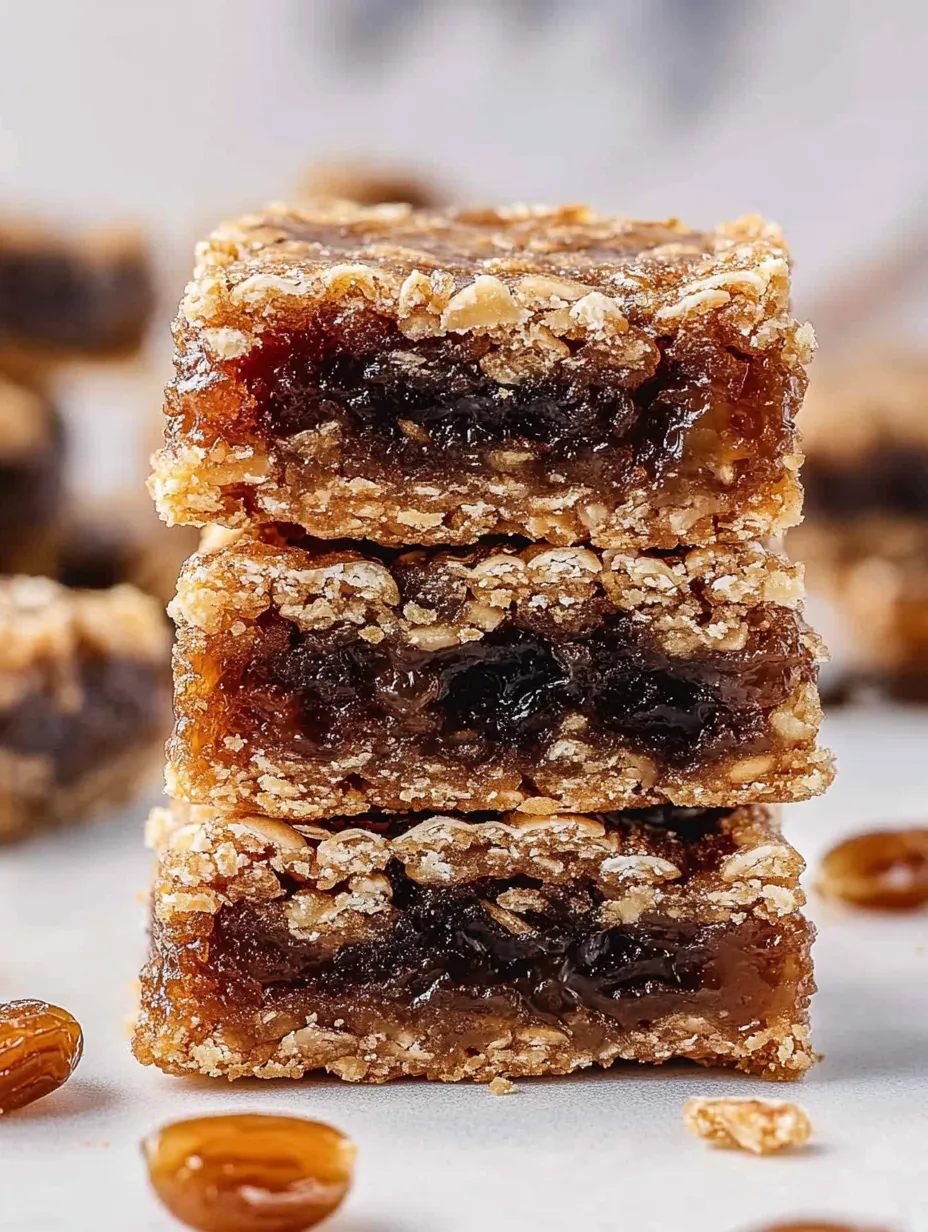
- Patience is key when cooking the dates. They need to simmer until they break down into a thick, jammy consistency. I found that stirring frequently prevents any burning or sticking. The mixture might look too watery at first, but it thickens considerably as it cooks and then even more as it cools. Don't rush this step - properly cooked date filling is the difference between mediocre and magnificent bars.
- Perfect Crumb Consistency:
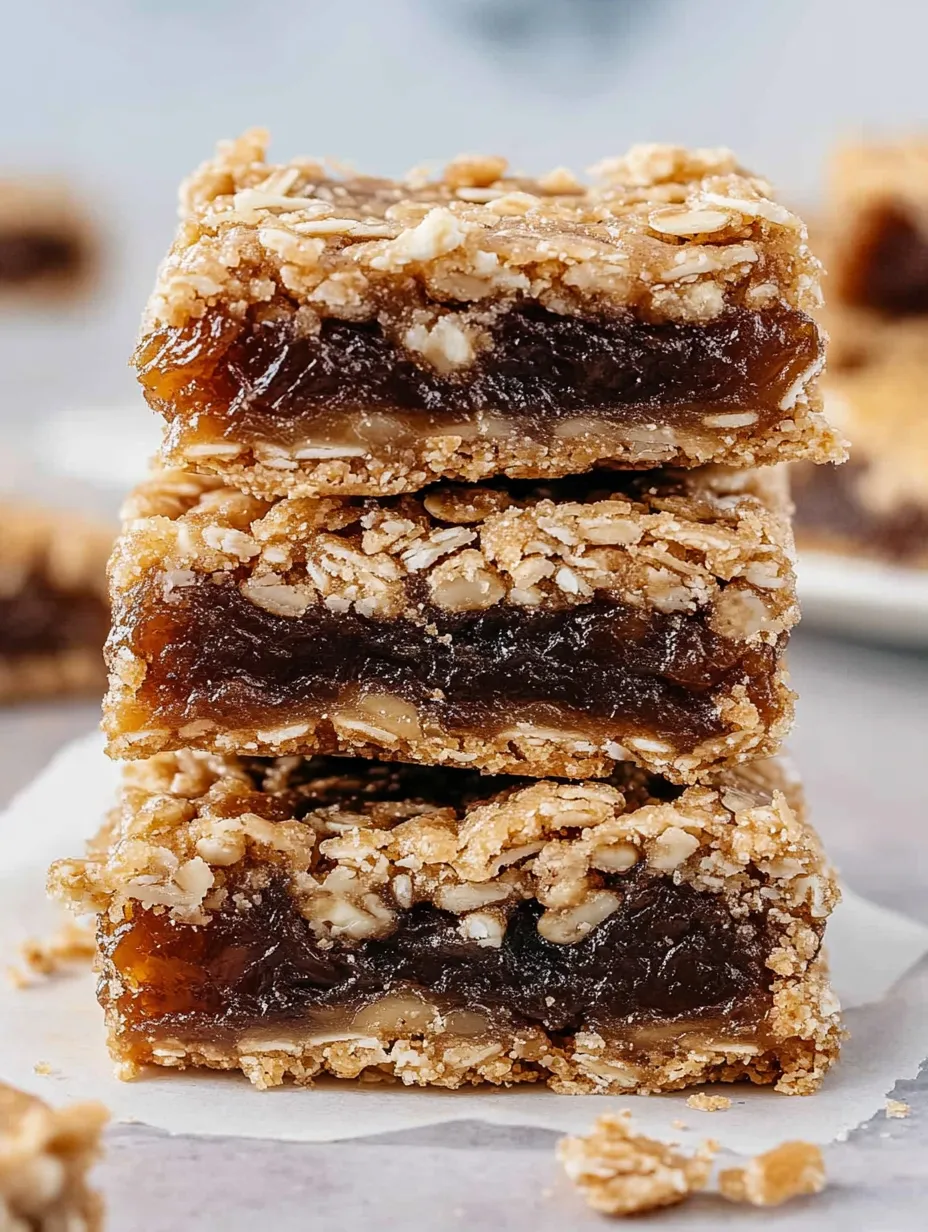
- When mixing the butter into the dry ingredients, use your fingertips rather than a spoon. The warmth of your hands helps distribute the butter more evenly. You're looking for a pebbly texture that clumps together when squeezed - sort of like wet sand at the beach that holds its shape. If the mixture seems too dry, add a tiny bit more melted butter, one teaspoon at a time. Too wet, and your crust will be greasy.
- Proper Base Building:
- When pressing the crust mixture into the pan, use firm pressure to create a solid base. I use the bottom of a measuring cup to really compact it, especially around the edges. This prevents any crumbling when you cut the bars later. For the top layer, though, a gentle press is all you need - you want some of that lovely texture to remain visible.
- Patience Pays Off:
- The hardest part of this recipe is waiting for the bars to cool and set. I've tried cutting them too soon (because who can resist the smell?), and while they taste amazing, they fall apart. For picture-perfect bars, let them cool completely at room temperature, then refrigerate for at least an hour. Overnight is even better - something magical happens to the flavors while you sleep.
Last month I brought these to a neighborhood potluck, setting them next to an impressive array of store-bought desserts. By the end of the night, my humble date bars were demolished while the fancy bakery cookies remained mostly untouched. Three different people asked for the recipe, all expressing surprise when I told them how simple they were to make.
Delicious Variations
Try swapping walnuts for the pecans for a slightly more bitter counterpoint to the sweet dates. Add a handful of shredded coconut to the date mixture for a tropical twist. Stir in some orange zest to brighten the filling. For a holiday version, add a pinch of cardamom and ginger to the crust mixture. I've even thrown in a handful of mini chocolate chips to the date mixture for an extra indulgent version.
Storage Smarts
These bars keep beautifully at room temperature in an airtight container for 3-4 days. For longer storage, refrigerate them for up to a week. They also freeze exceptionally well - just wrap individual portions in parchment paper, then place in a freezer bag. They thaw quickly at room temperature, or you can microwave them for about 15 seconds for that just-baked warmth.
Troubleshooting Tips
If your bars turn out too crumbly, you likely didn't press the bottom crust firmly enough or you didn't let them cool completely before cutting. If the filling seems too runny, cook it a bit longer next time - it should be thick enough to hold its shape on a spoon. And if the top crumbs aren't sticking to the filling, try gently pressing them into the date layer before baking.
I've made these date bars at least a dozen times now, tweaking something small each time. There's something deeply satisfying about transforming humble ingredients into something that genuinely impresses people. These bars have become my reliable go-to for potlucks, care packages, and those times when I need something sweet that still feels somewhat virtuous. Plus, they make the house smell absolutely amazing while baking - like all the best parts of fall concentrated in your kitchen.
Common Recipe Questions
- → Can I use other dried fruits instead of dates?
- Yes, dried figs or prunes work well as substitutes, though the flavor will be different.
- → Are these date bars too sweet?
- The bars get most of their sweetness from natural dates, with just some brown sugar in the crust, creating a balanced sweetness.
- → Can I make these bars gluten-free?
- Use certified gluten-free oats and substitute the all-purpose flour with a 1:1 gluten-free flour blend.
- → Why add lemon juice to the date filling?
- The acidity in lemon juice balances the sweetness of dates and enhances their flavor.
- → Can I use quick oats instead of rolled oats?
- Yes, though the texture will be slightly different. Rolled oats provide more texture and chew to the crumble.