
 Save
Save
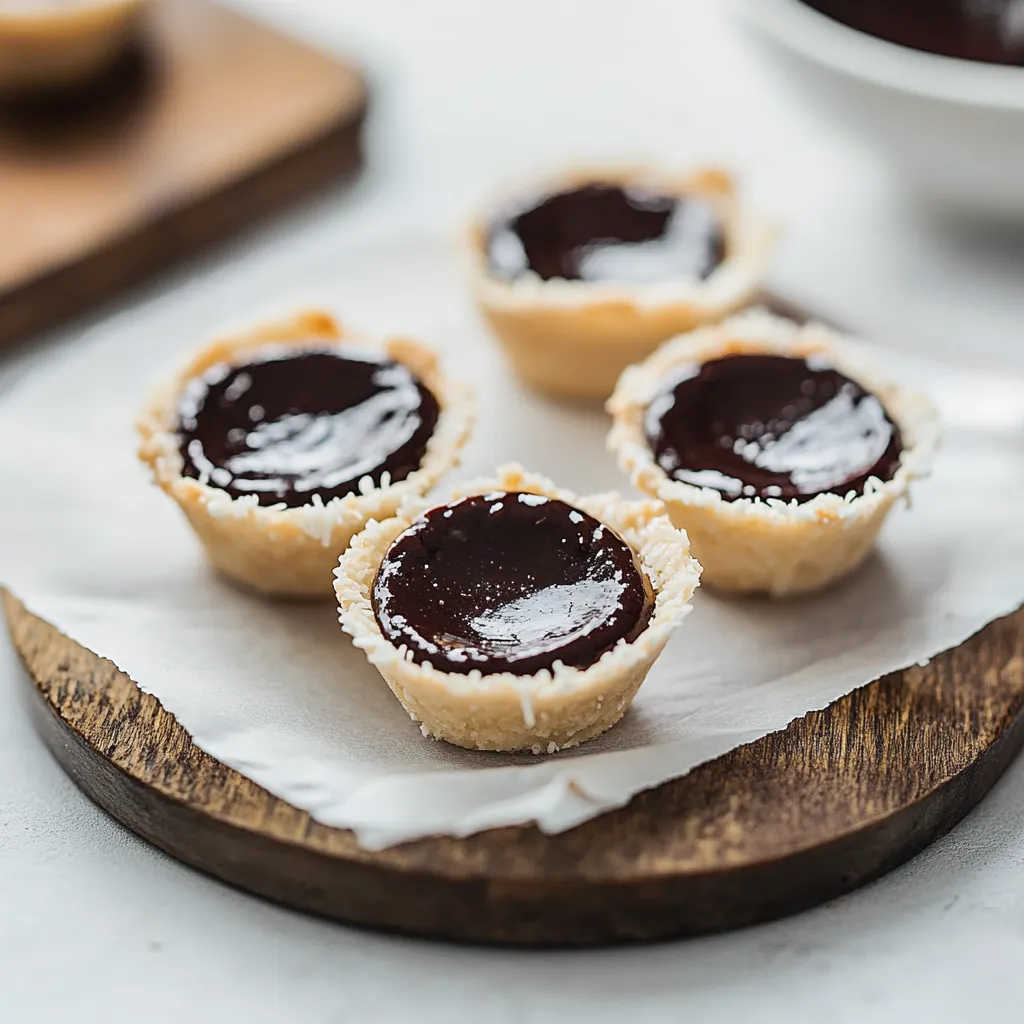
This addictive coconut chocolate cups recipe transforms simple ingredients into an elegant gluten-free treat that always impresses guests. The contrast between the crisp coconut shells and silky chocolate ganache creates a dessert that tastes far more complex than its six ingredients suggest.
I first created these for a friend with dietary restrictions who missed chocolate desserts. They've since become my go to offering for dinner parties where I need to accommodate different eating preferences without compromising on flavor.
Ingredients
- Fresh egg white: Ensures the coconut cups hold together properly. Room temperature eggs separate more easily.
- Granulated sugar: Sweetens the coconut base without overwhelming the natural flavor. Adjust between 2–3 tablespoons depending on how sweet you prefer.
- Unsweetened desiccated coconut: Creates the crisp shell. Look for finely shredded variety for the best texture and binding.
- Dark chocolate: Forms the luscious ganache center. Choose quality chocolate with 60–70% cocoa content for balanced flavor.
- Pure maple syrup or honey: Adds subtle sweetness and helps the ganache shine. Real maple syrup offers deeper complexity.
- Heavy cream: Creates silky smooth ganache. Use fresh cream with at least 36% milk fat for optimal texture.
Step-by-Step Instructions
- Prepare the oven:
- Heat your oven to a very low 210°F/100°C. This gentle baking ensures the coconut cups set without browning too quickly. Thoroughly grease each cavity of your mini muffin pan paying special attention to the corners where sticking might occur.
- Mix the coconut base:
- Combine the egg white with sugar and desiccated coconut in a medium bowl. Work the mixture with your fingers until every shred of coconut feels moistened by the egg white. The mixture should hold together when pressed between your fingers but still maintain some fluffiness.
- Shape the cups:
- Scoop approximately 1.5 tablespoons of coconut mixture into each greased mini muffin cavity. Use your fingers or the back of a small measuring spoon to press firmly against the bottom and sides creating a well defined cup shape. Press more firmly at the bottom corners to ensure structural integrity.
- Bake and cool:
- Bake the coconut cups for a full 30 minutes which allows them to set completely without taking on too much color. After baking let them rest in the pan for exactly 15 minutes on a wire rack. This cooling period is crucial as it allows the cups to firm up while still warm enough to release easily.
- Release from pan:
- After the cooling period carefully loosen each cup by sliding a small paring knife gently around the edges. The cups should release with minimal effort if properly greased and cooled. If any cup seems fragile leave the entire batch in the pan a few minutes longer.
- Prepare chocolate filling:
- Create a double boiler by setting a heat proof bowl over simmering water ensuring the water doesn’t touch the bowl. Combine chocolate, sweetener and cream in the bowl stirring occasionally until completely melted and glossy. The mixture should be smooth with no visible lumps.
- Fill and set:
- Pour the warm ganache into each coconut cup filling to just below the rim. Allow them to cool slightly at room temperature before transferring to the refrigerator. Chill for at least one hour until the ganache is completely set.
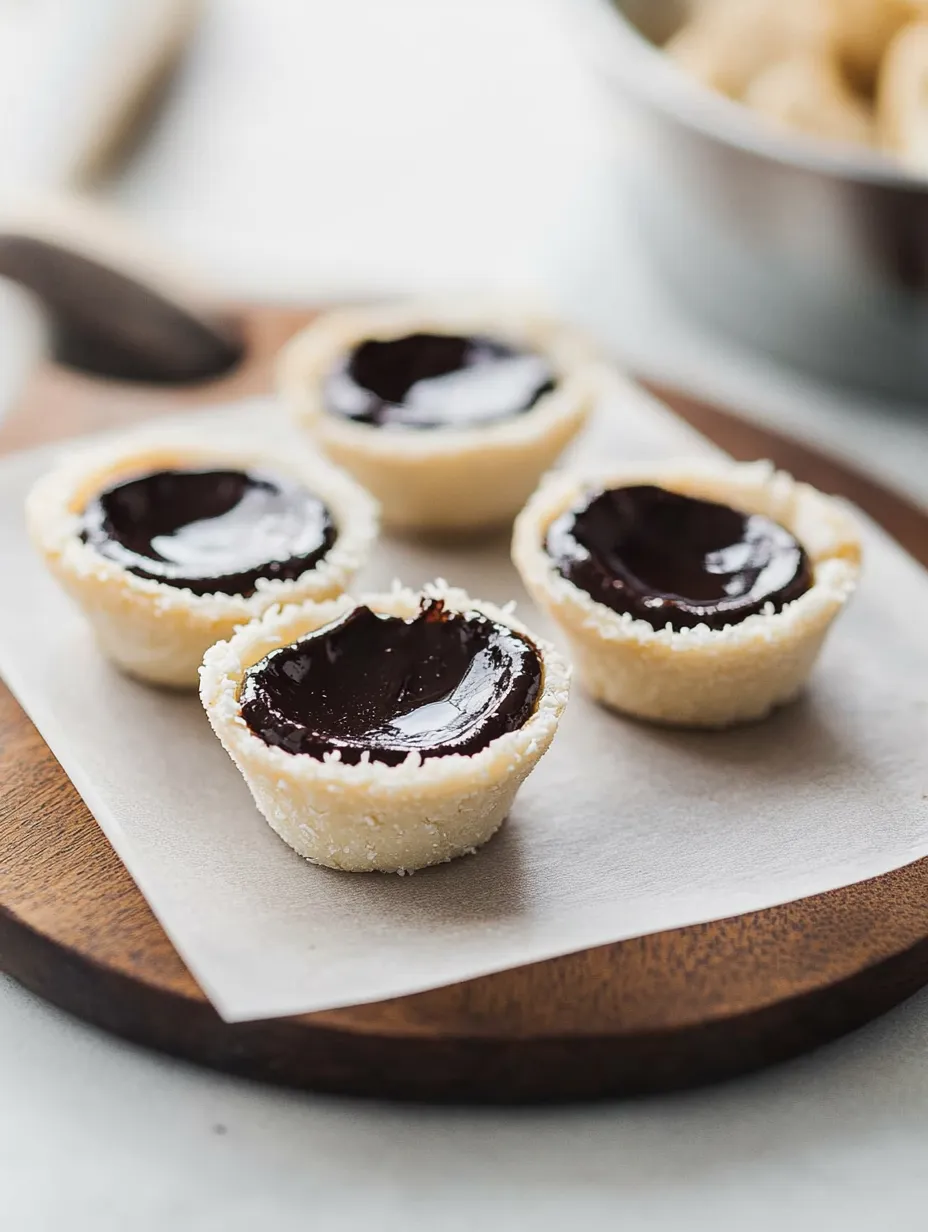
My favorite part of this recipe is watching guests' reactions when they take their first bite. The textural contrast between the crisp coconut and silky chocolate creates a moment of pure delight that makes all the careful shaping worthwhile.
Make Ahead Magic
These coconut chocolate cups actually improve with time as the flavors meld and the coconut shell softens slightly. Make them up to 3 days before serving and keep refrigerated in an airtight container. Just remember to bring them to room temperature about 30 minutes before serving for the best chocolate texture.
Flavor Variations
While the classic recipe is perfect on its own, you can customize these cups in countless ways. Add a pinch of flaky sea salt to the ganache for a salted chocolate version. Mix chopped nuts into the coconut base for added crunch. For special occasions stir in a tablespoon of orange zest or a teaspoon of espresso powder into the chocolate filling for sophisticated flavor notes.
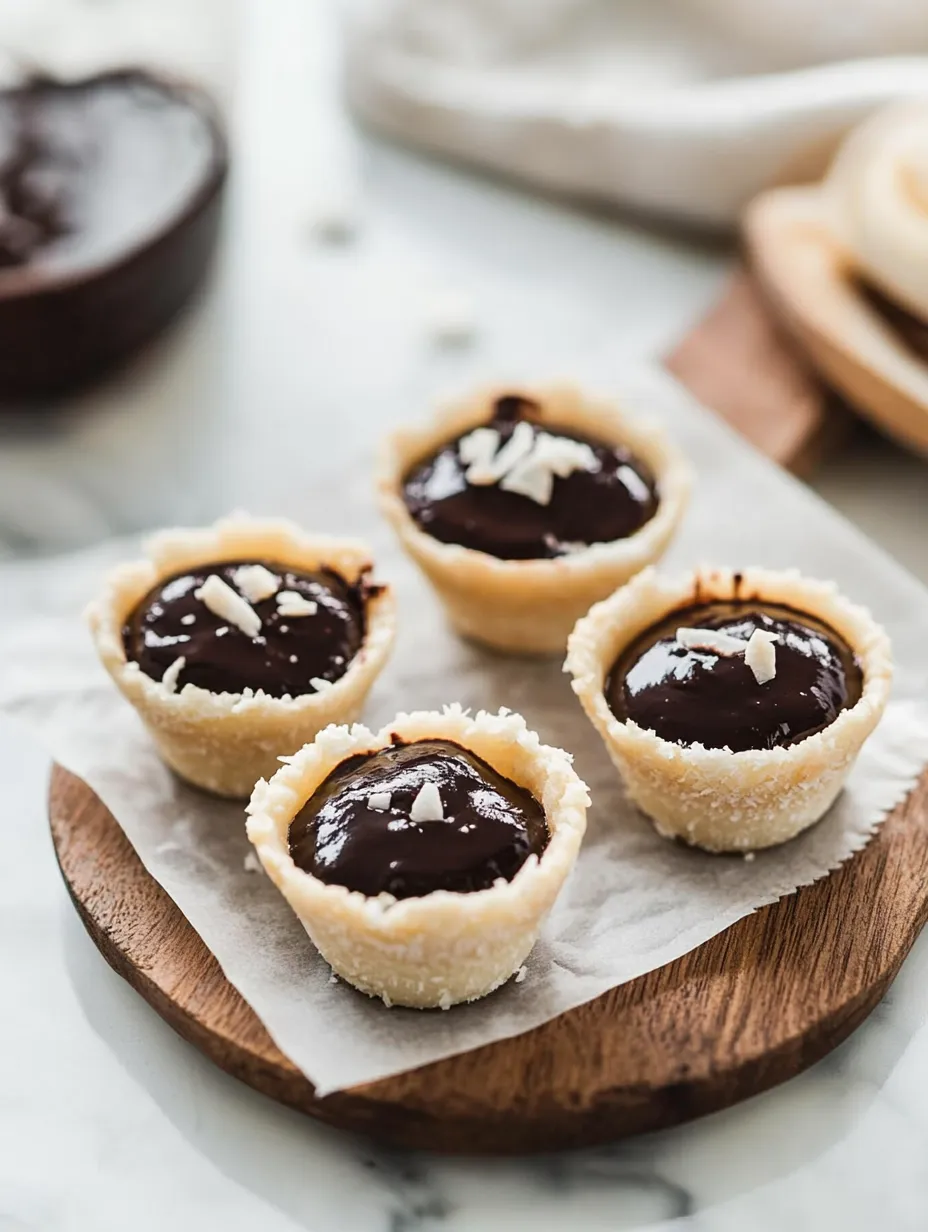
Presentation Ideas
These cups look stunning arranged on a serving platter with fresh berries scattered between them. For holiday gatherings dust with a touch of edible gold dust or cocoa powder. Consider placing each cup in a mini cupcake liner for elegant handheld serving at parties. The visual appeal of these treats makes them perfect for dessert tables or gifting.
Troubleshooting Tips
If your coconut cups seem crumbly the egg white might not have been properly distributed. Next time spend extra time mixing until every coconut shred feels moist. For ganache that won’t set properly check that you’re using heavy cream with sufficient fat content and allow more refrigeration time. Should your chocolate seize during melting add a few more drops of cream and stir gently over low heat until smooth again.
Common Recipe Questions
- → Can I use sweetened coconut instead of unsweetened?
Yes, but you may want to reduce the sugar in the coconut mixture to balance the sweetness.
- → How should I store these coconut cups?
Store them in an airtight container in the refrigerator for up to five days. Bring to room temperature before serving for the best texture.
- → Can I make these cups dairy-free?
Yes, substitute dark chocolate with dairy-free chocolate chips and use full-fat coconut milk instead of cream.
- → Can I freeze the coconut cups?
Yes, you can freeze them in an airtight container for up to three months. Thaw in the refrigerator before consuming.
- → Is there an alternative to a double boiler for melting chocolate?
You can melt the chocolate in a microwave in 20-second intervals, stirring between each, until smooth and melted.