
 Save
Save
I never thought cottage cheese and chocolate belonged in the same sentence until my neighbor Jen brought these ridiculous truffles to our block party last year. I've always been the person who gags at the sight of cottage cheese - that weird lumpy stuff my mom would eat with canned peaches when she was "dieting" in the 90s. But these truffles? They completely changed the game.
My teenage son, who normally inspects every ingredient that goes into anything I make, devoured three of these before asking what was in them. When I told him, he stared at me for a solid 10 seconds before saying, "You're lying." He then proceeded to eat two more while eyeing me suspiciously.
What Goes In The Bowl
- Cottage cheese: The small curd 4% milkfat kind works best
- Maple syrup: Real stuff, not the fake pancake syrup
- Cocoa powder: This gives the truffles their chocolate punch
- Chocolate chips: For the outer coating
- Coconut oil: Helps make the chocolate coating smooth and shiny
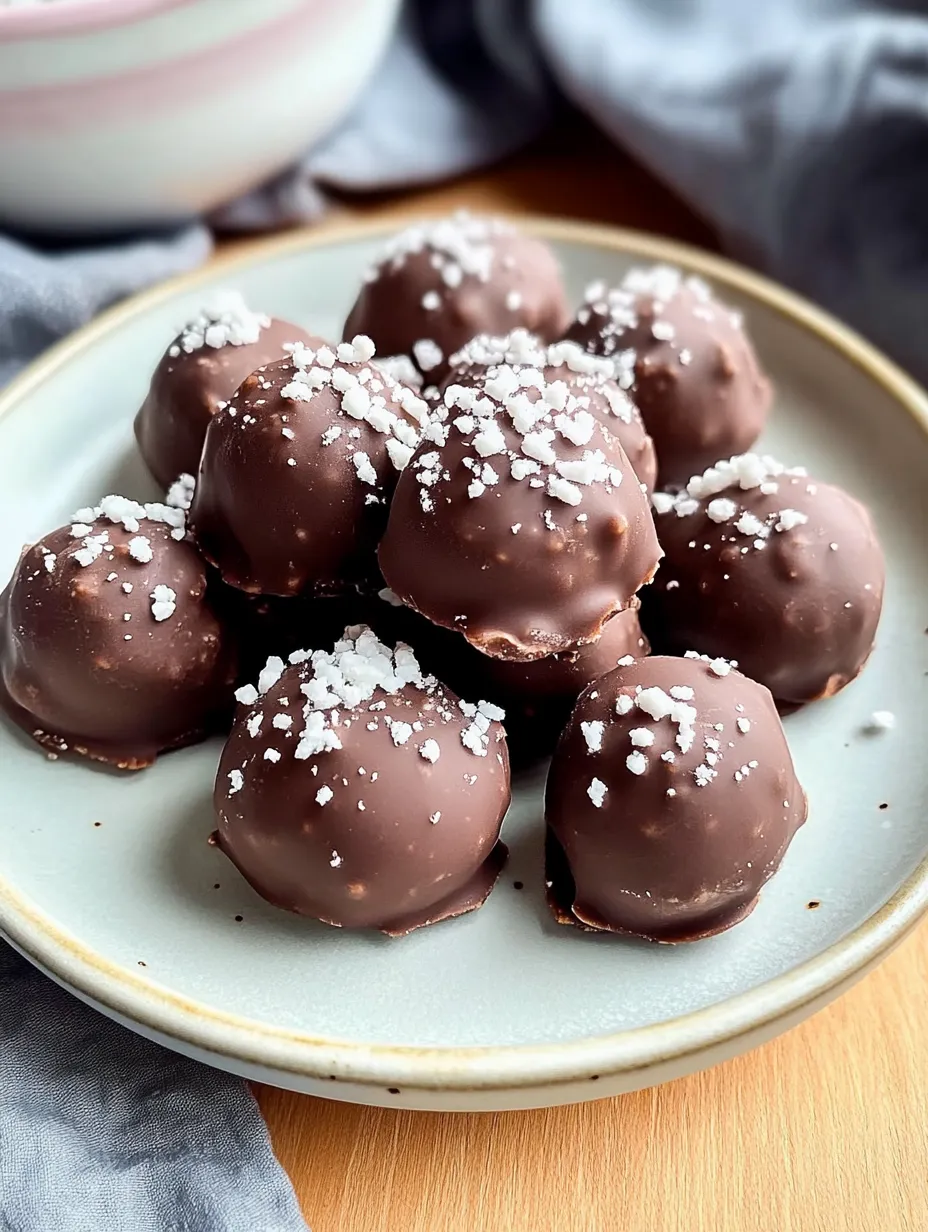
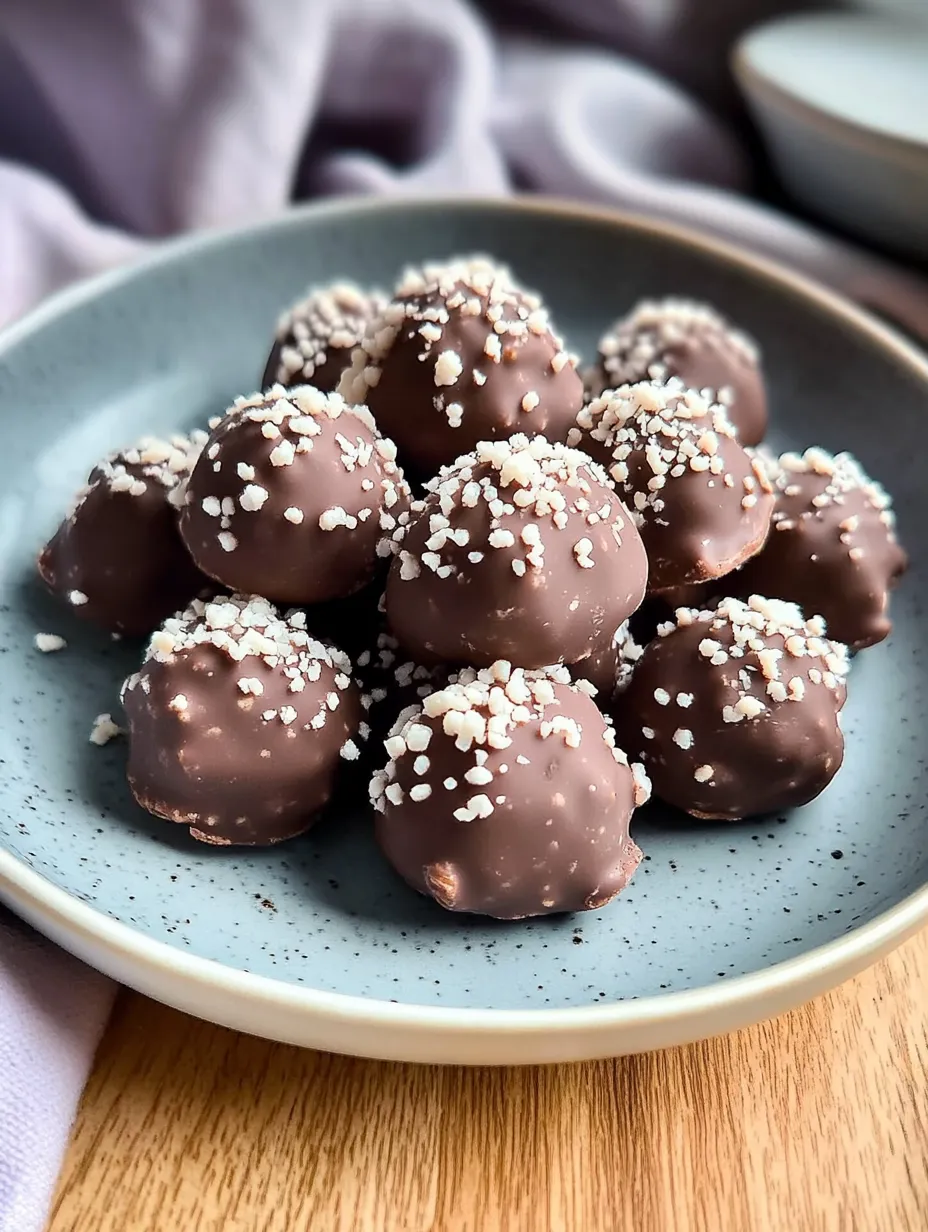
- Flaky sea salt: That fancy finishing touch that makes everything better
Making Truffle Magic
- Blending Away Evidence
- The crucial first step is obliterating any trace of those cottage cheese curds. I use my food processor and let it run until the cottage cheese is completely smooth - no lumps allowed! This usually takes a solid minute or two. If anyone's going to be convinced these aren't made with cottage cheese, this step cannot be skipped. Trust me, I tried to rush it once and ended up with slightly lumpy truffles that immediately gave away my secret.
- Creating The Base
- Once the cottage cheese is smooth, add the maple syrup and cocoa powder and blend again. The mixture will look like chocolate pudding at this stage - and honestly, you could just eat it with a spoon right now (I've done this when the chocolate craving hits hard and I'm too impatient). The mixture should be thick but still soft. If it seems too wet, add a bit more cocoa powder, one tablespoon at a time.
- Chilling Strategy
- Patience is key here. The mixture needs to firm up in the fridge for at least 4 hours, but overnight works even better. I know it's tempting to rush this step, but the longer it chills, the easier the truffles are to roll. I've tried shortcuts and ended up with chocolate all over my hands, the counter, and somehow in my hair. Learn from my mistakes - give them time to firm up properly.
- Rolling Without Mess
- Here's my hack for clean truffle rolling: Lightly coat your hands with a tiny bit of coconut oil before rolling. This prevents the mixture from sticking to your hands. Roll them quickly into balls about the size of a walnut - if they start getting too soft as you work, pop the mixture back in the fridge for 15 minutes to firm up again.
Last Christmas, I brought these to a family gathering and placed them on the dessert table without saying what they were. My aunt, who's been vocally anti-cottage cheese her entire life, ate four of them and asked for the recipe. When I revealed the secret ingredient, she refused to believe me until I showed her the recipe on my phone. She now makes them regularly and calls them her "protein bombs."
Troubleshooting Tips
If your mixture is too soft to roll, add more cocoa powder, one tablespoon at a time, until it reaches a workable consistency. If your chocolate seizes when melting, you likely got water in it (chocolate's worst enemy). Start over with dry equipment and try melting at a lower temperature. If your truffles start melting when you're trying to coat them, they need more time in the freezer - patience pays off here.
Creative Variations
Try adding a drop of peppermint extract to the base for mint chocolate truffles. Roll the finished truffles in shredded coconut or chopped nuts instead of dipping in chocolate for a faster alternative. Add a teaspoon of instant espresso powder to the base for mocha truffles. Replace some of the cocoa powder with peanut butter powder for a chocolate-peanut butter version.
Serving Suggestions
These truffles look beautiful arranged on a plate with some fresh berries for a dinner party dessert. I sometimes cut them in half and place them on top of brownies for an extra-decadent treat. They also make a great addition to a cheese board for a sweet element - just don't tell anyone what they're made of until after they've tried them!
I've brought these truffles to potlucks, book clubs, and school fundraisers, and every single time, people are shocked when they learn the secret ingredient. There's something deeply satisfying about transforming an ingredient most people wrinkle their nose at into something they can't stop eating. If you've never been a cottage cheese fan, these truffles might just change your mind - they certainly changed mine!
Common Recipe Questions
- → Can anyone taste the cottage cheese?
- Not at all! Once blended smoothly with cocoa and sweetener, the cottage cheese provides creamy texture without any telltale flavor.
- → Do I need to use full-fat cottage cheese?
- Full-fat cottage cheese will give the creamiest results, but low-fat versions work too. Avoid fat-free as it may produce a different texture.
- → Can I freeze these for later?
- Yes, these truffles freeze exceptionally well. Store in an airtight container for up to 3 months. They're delicious straight from the freezer or thawed slightly.
- → What can I use instead of maple syrup?
- Honey works well as mentioned, or try agave nectar. For a lower-sugar option, a liquid stevia or monk fruit sweetener can work, though you may need to adjust quantities.
- → Can I add other flavors?
- Absolutely! Try adding a few drops of peppermint oil, orange extract, or even a tablespoon of instant coffee powder to the mixture for flavor variations.