
 Save
Save
I discovered this Easter rocky road recipe while searching for something to make with my kids that wouldn't require turning on the oven during a particularly warm spring. It's since become our annual Easter tradition, with everyone fighting over who gets to crush the mini eggs and decorate the top. The best part? It's nearly impossible to mess up, making it perfect for little helpers or bakers like me who prefer recipes with plenty of wiggle room.
Last Easter, my neighbor dropped by unexpectedly with a small gift, and I was able to quickly slice a few pieces of rocky road, wrap them in parchment paper, and tie with ribbon for a beautiful impromptu gift that looked like I'd planned it all along. Her text later that night asking for the recipe made my day.
Simple Ingredients
- Milk and dark chocolate - Creates a perfectly balanced base that's not too sweet or bitter; using good quality chocolate makes a noticeable difference
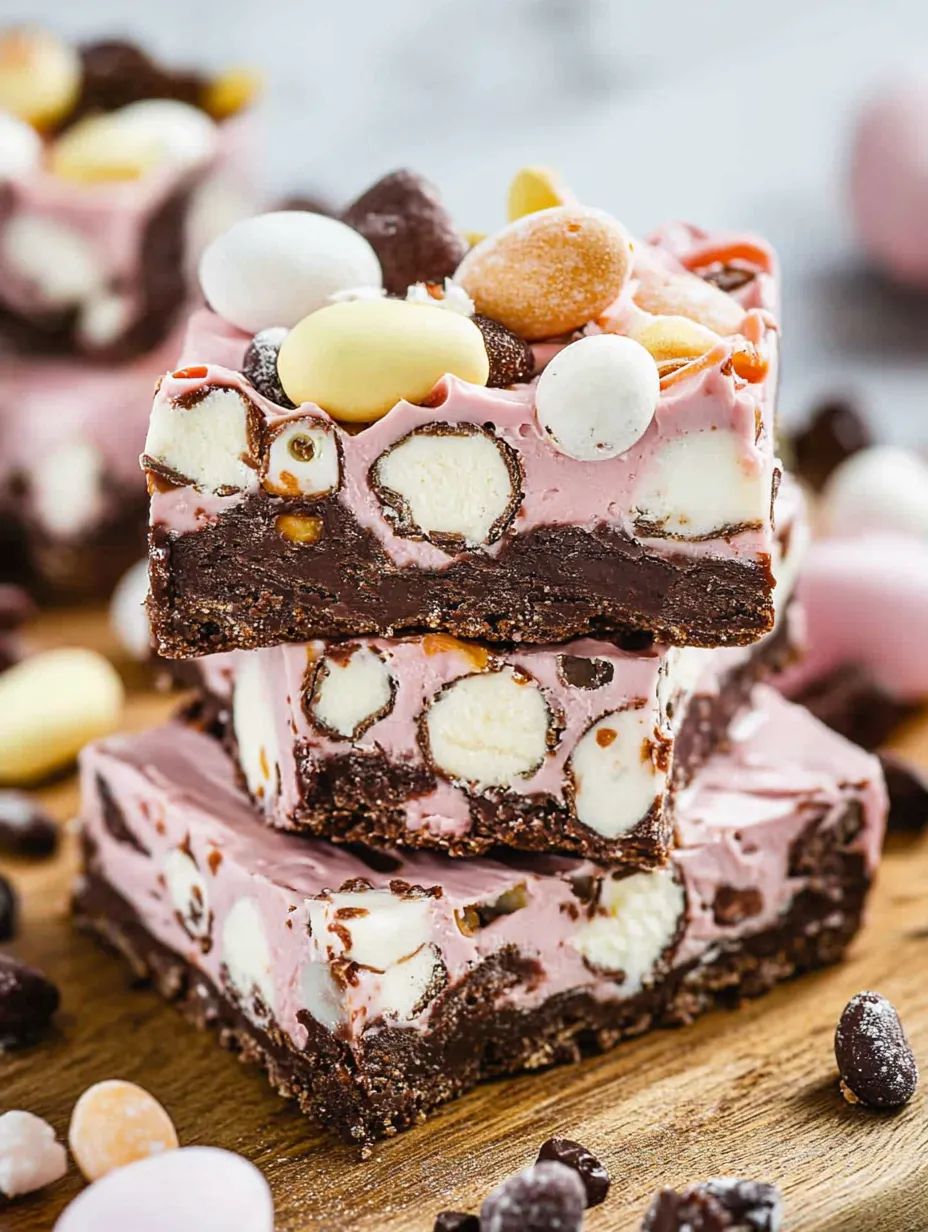
- White chocolate - Forms a creamy top layer that provides the perfect canvas for decoration
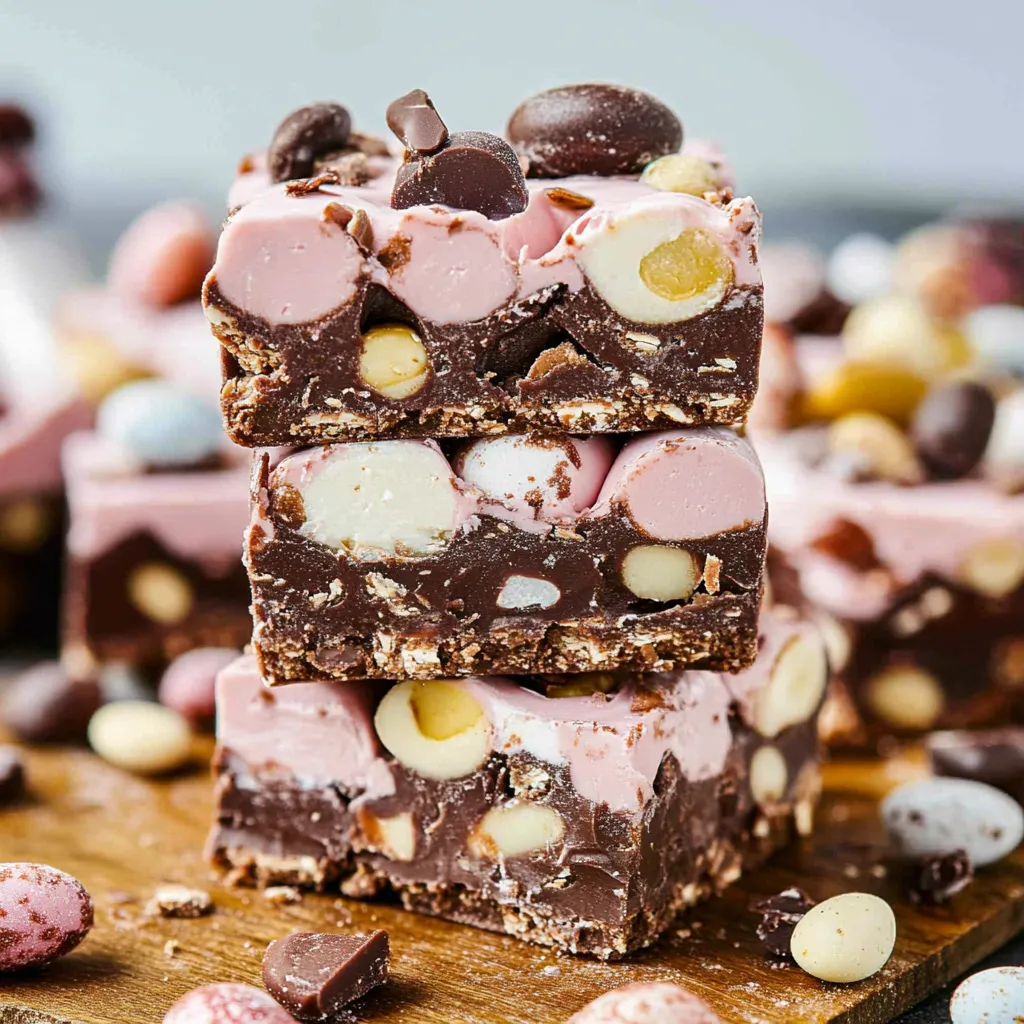
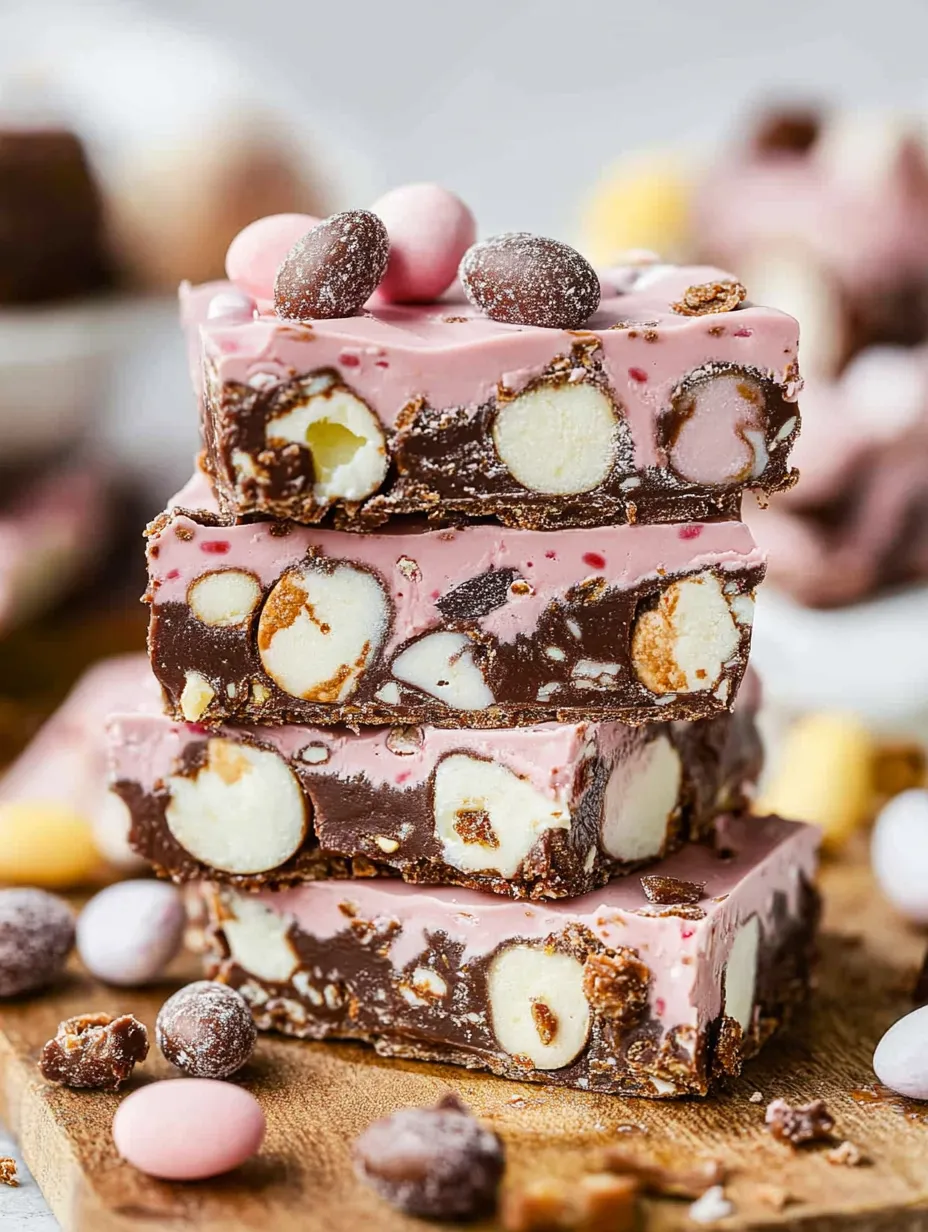
- Marshmallows - I prefer using pink ones for a pretty color contrast against the chocolate base
- Desiccated coconut - Adds subtle flavor and interesting texture throughout each bite
- Mini eggs - These candy-coated chocolate eggs create colorful pops throughout and add a satisfying crunch
- Decorative touches - Silver cachous (those tiny silver balls) add a touch of elegance, though any sprinkles work beautifully
I once tried making this with leftover Christmas candy canes instead of marshmallows and was surprised by how delicious the mint-chocolate combination turned out. That's the beauty of rocky road - it welcomes creativity and adapts to whatever you have on hand.
Creating Magic
- Prep First
- Before doing anything else, line your pan with baking paper, leaving some overhang for easy removal later. Then prepare all your fillings - quarter the marshmallows, measure the coconut, and put aside some mini eggs for decoration. Having everything ready before melting chocolate prevents stress and mishaps.
- Perfect Melting
- Chop your chocolate into even-sized pieces to ensure smooth melting. I use a double-boiler method (bowl over simmering water) rather than microwaving to avoid scorching. The key is removing it from heat just before it's completely melted and letting residual heat finish the job. Never let water touch your chocolate or it will seize!
- Careful Combining
- Allow the melted chocolate to cool slightly before mixing with marshmallows or they'll start to melt. Gently fold everything together until evenly coated - I find a metal spoon works best here as wooden ones can retain moisture that affects the chocolate.
- Setting Up
- Press the mixture firmly into your prepared tin, making sure to push it into the corners for even thickness. Let this chill for about 45 minutes before adding the white chocolate topping - this prevents the layers from mixing together.
- Decorative Finish
- Once you've spread the melted white chocolate evenly across the top, work quickly to add your decorations before it sets. I like to arrange mini eggs in a pattern with silver cachous scattered around for a festive touch. The contrast of the colorful eggs against the white chocolate looks stunning.
My first attempt at rocky road was nearly ruined when I tried to cut it straight from the refrigerator - the chocolate shattered rather than sliced cleanly. Now I always let it warm up slightly and use a knife warmed under hot water (and dried completely) for professional-looking pieces.
Serving Style
Present your rocky road on a simple white platter for maximum impact at Easter gatherings. For gifting, wrap individual pieces in parchment paper and tie with pastel ribbon. I've found that a small stack of three pieces makes an ideal hostess gift when visiting during the holiday weekend.
For a festive dessert table, place the entire slab on a wooden board surrounded by fresh flowers or additional Easter candies. Cut it at the table for a bit of dramatic flair - guests always appreciate the thick, chunky texture and colorful interior revealed when sliced.
Creative Variations
The versatility of this recipe is what makes it truly special. Try swapping the mini eggs for other seasonal candies like chocolate bunnies or colorful jelly beans. For a more grown-up version, add dried cranberries and pistachios to the mix for beautiful color contrast and sophisticated flavor.
My cousin makes a version with crushed digestive biscuits added to the filling for extra crunch and texture. Another family favorite is adding a tablespoon of orange zest to the chocolate base for a subtle citrus note that brightens the rich chocolate.
Storage Secrets
Rocky road keeps beautifully in an airtight container in the refrigerator for up to two weeks, making it perfect for advance preparation before Easter celebrations. For gift-giving, it can be kept at room temperature for several days if your home isn't too warm.
I've discovered that this treat actually freezes remarkably well - just wrap it tightly and freeze for up to three months. This is perfect for using up excess Easter chocolate and enjoying a festive treat long after the holiday has passed.
I've made countless batches of this Easter rocky road over the years, and it never fails to bring smiles and compliments. There's something about the combination of textures and the festive appearance that makes it irresistible to everyone from fussy toddlers to sophisticated adults. The fact that it requires no baking and can be prepared days in advance makes it my secret weapon for stress-free holiday entertaining.
Common Recipe Questions
- → Can I use regular marshmallows instead of pink ones?
- Absolutely! Any color marshmallows work fine - just make sure to quarter larger ones or use mini marshmallows for better distribution throughout the rocky road.
- → What can I use instead of Mini Eggs?
- You can substitute with any Easter chocolate like small chocolate bunnies, other egg-shaped chocolates, or even regular chocolate chips or M&Ms for a non-Easter version.
- → Why is my rocky road too soft even after chilling?
- This could be due to the room temperature being too warm. Try keeping it refrigerated until just before serving, or increase the ratio of chocolate to fillings for a firmer set.
- → Can I freeze this rocky road?
- Yes! It freezes well for up to 3 months. Just wrap it tightly in plastic wrap and place in an airtight container. Thaw in the refrigerator before serving.
- → Why should I let the chocolate cool before adding marshmallows?
- If the chocolate is too hot, it can start melting the marshmallows. Cooling it slightly helps preserve the chewy texture and distinct appearance of the marshmallows in the final treat.