
 Save
Save
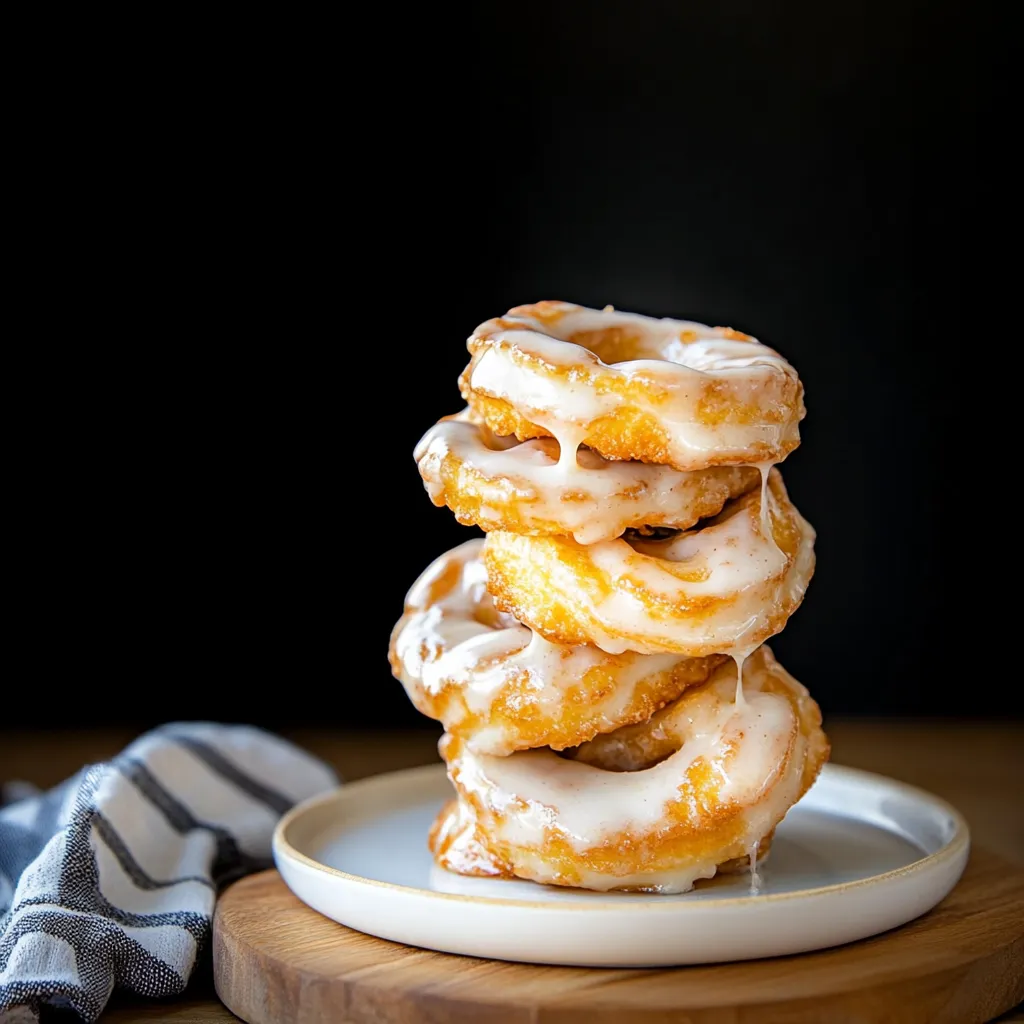
I never thought I'd be the type of person who makes donuts at home. Growing up, donuts were strictly a treat we'd get from that pink box at the grocery store. But after watching a cooking show where they made these French crullers look so darn easy, I figured what the heck - let's give it a shot. Turns out, they weren't lying about the easy part.
Last weekend, my neighbor stopped by just as these were cooling. She ended up staying for coffee and eating three of them while swearing she was "just having a taste." That's the kind of recipe this is.
Essential Ingredients
- Butter: the real stuff, no substitutes
- Eggs: they're what make these puff up like magic
- Regular old flour: nothing fancy needed
- Vegetable oil for frying: just regular oil, nothing special
- Powdered sugar: for that sweet glaze that makes them irresistible
The beauty of making these crullers starts with that fancy-sounding dough - pâte à choux. Don't let the French name intimidate you. It's basically just boiling water and butter, dumping in flour, then beating in eggs until you get something that looks like thick cake batter.
The first time I made these, I was sure I'd messed up the dough because it seemed so different from other donut recipes. It's wet and glossy, almost like really thick pudding. But that's exactly how it should be. The high moisture content is what creates those airy pockets inside.
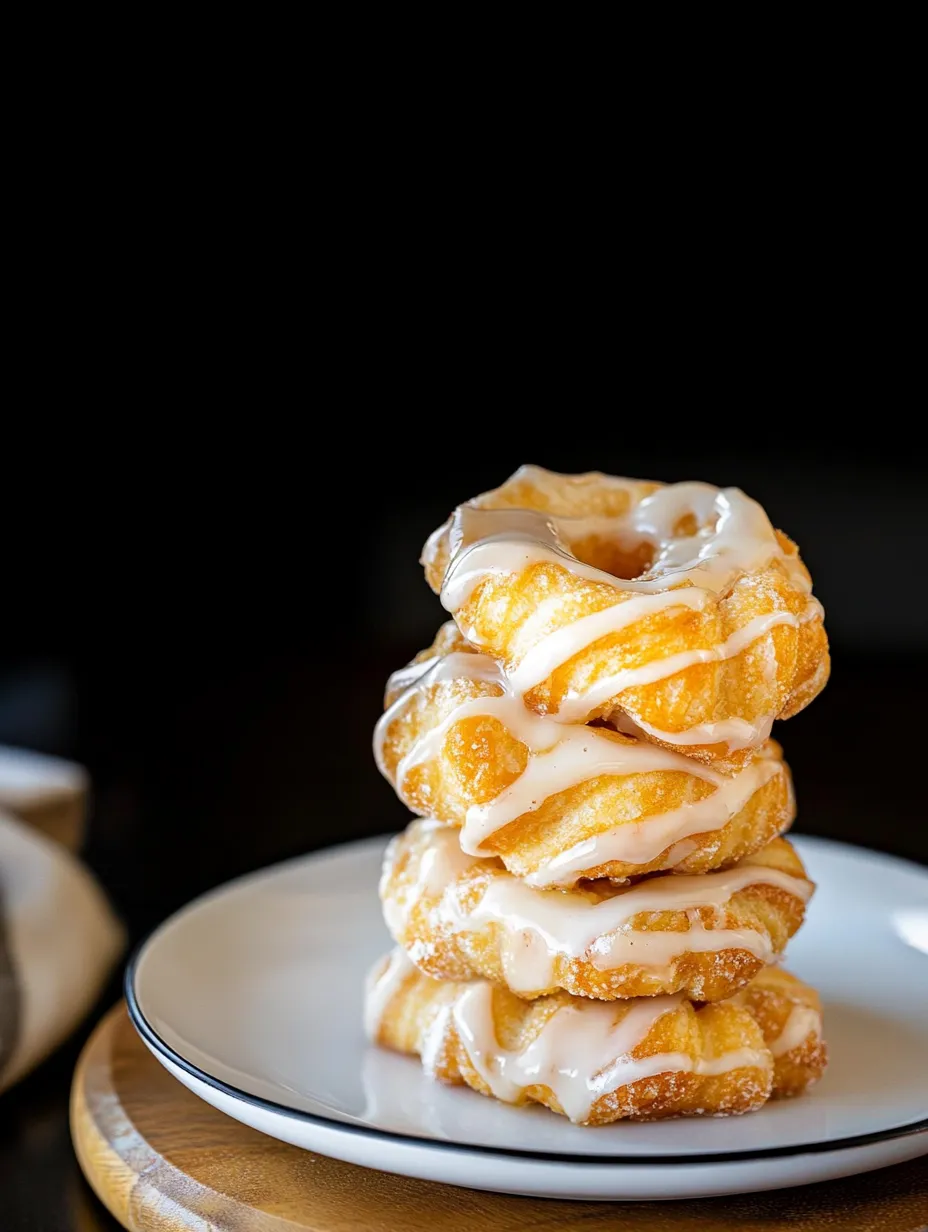
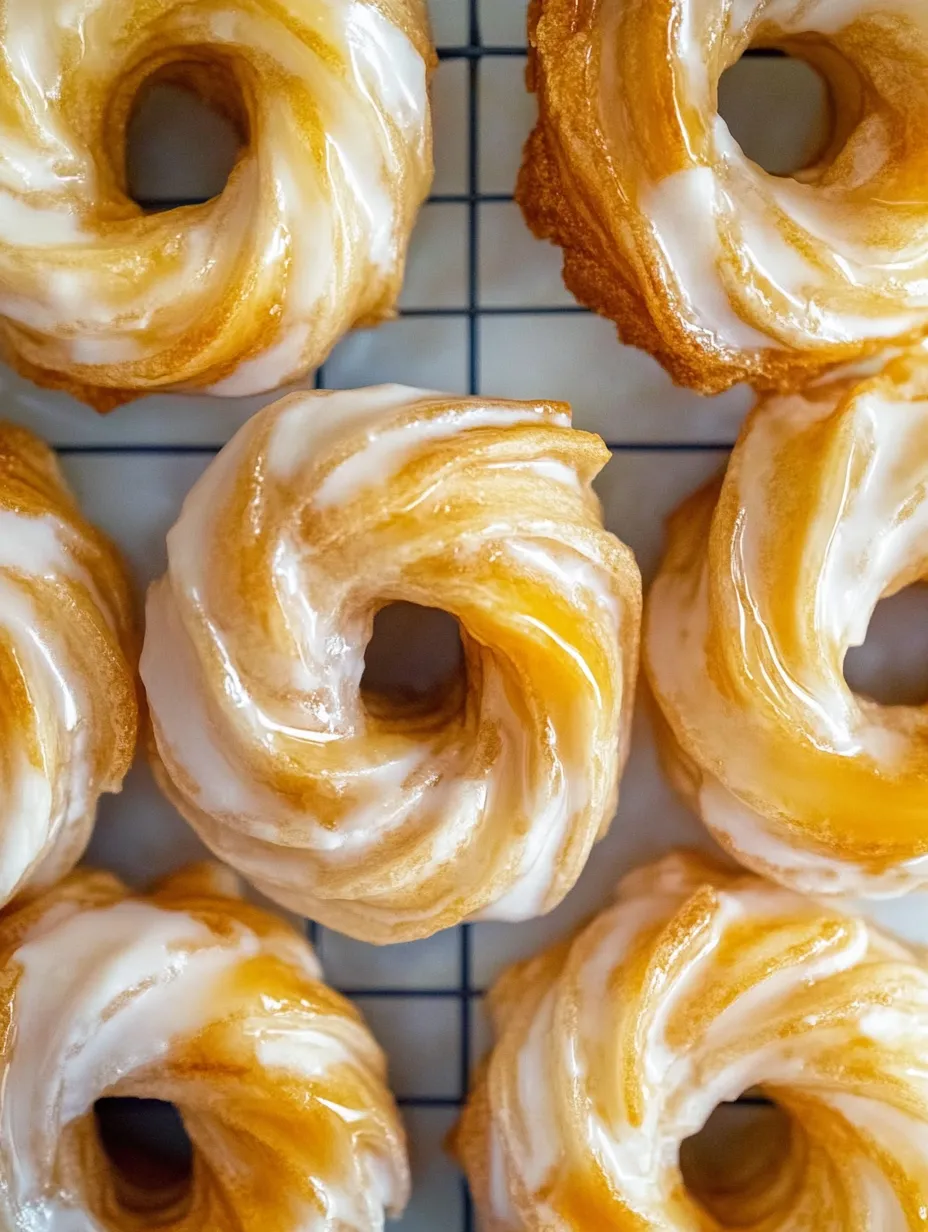
Piping them is where you can get creative. I like using a star tip to make those ridges that get extra crispy when fried. My first attempt looked pretty wonky - more like fried squiggles than neat circles. But guess what? They still tasted amazing.
The freezing step is non-negotiable. Trust me on this - I tried skipping it once and ended up with blobs instead of donuts. Just 30 minutes in the freezer firms them up enough to hold their shape when they hit the hot oil.
When you drop these frozen rings into hot oil, it's like kitchen magic. They immediately start to puff up and turn golden. Just a minute or so on each side is all it takes. The first one is always my "test donut" to make sure the oil temperature is right.
That simple glaze is the perfect finishing touch - just enough sweetness without being too much. Sometimes I add a little lemon extract to brighten it up, other times I keep it simple with just vanilla.
The hardest part? Waiting for them to cool enough to eat. I've burned my mouth more than once being impatient. But honestly, these are at their absolute best when they're still slightly warm, with the glaze just set.
These crullers have become my go-to impressive breakfast when we have overnight guests. Everyone thinks I spent hours in the kitchen, when really, the active time is maybe 30 minutes total. Sometimes the best recipes are the ones that make you look way more skilled than you actually are.
Common Recipe Questions
- → Why do the crullers need to be frozen before frying?
- Freezing helps the crullers maintain their shape during frying and creates a better texture with a crisp exterior and airy interior.
- → Can I bake these instead of frying?
- Traditional crullers are fried, but you could try baking at 400°F for about 20 minutes. The texture will be different but still delicious.
- → What is the best oil for frying crullers?
- Vegetable oil, canola oil, or peanut oil work well due to their neutral flavor and high smoke points.
- → How can I tell when the oil is the right temperature?
- Use a cooking thermometer to maintain 325-350°F, or test by dropping a small piece of dough in - it should bubble around the dough and rise to the surface.
- → How long do homemade crullers stay fresh?
- They're best eaten the same day but will keep for 1-2 days in an airtight container. They don't refrigerate well.