
 Save
Save
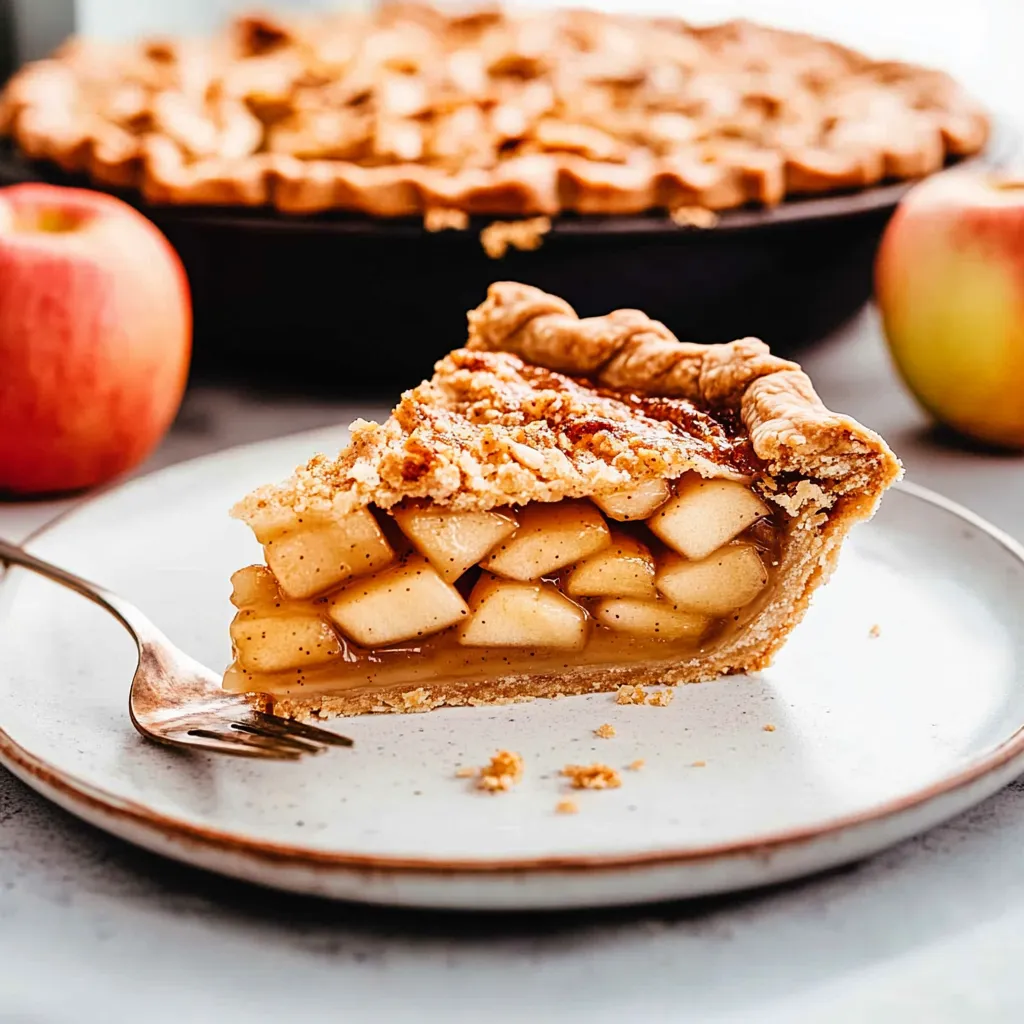
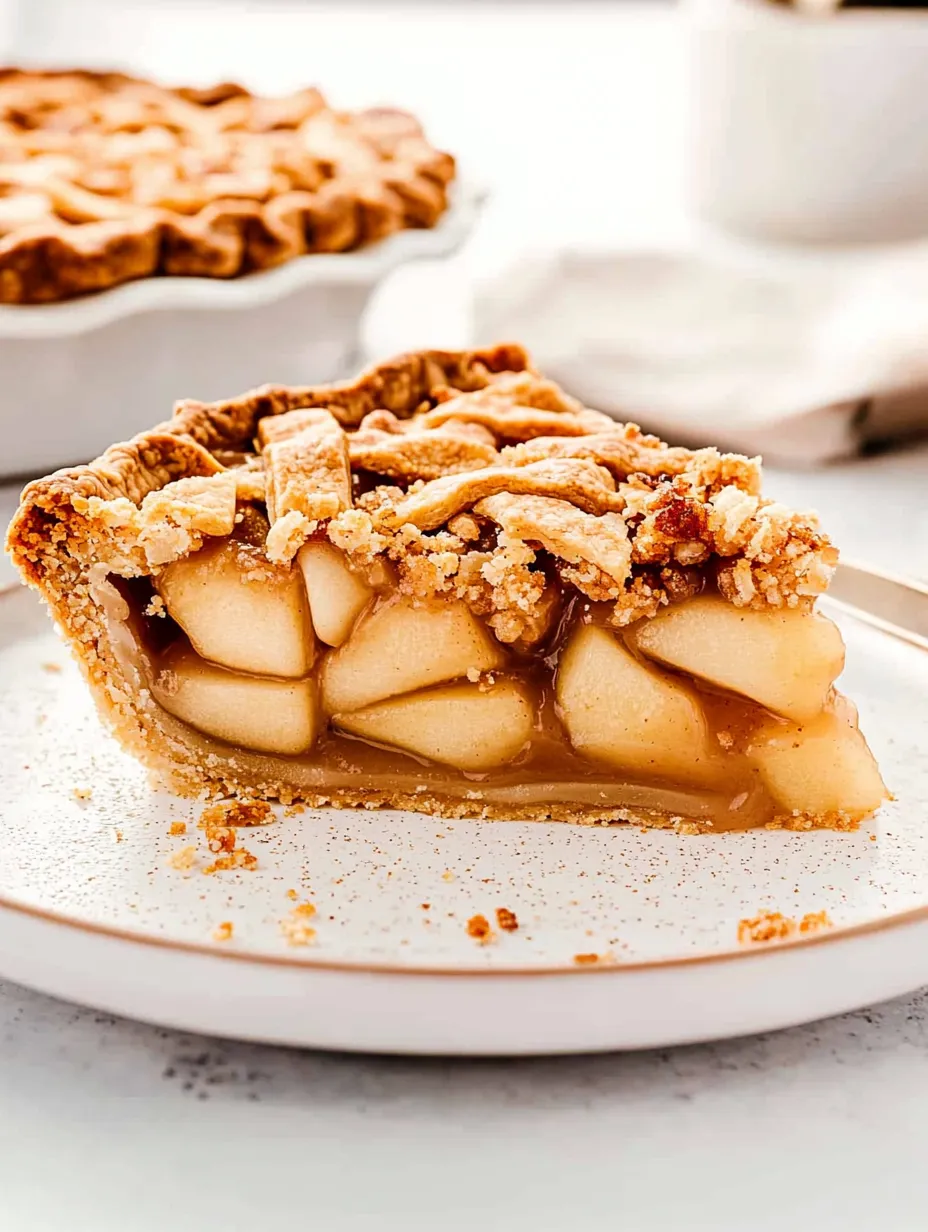
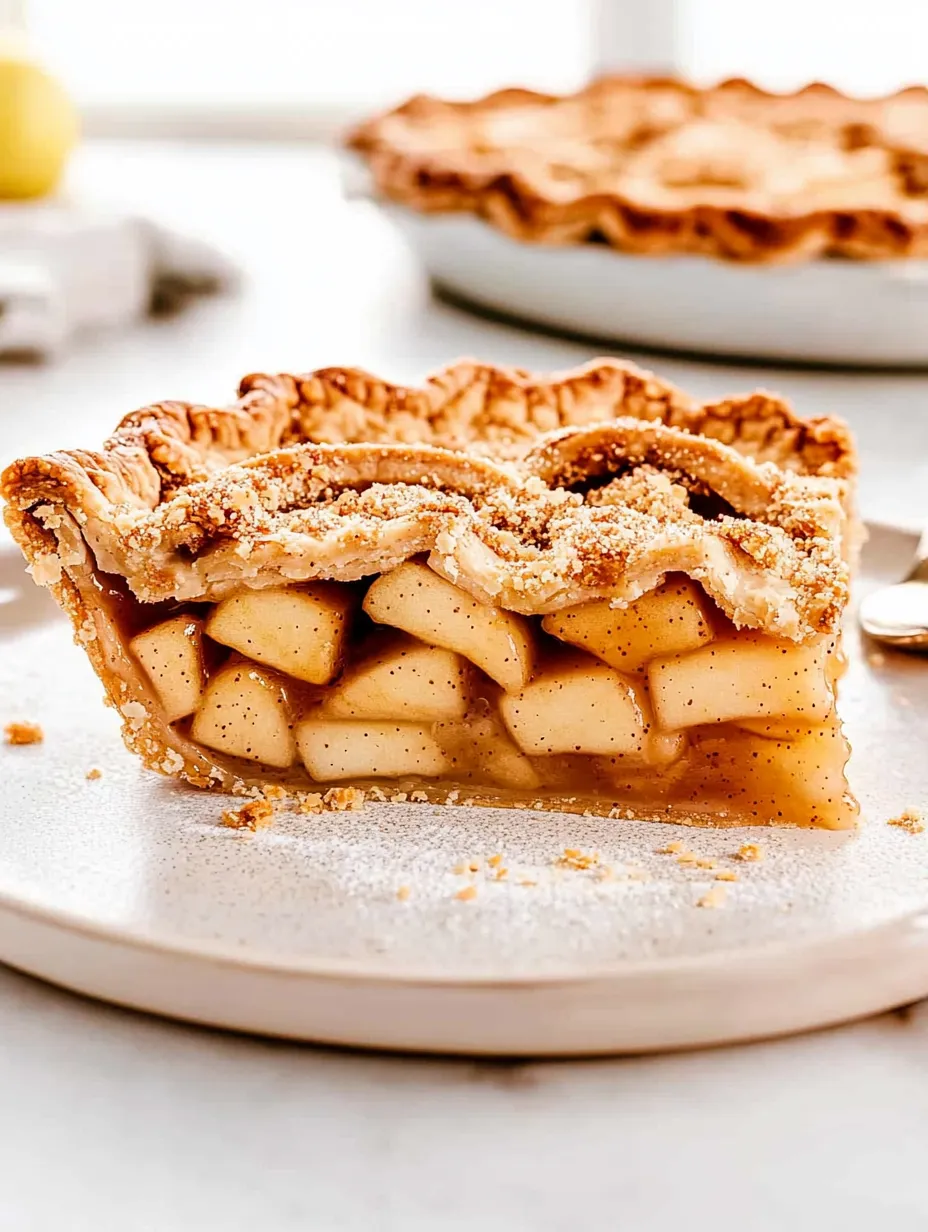
This healthy apple pie satisfies your sweet tooth without all the guilt. Made with a whole wheat crust and naturally sweetened with honey, it delivers all the warm, spicy flavors you crave in apple pie while being a bit kinder to your body.
I started experimenting with healthier baking after my husband was diagnosed with pre-diabetes three years ago. We both love desserts but needed versions that wouldn't spike blood sugar so dramatically. This pie was my third attempt after two disappointing tries. The moment my husband took his first bite, his eyes widened - "This tastes like REAL pie!" became the best compliment I could have hoped for. Now it's requested at every fall gathering.
Better Ingredients
- Whole wheat pastry flour: Creates a nutty, hearty crust that still maintains flakiness. Regular whole wheat flour works too, but pastry flour gives a more delicate texture.
- Honeycrisp apples: These firm, sweet-tart apples hold their shape during baking instead of turning to mush. The natural sweetness means you need less added sweetener.
- Raw honey: Adds complex sweetness without refined sugar. The subtle floral notes complement the apples beautifully.
- Real butter: I've tried healthier substitutes, but nothing beats butter for a truly flaky crust. Sometimes traditional ingredients are worth keeping.
- Warming spices: Cinnamon, ginger and nutmeg aren't just for flavor - they actually help regulate blood sugar when eating sweet foods.
My grandmother taught me to bake pies when I was nine years old, standing on a chair in her farmhouse kitchen. She always said the secret was cold butter and minimal handling. When developing this healthier version, I kept her techniques while updating the ingredients. She might raise an eyebrow at the whole wheat flour, but I think she'd approve of the final result.
Baking Method
- Cold ingredient strategy
- Keep everything as cold as possible when making the crust. I even put my flour in the freezer for 15 minutes before starting. Cold butter creates those perfect flaky pockets as it melts in the oven. I've been known to stick the whole food processor bowl in the fridge if my kitchen feels too warm.
- Minimal handling technique
- The less you work the dough, the more tender your crust will be. That's why I use plastic wrap to bring it together - it prevents the heat from your hands warming the butter. Press gently just until it holds together, then stop. Overworking develops gluten, creating a tough crust.
- Apple preparation
- Slice your apples uniformly for even cooking - about 1/4 inch thick works well. Some people prefer chunky pieces, but I find thinner slices create the perfect texture. Mix them with the honey and spices gently but thoroughly to ensure even distribution of flavors.
- Perfect streusel
- The streusel should look like wet sand that clumps when pressed together. If it's too dry, add a tiny bit more butter. If too wet, add a sprinkle more flour. I often squeeze some together in my hand to test the consistency - it should hold its shape when pressed but crumble apart easily.
- Temperature adjustment
- Starting with a hotter oven helps set the crust quickly, preventing sogginess. Lowering the temperature allows the filling to cook through without burning the top. Don't skip this step - it makes a huge difference in the final texture.
- Cooling patience
- Let the pie cool completely before cutting, at least two hours. This is probably the hardest part! The filling needs time to set, otherwise you'll have apple soup instead of pie. I've learned this lesson the hard way several times when impatience got the better of me.
My kids were skeptical about "healthy pie" until they tried it. Now they don't notice the difference and actually prefer the nuttier flavor of the whole wheat crust. My daughter's college roommate requested the recipe after trying it during a weekend visit. Even my father-in-law, who claims to hate "health food," helped himself to seconds last Thanksgiving without realizing it wasn't traditional pie.
Serving Ideas
This pie makes a beautiful centerpiece for fall dinners or holiday gatherings. I serve it slightly warm with a dollop of Greek yogurt instead of ice cream for everyday dessert. For special occasions, a small scoop of good vanilla ice cream creates the perfect contrast of warm and cold. During apple picking season, I often make individual versions in ramekins, which bake faster and create perfect portions. Sometimes I'll drizzle a little extra honey over the top just before serving for added sweetness.
Seasonal Twists
While classic apple is hard to beat, the basic formula works beautifully with seasonal variations. In summer, I substitute peaches or nectarines for a bright, juicy filling. Adding a handful of fresh cranberries to the apple mixture creates a beautiful ruby-studded Christmas version. My husband loves when I add a layer of thinly sliced pears among the apples for additional texture contrast. For Thanksgiving, I sometimes add a handful of fresh cranberries to the filling for bright pops of color and tartness.
Storage Know-How
This pie keeps beautifully in the refrigerator for up to four days, though it rarely lasts that long in our house. The whole wheat crust actually holds up better than white flour crusts, staying crisp instead of getting soggy. For longer storage, you can freeze the entire pie or individual slices tightly wrapped. Let thaw overnight in the refrigerator, then warm slightly in a 300-degree oven before serving. I often make two pies at once, slicing and freezing one for quick desserts on busy weeknights.
I've been refining this recipe for nearly five years now, tweaking spice amounts and testing different apples. What began as a health-conscious compromise has become our family's favorite dessert. There's something deeply satisfying about creating a treat that brings joy without the sugar crash afterward. My husband says it's like having your cake and eating it too - or in this case, having your pie and keeping your health goals intact. The beautiful thing is, nobody needs to know it's "healthy" unless you choose to tell them.
Common Recipe Questions
- → Can I use regular whole wheat flour instead of whole wheat pastry flour?
- Yes, you can use regular whole wheat flour, but the crust will be slightly denser and have a more pronounced wheat flavor. Whole wheat pastry flour is milled from soft wheat and produces a lighter, more tender crust while still providing whole grain benefits.
- → Why does the recipe call for vodka or vinegar in the crust?
- Both vodka and vinegar inhibit gluten formation, which helps create a flakier, more tender crust. Vodka provides moisture to help form the dough but evaporates during baking, while vinegar provides the acid needed to prevent the crust from becoming tough. Either option works well.
- → Can I use different types of apples?
- Absolutely! This recipe uses a combination of sweet Honeycrisp and tart Granny Smith for balanced flavor and texture. Other good options include Pink Lady, Braeburn, Jonagold, or Cortland. Mixing sweet and tart varieties generally gives the best flavor profile.
- → Can I make this pie ahead of time?
- Yes! You can prepare the dough up to 3 days ahead and keep it refrigerated. The entire pie can be baked 1-2 days in advance and stored at room temperature, covered loosely. You can also freeze the unbaked pie (without the egg wash) for up to 3 months, then bake directly from frozen, adding 15-20 minutes to the baking time.
- → How do I know when my pie is done baking?
- The pie is done when the crust is golden brown and the filling is bubbling noticeably through the vents or around the edges. If you have an instant-read thermometer, the internal temperature should reach about 175°F (80°C) in the center. If the top is browning too quickly but the filling isn't bubbling yet, cover it with foil and continue baking.