
 Save
Save
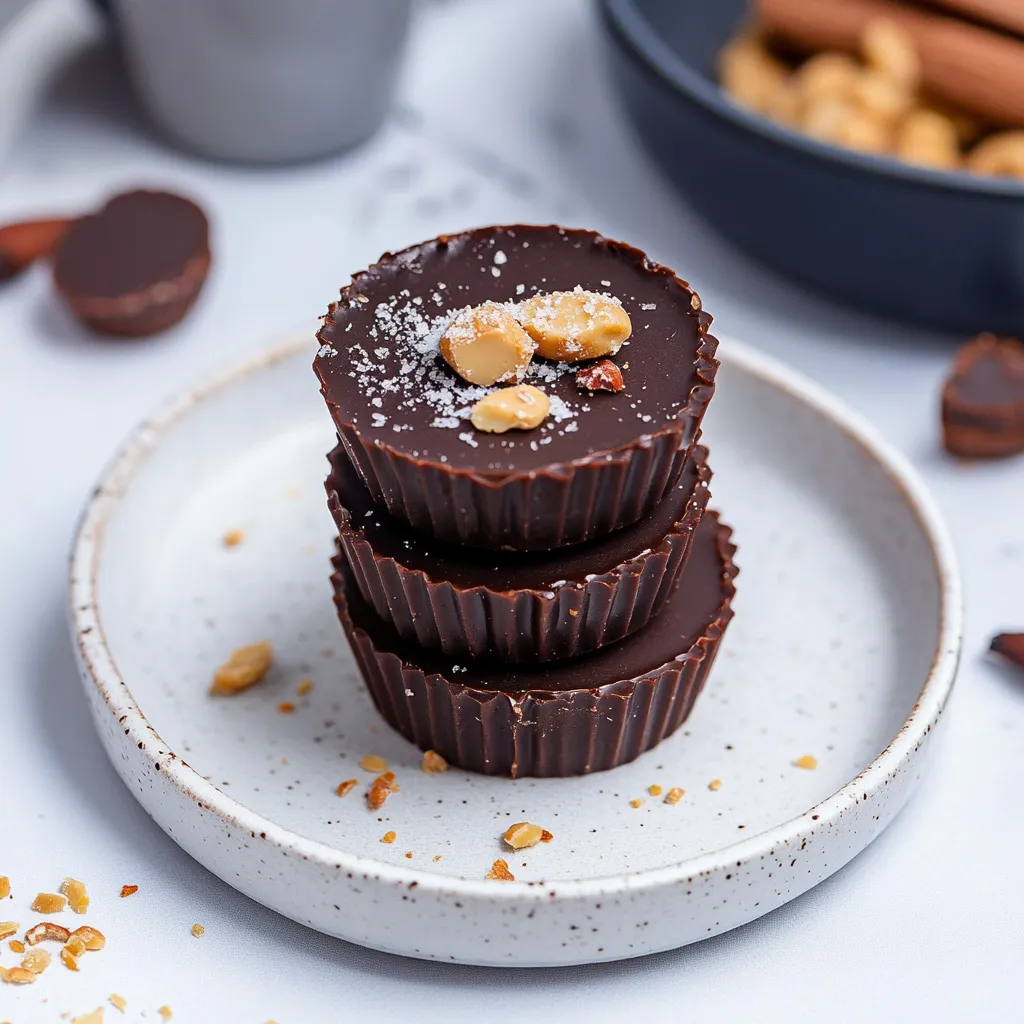
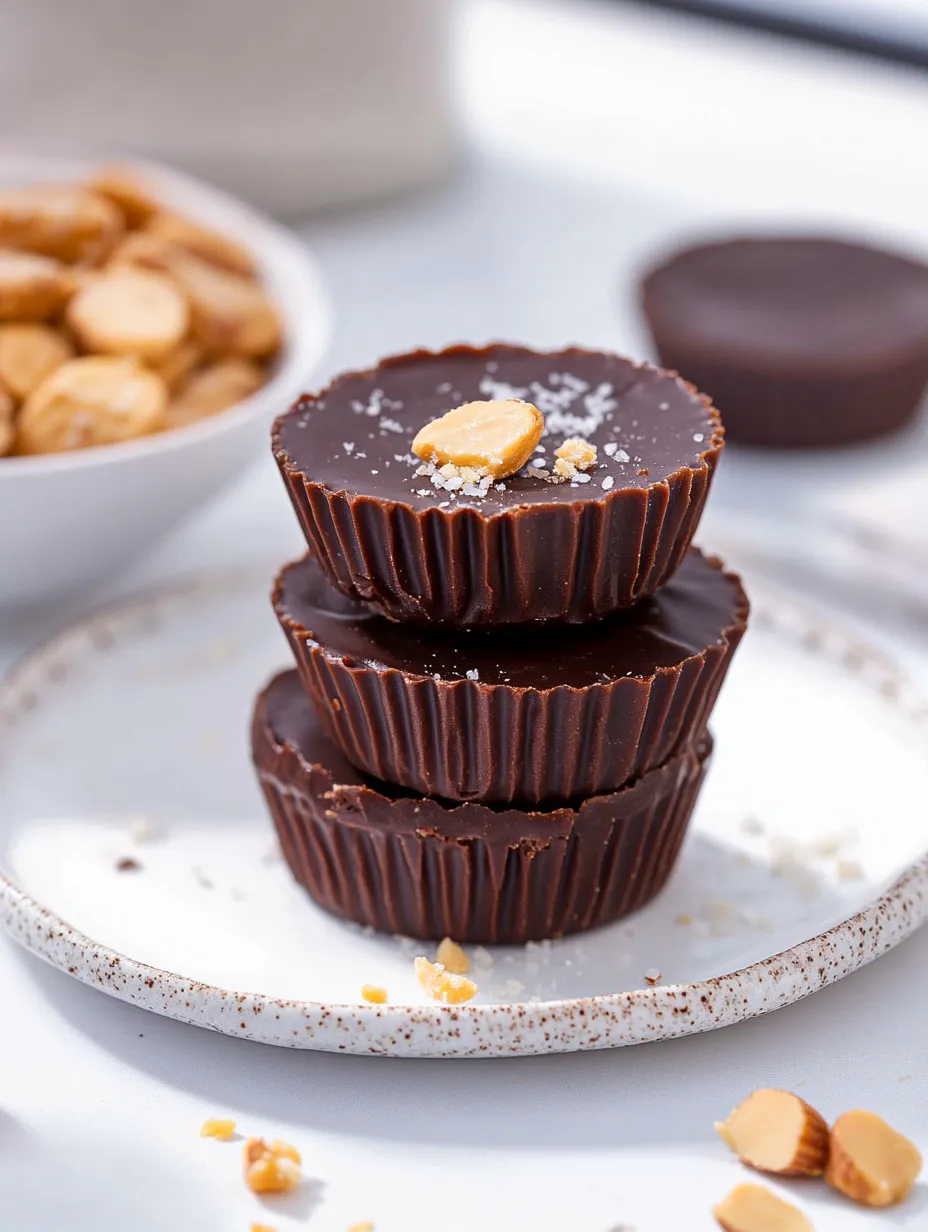
Healthy Peanut Butter Cups. Just writing those words makes my mouth water a little. This simple recipe transforms basic pantry staples - cocoa powder, coconut oil, maple syrup, and peanut butter - into something truly magical. These homemade treats honestly taste better than the store-bought version, and they happen to be gluten-free, dairy-free, and vegan to boot.
The Reese's peanut butter cup has been my downfall since childhood. Something about that particular combination of chocolate and peanut butter hits differently than any other candy. I've recreated traditional versions at home before, but sometimes I want that familiar comfort without the sugar crash afterward. These cups give me exactly that - all the satisfaction without the food guilt. My neighbor's kid can't have dairy, and seeing his face light up when I brought these over last week made my entire day.
Real Food Building Blocks
- Cocoa powder: Use regular for a classic flavor or dark for something richer and less sweet. Either way, you're getting pure chocolate goodness without additives.
- Natural sweetener: Maple syrup creates the perfect balance, but honey works great too if you're not keeping it vegan. Each brings its own subtle flavor notes.
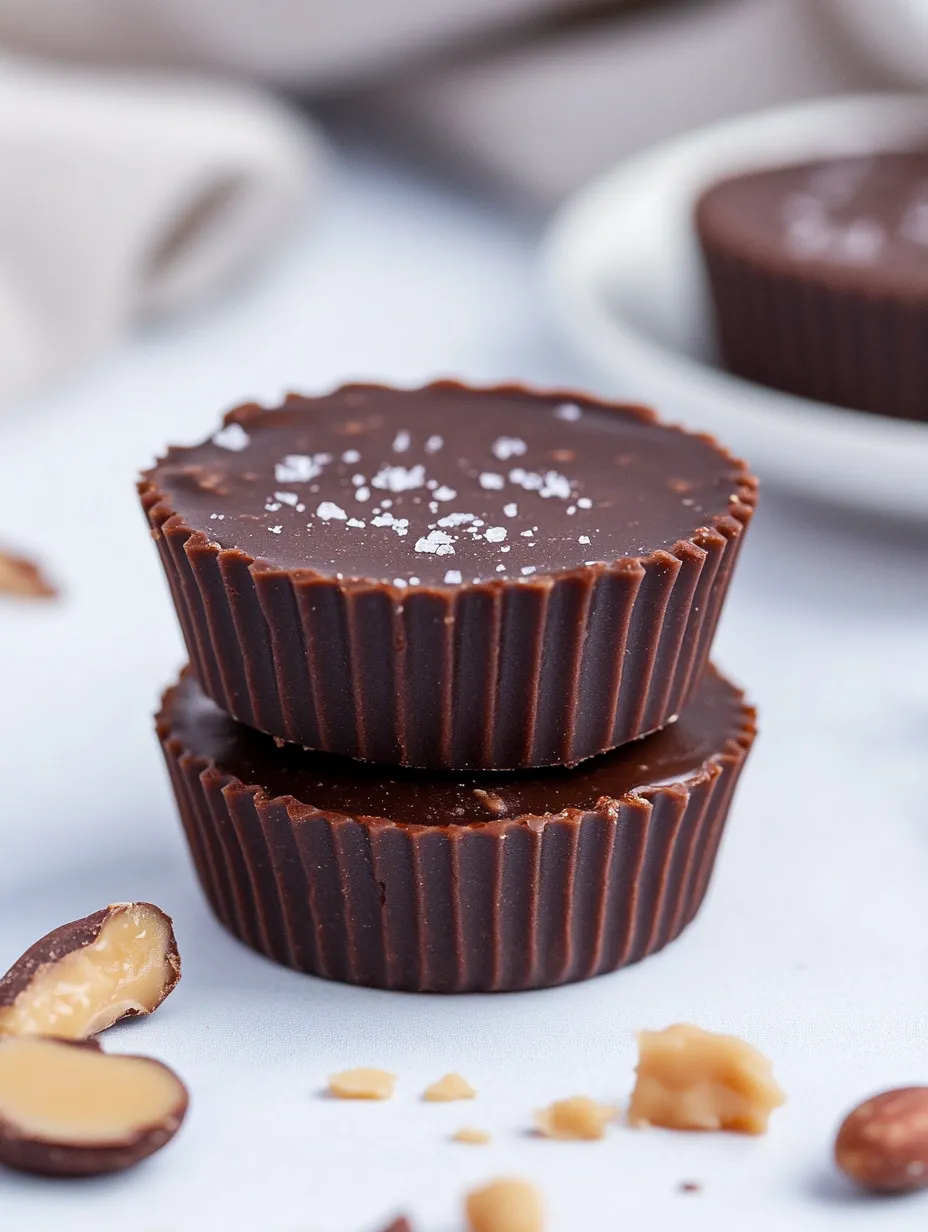
- Coconut oil: This gives the chocolate that perfect snap when you bite into it. Plus it adds a barely-there sweetness that complements everything else.
- Peanut butter: Creamy works best for texture, but choose your favorite. Just make sure natural versions are well-stirred before measuring.
- Salt: Don't skip this! It brings out sweetness and creates balance. That final sprinkle on top creates magic in your mouth.
I started experimenting with healthier desserts about five years ago when my sister found out she couldn't have gluten. Our family gatherings revolve around food, and watching her skip dessert made me determined to create treats everyone could enjoy. These cups were one of my earliest successes - even my dad, who typically scoffs at "health food," reaches for these without hesitation.
Cup Creation
- Peanut butter prep
- Always mix the peanut butter layer first - this is crucial! The chocolate mixture starts hardening quickly once combined. I've learned this the hard way, ending up with too-thick chocolate that wouldn't spread. Mix peanut butter with sweetener until completely smooth, which takes about 30 seconds of whisking.
- Temperature matters
- Room temperature ingredients blend much better than cold ones. I take my maple syrup out when I start gathering other ingredients. Cold sweetener creates tiny lumps in both mixtures that never fully incorporate. Nobody wants gritty peanut butter cups!
- Liner preparation
- Line your muffin tin before mixing anything. Once your chocolate is ready, you need to move quickly. Standard muffin liners work much better than mini ones - you just can't get proper layering in the smaller size. I've tried both and standard wins every time.
- Chocolate blending
- Combine cocoa powder, oil, maple syrup and salt with steady whisking. The mixture might look separated at first but keep going - it suddenly comes together beautifully. If your kitchen is cold, warming the coconut oil slightly helps everything blend more smoothly.
- Layer construction
- Work with some speed here because the chocolate starts setting up fast. Two teaspoons of chocolate for the base, spread flat. Then two teaspoons of peanut butter, carefully pressed toward the edges. Finally, top with two more teaspoons of chocolate, gently smoothing the surface. Don't worry if it's not perfect - they taste amazing regardless.
- Patience period
- The hardest part honestly isn't making these - it's waiting for them to set up properly. Two hours minimum in the fridge, though overnight works great too. I've definitely snuck one early and regretted the messy results. They're worth waiting for, I promise.
My teenage son and his friends demolished a batch of these last weekend after basketball practice. I caught them checking the ingredient list on the counter afterward, seemingly confused that something this good could be made without all the usual junk. My daughter now requests these instead of birthday cake every year, topped with a single candle. The recipe has become such a staple that I keep the ingredients on hand constantly.
Customization Corner
These peanut butter cups welcome endless variations. Sometimes I use crunchy peanut butter for added texture. Swapping in almond butter creates a slightly more sophisticated flavor profile perfect for dinner parties. Adding a tiny pinch of cinnamon to the chocolate mixture gives a Mexican chocolate vibe that pairs beautifully with after-dinner coffee. During the holidays, I've pressed tiny pieces of candy cane into the top for a festive peppermint twist.
Worth Sharing
These treats make excellent homemade gifts. I've packed them in small boxes lined with parchment paper for teacher appreciation week. They travel surprisingly well in cooler weather - just keep them away from direct heat or sunlight. For bake sales, I place each cup in a mini cupcake liner inside a standard liner for extra protection and visual appeal. People always seem impressed when I mention they're made without refined sugar or dairy.
Ingredient Swaps
If peanut allergies are a concern, sunflower seed butter makes a surprisingly good substitute. The flavor profile shifts slightly but remains delicious. Almond butter creates a more subtle, sophisticated version that some of my friends actually prefer. For extra indulgence, try stirring mini chocolate chips into the peanut butter layer. Those with a serious sweet tooth might prefer adding a touch more maple syrup to the chocolate mixture, though I find the recipe perfect as written.
Storage Solutions
These cups definitely need refrigeration - they get soft quickly at room temperature because of the coconut oil. Store them in a container with tight-fitting lid for freshness. I like to keep the paper liners on until serving to prevent any sticking. For freezing, I place them in a single layer inside a container with parchment between layers if stacking is necessary. They thaw perfectly in about 20 minutes in the refrigerator.
I've made these healthy peanut butter cups dozens of times over the years, tweaking the recipe slightly each time until reaching this perfect version. What started as a dietary necessity has become a family favorite. There's something deeply satisfying about creating a healthier version of a classic treat that genuinely tastes better than the original. The fact that they disappear faster than traditional candy whenever I serve them tells me everything I need to know. Sometimes better ingredients really do make better food.
Common Recipe Questions
- → Can I use a different nut butter instead of peanut butter?
- Absolutely! Almond butter, cashew butter, or sunflower seed butter (for a nut-free option) all work well in this recipe. Each will give a slightly different flavor profile, but the texture and assembly will remain the same.
- → Why is my chocolate mixture separating?
- If your maple syrup is cold from the refrigerator, it can cause the coconut oil to solidify and separate. Make sure your maple syrup is at room temperature before mixing, and whisk quickly to emulsify the ingredients properly.
- → Do these need to be stored in the refrigerator?
- Yes, it's best to store these in the refrigerator because the coconut oil softens at room temperature. They can be kept at room temperature for a few hours during serving, but for longer storage, keep them chilled to maintain their shape and texture.
- → How can I make these less sweet?
- You can reduce the maple syrup to 1/3 cup in the chocolate mixture and 2 tablespoons in the peanut butter filling. Using a darker cocoa powder will also give a more intense, less sweet chocolate flavor. You could also add a pinch more salt to balance the sweetness.
- → Can I use honey instead of maple syrup?
- Yes, honey can be substituted for maple syrup in equal amounts. Keep in mind that honey has a distinct flavor that will come through in the final product, and the recipe will no longer be vegan if that's important to you.