
 Save
Save
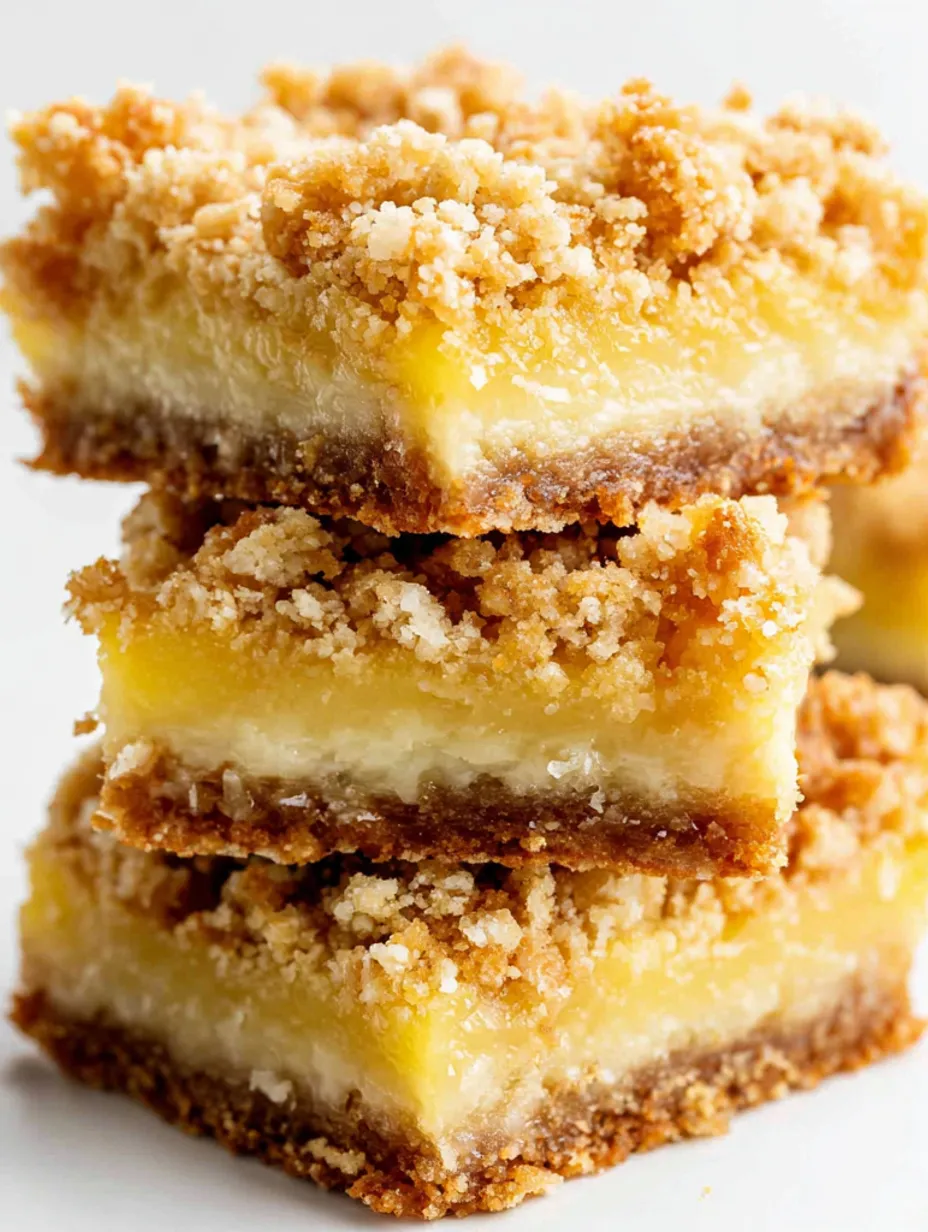
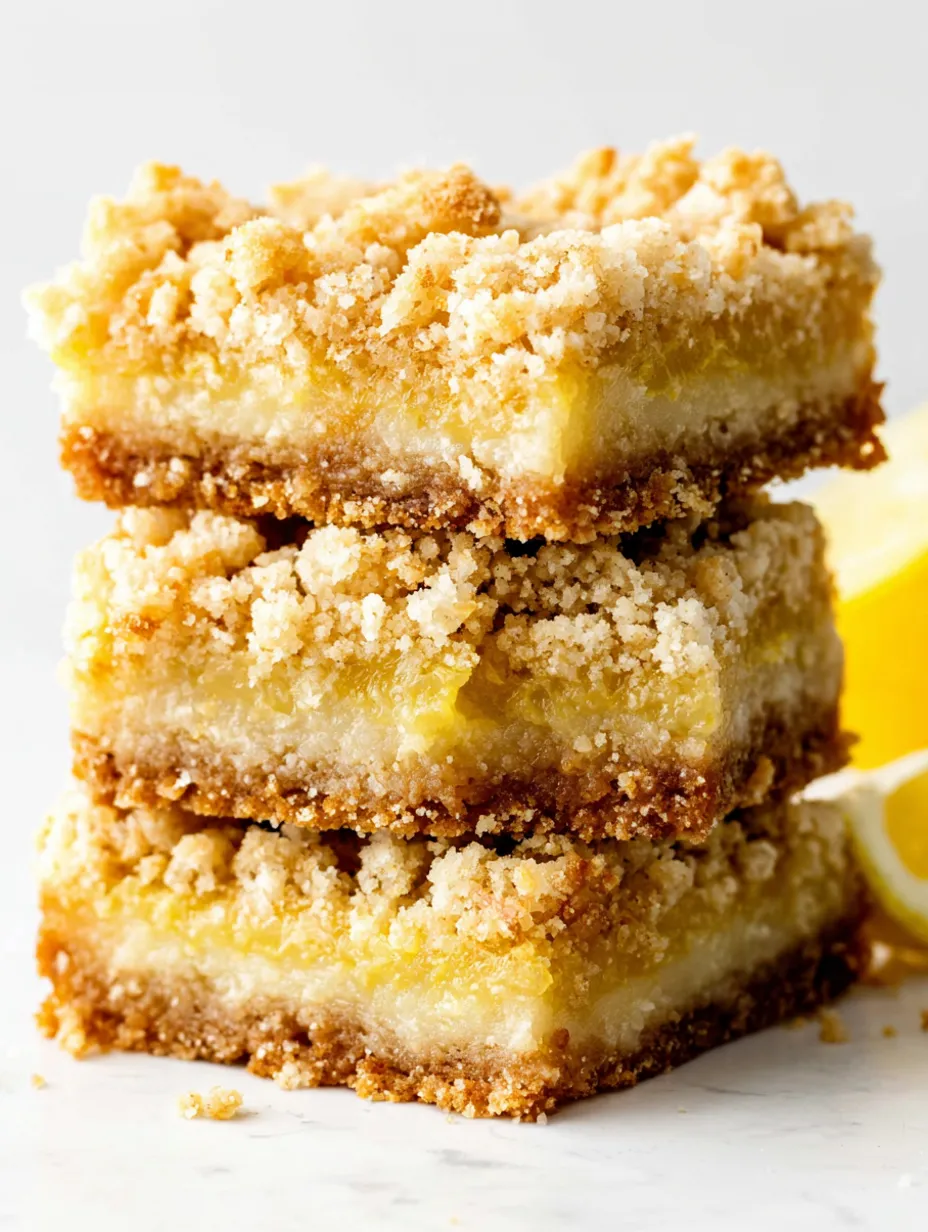
These Lemon Crumb Bars bring the perfect combination of bright citrus flavor and sweet oatmeal crumble in every bite. Whenever I need a crowd-pleasing treat for picnics or bake sales, these bars vanish faster than I can set them out. That first tart-sweet bite with the chew of the oat crust always reminds me of lazy summer afternoons with my sisters.
The first time I made these, I was looking for a dessert that felt bright during the long winter months. Now my friends request a batch anytime we get together in spring or summer. That lemon aroma when you lift the foil on the pan is so cheerful.
Ingredients
- Quick-cooking oats: give a chewy texture and bond the crust with the buttery base. Choose oats that are fresh and not dusty for the best flavor
- All-purpose flour: gives the bars structure and holds the layers together. Sift the flour to avoid any lumps
- Light brown sugar: adds a caramel depth that balances the tang of the lemon. Choose soft brown sugar stored in an airtight container so it is never dry
- Baking soda and baking powder: help the crust and crumble rise just enough for tender bars. Check the expiration date for freshness
- Unsalted butter: provides richness and makes the crumbs golden. Use high-quality butter and melt gently so it blends smoothly
- Sweetened condensed milk: gives the filling a creamy decadent texture and sweetness. Always select full-fat condensed milk for the best result
- Freshly squeezed lemon juice: gives the unmistakable zing. Choose juicy lemons with smooth skin and a bright aroma
- Large egg yolks: help set the filling while enriching the taste. Look for bright yellow yolks from pasture-raised eggs if possible
- Lemon zest: adds potent citrus notes you can never achieve with juice alone. Use a microplane for fine zest, avoiding the bitter white pith
- Kosher salt: sharpens flavors and tempers sweetness. Flake kosher is my go-to here
Step-by-Step Instructions
- Prepare the Pan:
- Line a nine by nine inch baking pan with parchment paper. Make sure it hangs slightly over the edges to allow you to lift the bars out easily for clean cutting
- Mix the Oat Crust:
- In a large bowl combine the oats flour brown sugar baking soda and baking powder. Pour in the melted butter and gently toss together with a fork or fingertips until the mixture forms small moist crumbs. Avoid overmixing since this keeps both crumbly and tender texture
- Divide the Mixture:
- Scoop out half of the oat mixture and set aside. This reserved batch will make the golden crumb topping so keep it loosely piled so it stays light
- Form the Crust:
- Pour the remaining oat mixture into your lined pan. Press it firmly and evenly into the base with your hands or a measuring cup. Firm packing helps the finished bars slice and hold together
- Bake the Crust:
- Bake the pressed crust at three hundred fifty degrees Fahrenheit for twelve to fifteen minutes. It should take on a light golden tone and smell nutty. Let cool while you move ahead with the filling
- Mix the Lemon Filling:
- In a clean bowl whisk together the sweetened condensed milk lemon juice egg yolks lemon zest and salt until completely smooth and creamy. This mixture should look custardy and pale
- Fill and Top:
- Pour your lemon filling over the slightly cooled crust. Use a spatula to spread in an even layer so no bare spots remain. Sprinkle the reserved oat crumb evenly on top for a thick textured covering
- Bake Again:
- Place the pan back in the oven for another twenty to twenty five minutes. The edges will turn golden and the center will just be set when gently jiggled
- Cool and Chill:
- Once baked set the pan on a rack until it comes to room temperature. Move to the fridge for at least an hour so the filling can firm up completely before slicing into squares
I always linger at the lemon stand at our farmers market just to choose extra fragrant fruit for these bars. My youngest once helped zest and got giggling at the curly yellow strips everywhere which is my favorite little memory anytime I make these.
Storage Tips
Refrigerate any leftover bars in an airtight container for up to a week. For longer storage arrange in a single layer or between parchment sheets in a freezer bag and freeze for up to two months. Defrost overnight in the fridge then serve chilled or at room temperature fresh as the day they were made.
Ingredient Substitutions
Try using gluten free all-purpose flour to make these bars celiac friendly. For a different flavor profile swap half of the lemon juice for lime or orange. If you do not have quick oats on hand regular rolled oats work as long as you give them a gentle pulse in the food processor first.
Serving Suggestions
Dust chilled squares with a little powdered sugar for a pretty finish right before serving. I think these bars pair especially well with fresh berries or alongside a scoop of vanilla ice cream as a plated dessert.
Cultural Notes
Lemon bars like these have roots in classic American home baking and bring together the love of tart citrus with easy bar cookie formats. They are a staple for tea times and bakesales from coast to coast.
Common Recipe Questions
- → How can I achieve a balanced crumb texture?
Ensure the oat mixture is combined just until crumbly and avoid overmixing. Press the base firmly into the pan and lightly sprinkle the topping for variation in texture.
- → Can I substitute fresh lemon juice?
Freshly squeezed lemon juice provides the brightest flavor, but bottled juice can work in a pinch. Adjust zest to taste for extra brightness.
- → What prevents sogginess in the bars?
Baking the crust before adding the filling creates a barrier, so the bottom layer remains crisp. Chilling the bars also helps set the layers.
- → How should the bars be stored?
Store in an airtight container in the refrigerator for up to 5 days. Bring to room temperature before serving for best texture.
- → Can these bars be frozen?
Yes, once fully cooled, slice and wrap individually. Freeze for up to one month. Thaw in the refrigerator before serving.