 Save
Save
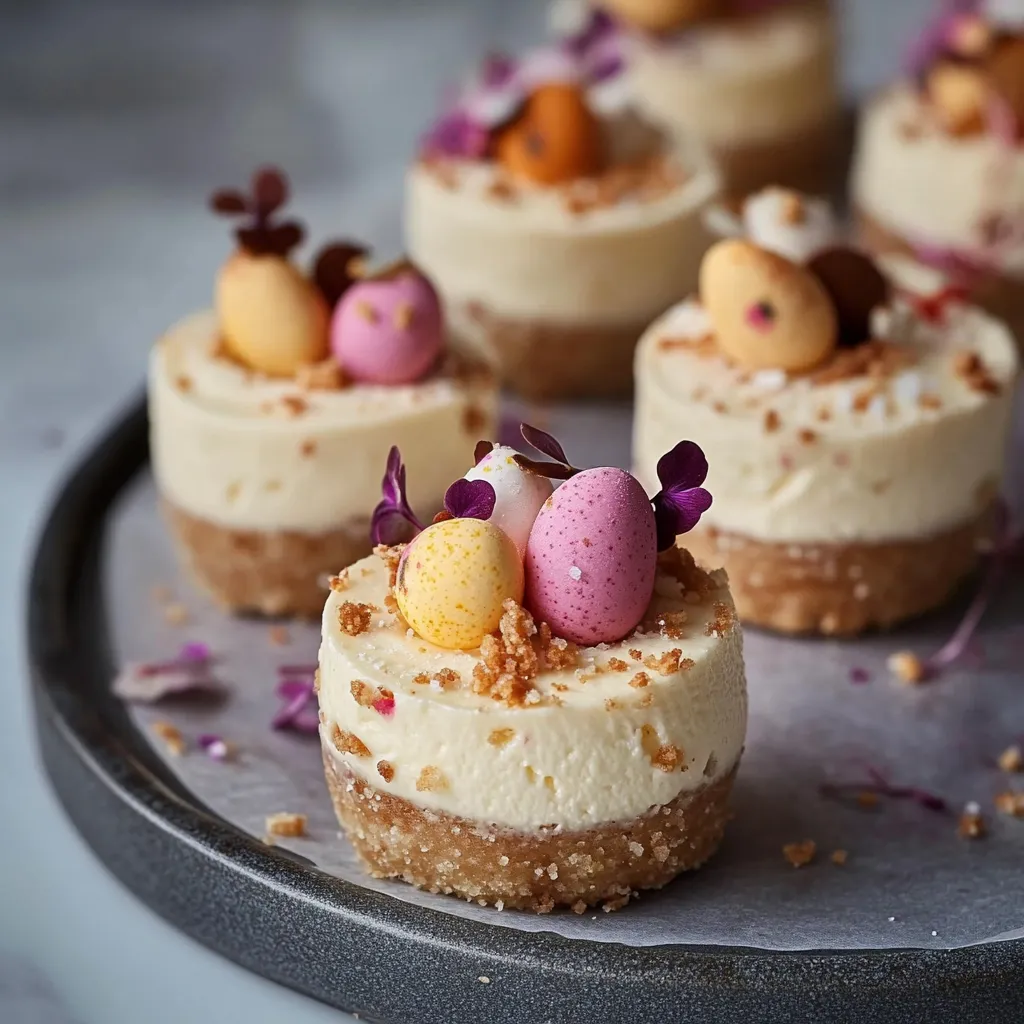
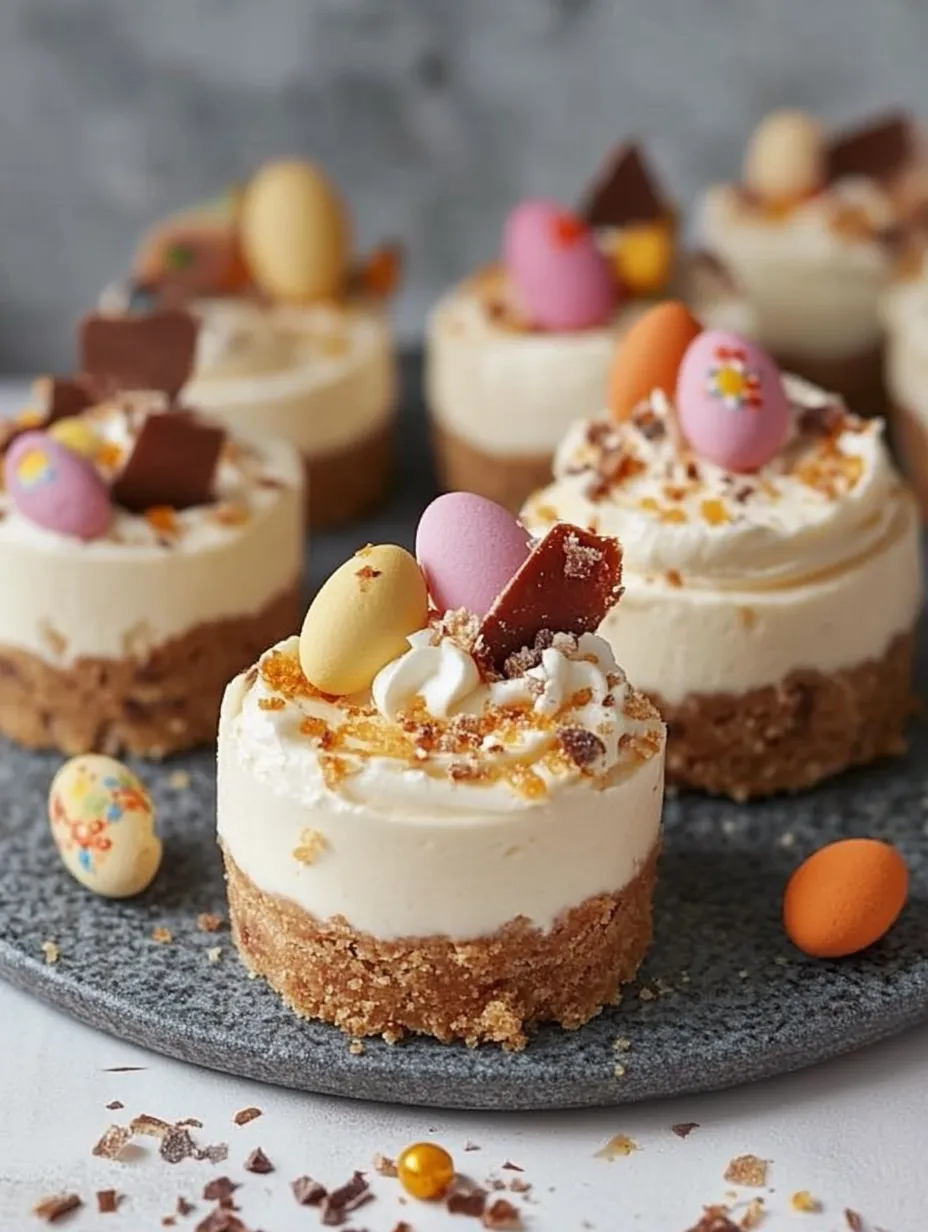
These adorable mini Easter cheesecakes combine the perfect balance of creamy vanilla filling with festive Easter chocolates. The no-bake recipe makes them perfect for busy holiday preparations when you want something special without spending hours in the kitchen. Every bite delivers a delightful combination of crunchy biscuit base, smooth cheesecake, and those beloved Easter treats we all look forward to each spring.
I first made these for an Easter brunch when I was running short on time, and they've become our go-to Easter dessert tradition. My nephew always tries to count how many chocolate pieces are in each one before devouring it whole.
Ingredients
- Digestive biscuits: Provide the perfect crumbly base with their subtle sweetness
- Unsalted butter: Binds the base together and adds richness
- Full fat cream cheese or mascarpone: Creates that signature creamy texture always choose full fat for proper setting
- Icing sugar: Sweetens without graininess; look for one without anticaking agents for smoothest results
- Vanilla extract: Enhances all the flavors; quality pure extract makes a noticeable difference
- Double cream: Whips up to create the perfect light yet stable texture
- Easter chocolates: Bring the festive element; choose your favorites for customization
- Sprinkles: Add a pop of color and fun; select spring colors for maximum Easter appeal
Step-by-Step Instructions
- Prepare the Biscuit Base:
- Blitz digestive biscuits in a food processor until they form fine crumbs ensuring no large pieces remain. Pour in the melted butter and mix thoroughly until every crumb is coated and the mixture resembles wet sand. If it feels too dry it won't hold together properly. Divide the mixture between 12 mini cake molds, pressing down firmly with the back of a spoon to create a compact even layer.
- Make the Cheesecake Filling:
- Whisk the cream cheese, icing sugar, and vanilla extract in a large bowl until completely smooth with no lumps which takes about 2 minutes of whisking. In a separate bowl, whip the double cream to stiff peaks where it holds its shape when you lift the whisk. Gently fold the whipped cream into the cream cheese mixture using a figure eight motion to maintain airiness, or alternatively combine everything in one bowl and whip until thick and holding soft peaks.
- Incorporate the Easter Chocolates:
- Crush your chosen Easter chocolates into small pieces but not powder leaving some recognizable chunks for texture and visual appeal. Gently fold these crushed chocolates through the cheesecake mixture distributing them evenly without overmixing which would deflate your mixture.
- Assemble and Set:
- Carefully spoon or pipe the cheesecake mixture over each biscuit base, dividing equally between all 12 molds. Smooth the tops with the back of a spoon or small offset spatula. Refrigerate for at least 4 hours or freeze for 2-3 hours until completely set and firm to the touch.
- Decorate for Easter:
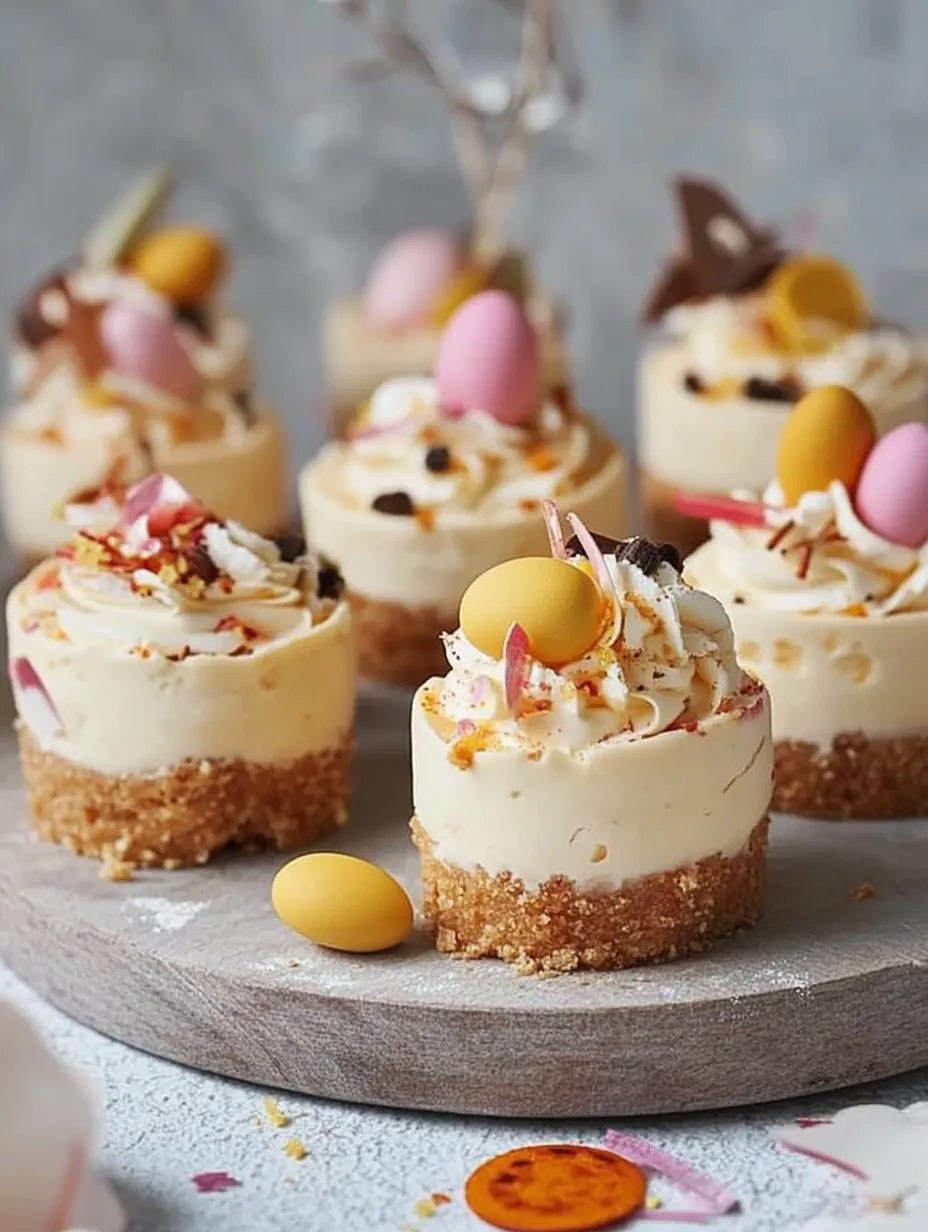
- Whip the additional double cream with icing sugar until it holds firm peaks. Transfer to a piping bag fitted with a star nozzle and pipe decorative swirls on top of each set cheesecake. Add sprinkles, grated chocolate, and whole Easter chocolates to create a festive appearance, arranging them carefully for maximum visual impact.

The mini format of these cheesecakes came about when I was hosting a large Easter gathering and wanted everyone to have their own special dessert. The delight on my guests faces when they discovered their own personal cheesecake topped with their favorite Easter chocolates made all the preparation worthwhile.
Make Ahead Magic
These cheesecakes are perfect for preparing in advance, which is especially helpful during busy holiday periods. Make them up to three days before your celebration and store covered in the refrigerator. I recommend adding the final decorations just a few hours before serving for the freshest appearance. The biscuit base actually improves with a day of resting as it softens slightly while still maintaining its structure.
Chocolate Choices Matter
The beauty of this recipe is its adaptability to whatever Easter chocolates you prefer. Mini eggs provide colorful pops and satisfying crunch, while chocolate bunnies chopped into pieces add whimsy. Creme eggs create pockets of gooey sweetness throughout the cheesecake. For a more sophisticated version, high quality dark chocolate eggs or truffles work beautifully. My family tradition involves everyone bringing their favorite Easter chocolate to contribute to our annual batch.
Serving Suggestions
These mini cheesecakes shine as the centerpiece of an Easter dessert table. Create a stunning display by placing them on cake stands of varying heights. For a special touch, nestle each cheesecake in a small nest of colored shredded paper. They pair wonderfully with fresh berries on the side to cut through the richness. A light dusting of cocoa powder or edible luster dust just before serving adds an elegant finishing touch that elevates the whole presentation.

Common Recipe Questions
- → Can I use a different type of biscuit for the base?
Yes, you can use any type of biscuit you prefer, such as graham crackers or shortbread, to create the base.
- → How long do these take to set in the fridge?
The cheesecakes should set in the fridge for at least 4 hours to achieve the right consistency.
- → What kinds of Easter chocolates work best?
You can use a variety of Easter-themed chocolates like mini eggs, chocolate bunnies, or any of your favorites.
- → Can I make this dessert ahead of time?
Yes! These cheesecakes can be stored in the fridge for up to 3 days, making them a perfect make-ahead dessert.
- → How do I remove the cheesecakes from the mini cake tin?
Carefully loosen the edges with a knife and gently push from the bottom of the tin to release the cheesecakes.
- → Can I freeze the cheesecakes?
Yes, you can freeze them for up to 2-3 months. Wrap each cheesecake individually to maintain freshness.
