 Save
Save
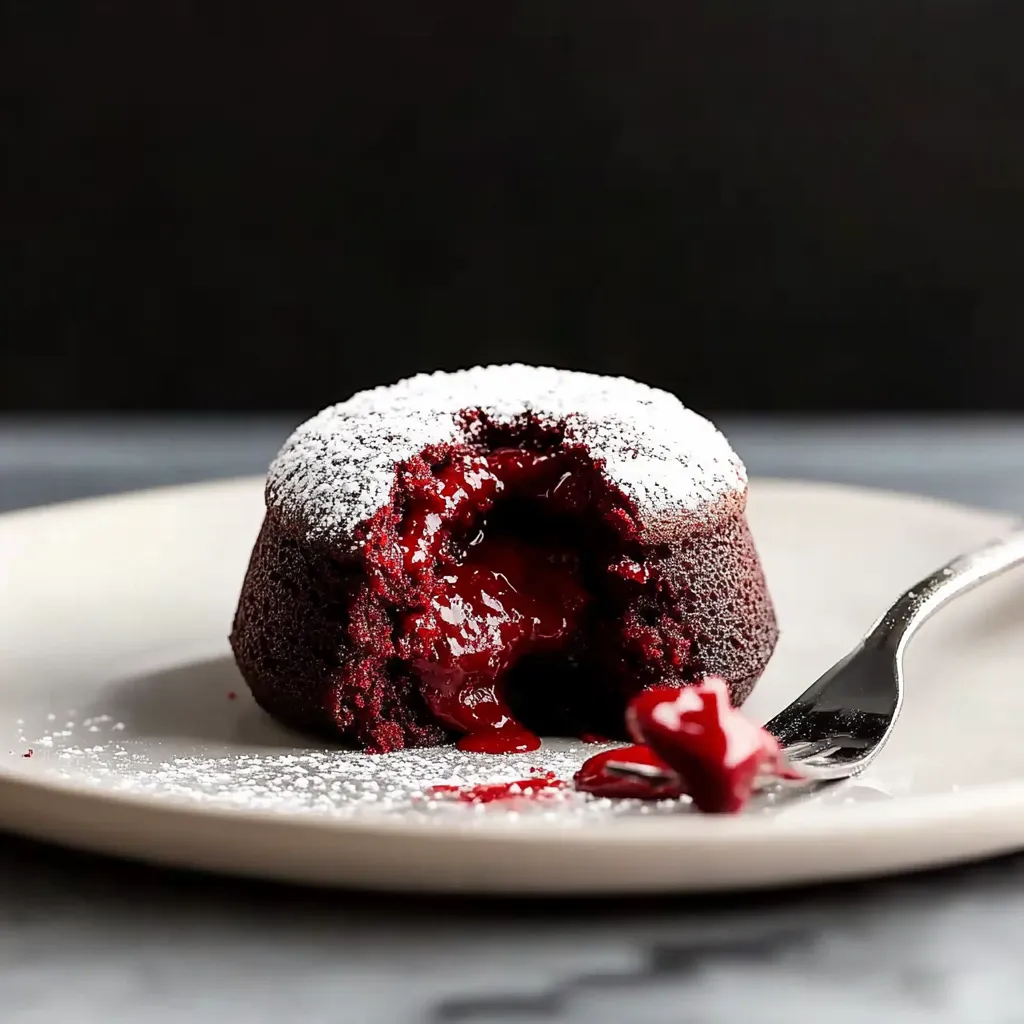
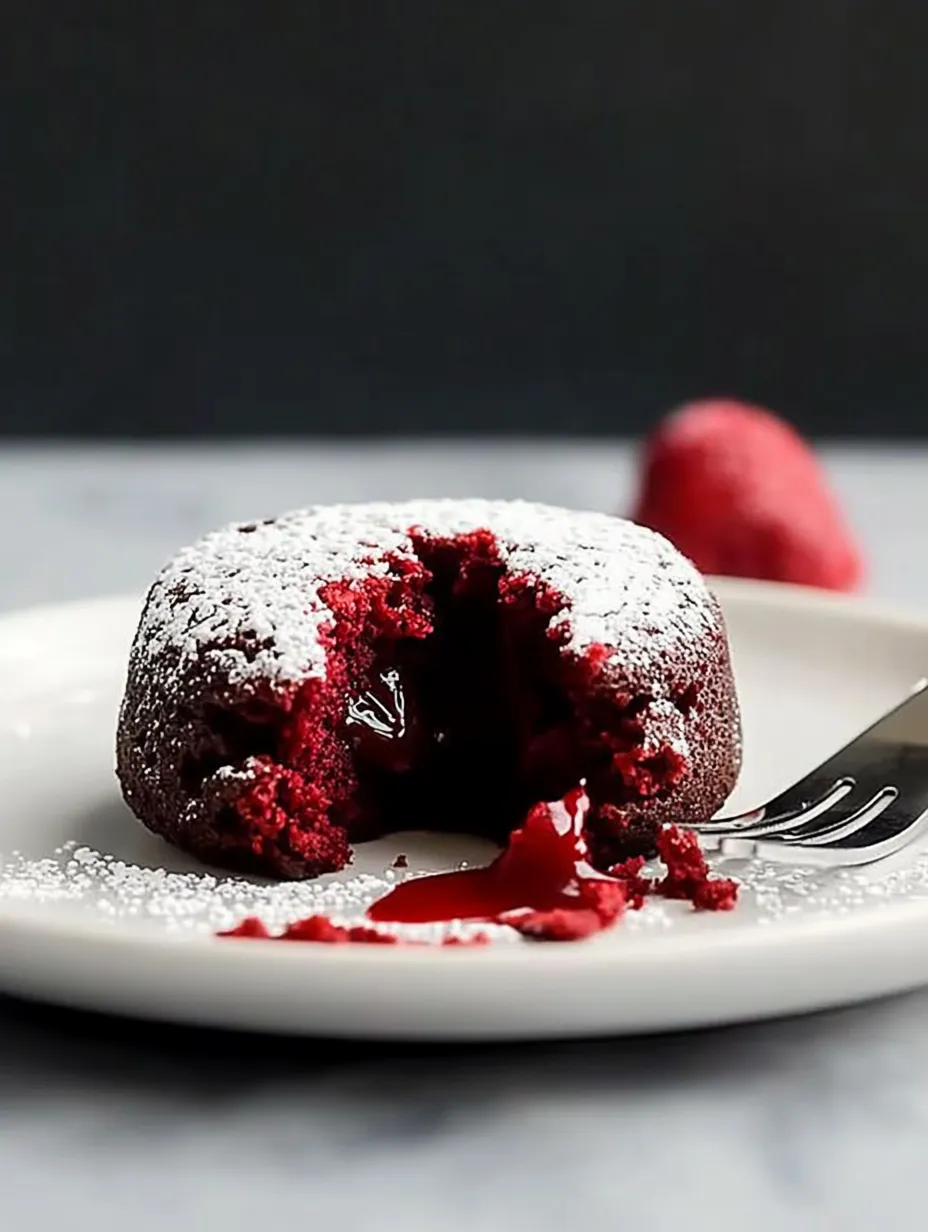
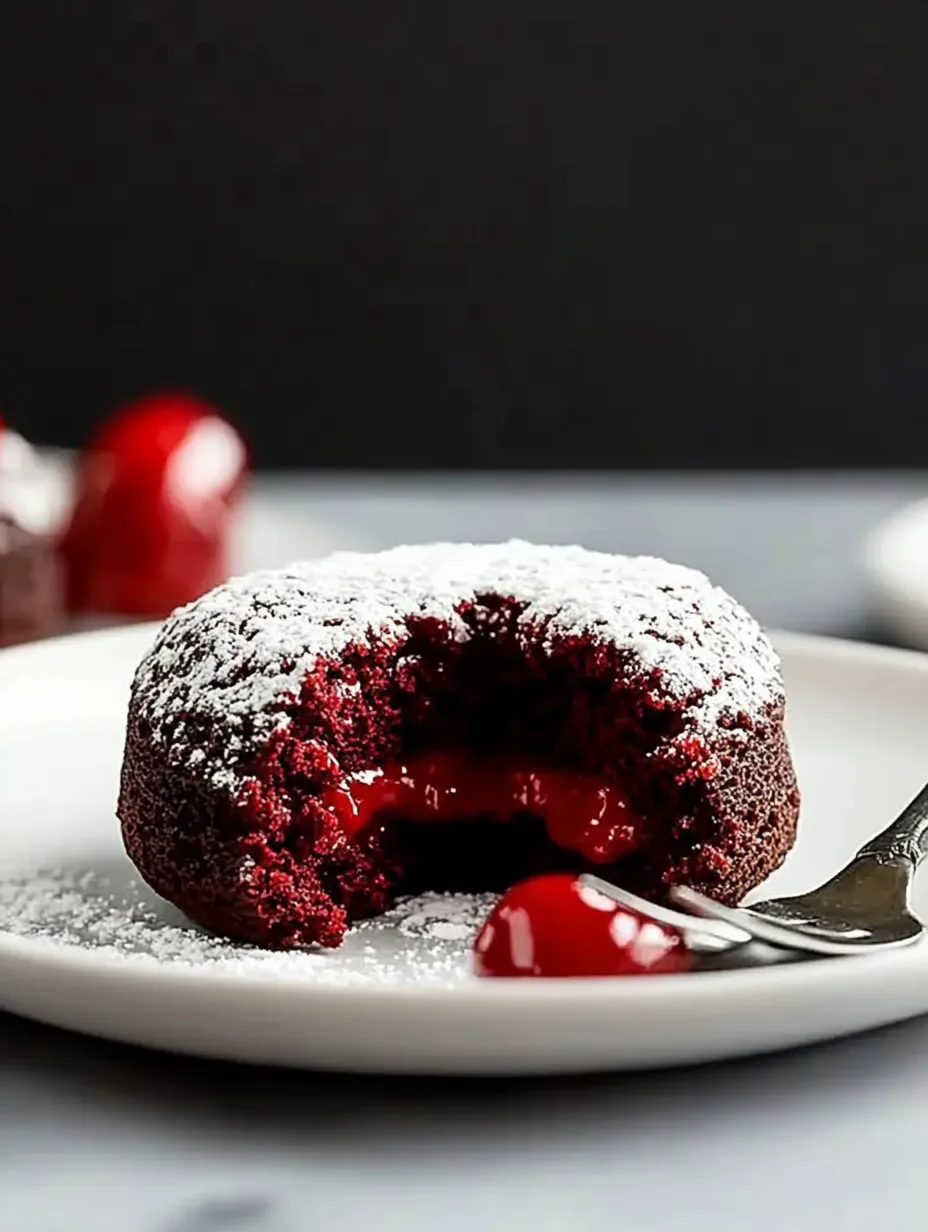
These individual molten cakes are what happens when red velvet meets chocolate lava cake in the most romantic way possible. After plenty of testing (and happy taste-testers), I found the perfect balance between that classic red velvet flavor and a gooey chocolate center that flows like love at first bite.
First time I made these for Valentine's Day, my husband's eyes lit up when that chocolate center flowed out. Now they're our February 14th tradition.
Essential Elements
- Good chocolate: For the molten center
- Heavy cream: Makes it rich
- Cake flour: For tenderness
- Red food coloring: For drama
- Buttermilk: Classic red velvet
- Fresh cream cheese: For topping
- Real vanilla: No imitation
- Apple cider vinegar: The secret touch
- Room temp eggs: For perfect rise

Creating Molten Magic
- Chocolate Start:
- Begin with making that gooey center - melting chocolate with cream until it's silky smooth. This needs time to chill, so I usually do it the day before. You want it firm enough to scoop into little balls that'll become molten magic.
- Cake Dreams:
- Mix your dry ingredients first, sifting to prevent lumps. The wet ingredients get their own bowl - this is where the magic red color happens. When you combine them, mix just until they're friends. Overmixing makes tough cakes.
- Assembly Time:
- Butter those ramekins really well and dust with cocoa powder - this helps the cakes release perfectly. Fill with batter, then comes the fun part - pushing those chocolate balls right into the center. They'll sink as they bake.
- Whipped Cloud:
- While cakes bake, whip up that cream cheese topping. It should be soft and billowy, like little clouds waiting to crown your cakes.
My first try, I waited too long to flip them and they stuck. Now I know that quick action makes perfect lava cakes.
Perfect Presentation
These little cakes need to make an entrance. I love serving them on warmed plates - helps keep that center flowing longer. A dusting of powdered sugar makes them look like they're touched with snow. The cream cheese whipped cream should go on right at the last second, maybe with a fresh raspberry on top. For extra drama, bring them to the table and let your guests break into that gooey center themselves.
Sweet Variations
Over time, I've played with different versions. Sometimes I'll use dark chocolate for a more intense center. White chocolate works too, creating a beautiful contrast when it flows. My daughter loves when I add a tiny bit of peppermint extract to the chocolate center. For grown-up dinners, a splash of Kahlua in the batter makes them extra special.
Timing Tips
Success with these cakes is all about timing. You can prep everything ahead - make the chocolate centers and batter the day before, but keep the batter at room temperature before baking. They need exactly 18 minutes in the oven - set a timer and trust it. Don't try to keep them warm - these beauties want to be eaten right away.

You know what makes these cakes magic? They're like little chocolate love letters - when that center flows out, it's impossible not to smile. Whether it's Valentine's Day or just a Tuesday you want to make special, these never fail to create a moment. Sometimes the best desserts are the ones that make memories while they melt.
Common Recipe Questions
- → Can I make these ahead?
- Prep chocolate centers day before, bake cakes just before serving.
- → Why do they need vinegar?
- Helps activate baking soda and enhance red color.
- → Can I use muffin tins?
- Ramekins work best for proper molten center.
- → How do I know they're done?
- Centers should spring back when lightly pressed.
- → Why serve immediately?
- Centers will continue cooking if left to sit.
