 Save
Save
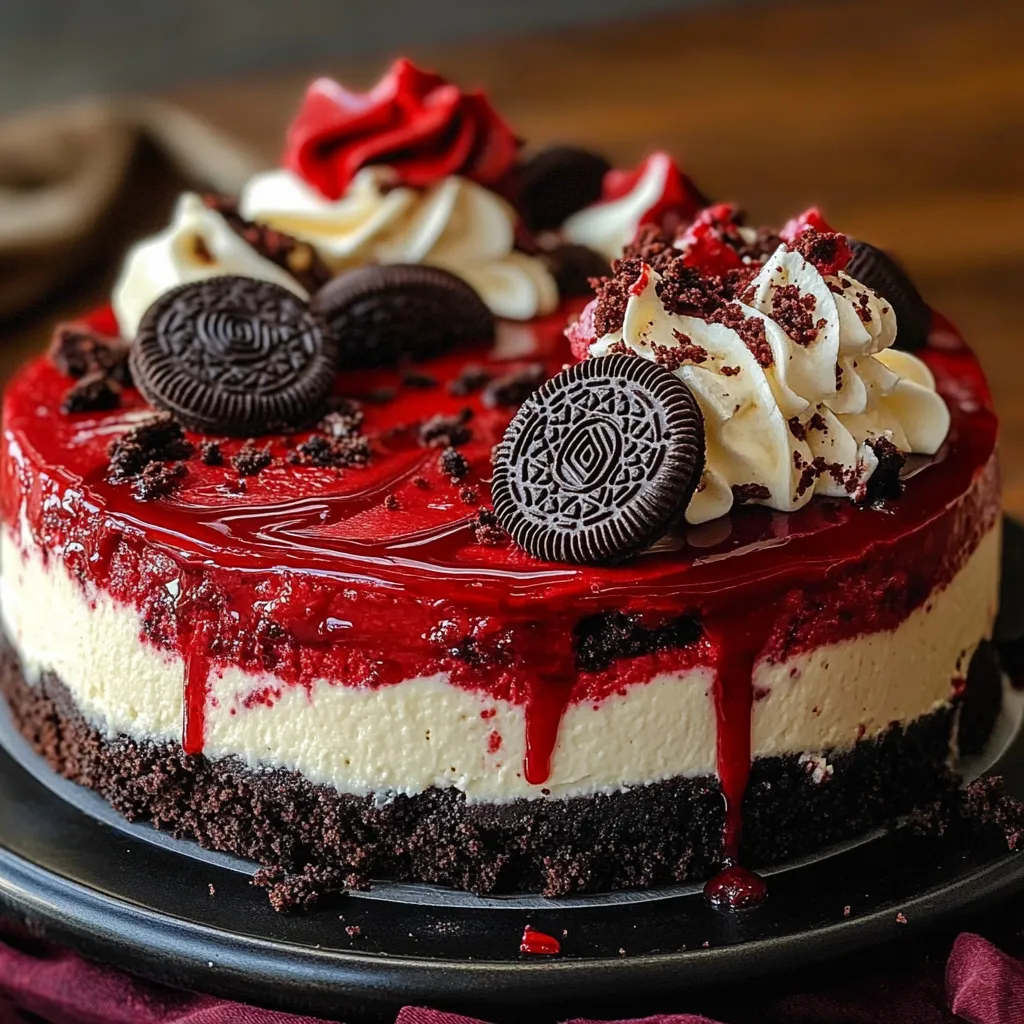
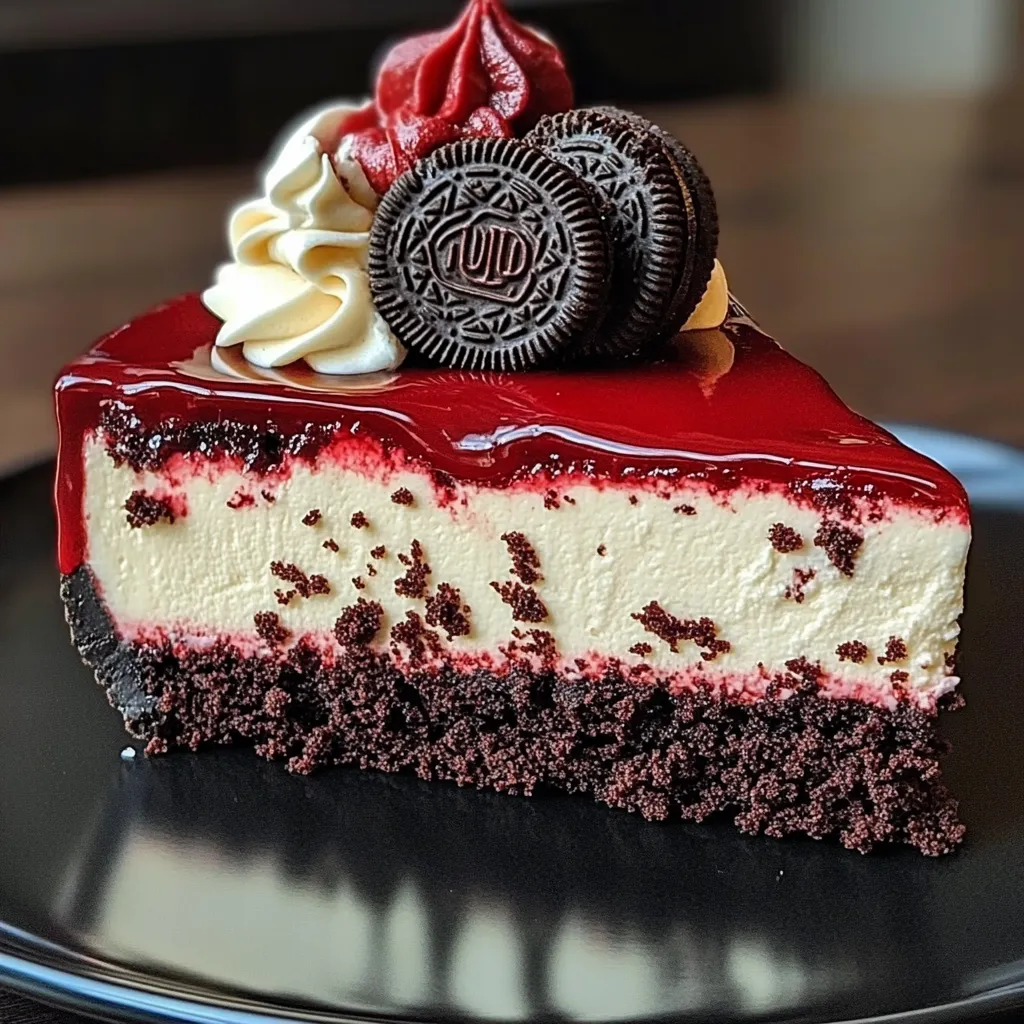
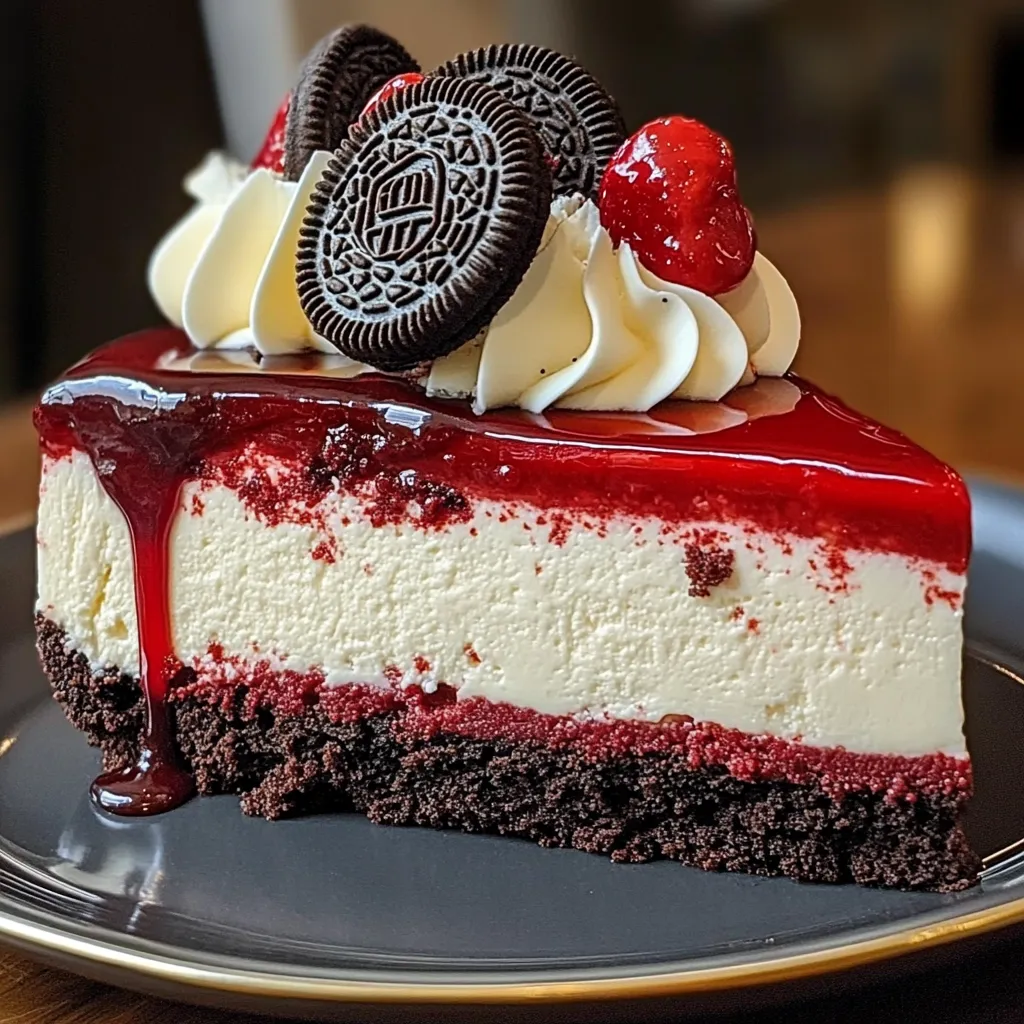
A decadent fusion of red velvet cake and cheesecake comes together in this showstopping dessert. Each velvety layer combines with crushed Oreos and smooth cream cheese to create an unforgettable treat that looks as magnificent as it tastes. The contrast between the deep red cake and creamy white cheesecake makes this the perfect centerpiece for any special occasion.
After serving this at countless family gatherings, I've noticed how the rich colors and layers never fail to draw gasps of admiration. The way the creamy cheesecake complements the chocolate notes of red velvet has made this my most requested celebration cake.
Ingredients Selection Guide
- Cream cheese: Choose full-fat, room temperature blocks for the smoothest texture
- Red food coloring: Gel coloring provides vibrant color without affecting consistency
- Oreo cookies: Regular, not double-stuffed, work best for the crust
- Buttermilk: Real buttermilk creates tenderness in the red velvet layer
- Cocoa powder: Natural, unsweetened variety enhances the classic red velvet flavor
- Vanilla extract: Pure extract balances the tangy cream cheese
- Sour cream: Full-fat adds moisture and richness to the cheesecake layer

Creating Your Masterpiece
- Crust Creation:
- Crush Oreos into fine crumbs, mix with melted butter until resembling wet sand.
- Base Formation:
- Press mixture firmly into springform pan, ensuring even coverage.
- Velvet Layer:
- Combine wet and dry ingredients separately, then mix just until incorporated.
- Cheesecake Preparation:
- Beat cream cheese mixture until smooth, avoiding overmixing.
- Final Assembly:
- Layer components carefully, starting with cake base and finishing with cheesecake.
I've discovered that adding a touch of espresso powder to the red velvet layer intensifies the chocolate flavor beautifully. My grandmother taught me this trick, and it's become my secret weapon for creating depth without tasting like coffee.
Perfect Presentation
Serve this stunning creation on a rotating cake stand for easy decorating. Garnish with fresh whipped cream rosettes and halved Oreos for an elegant finish. Consider adding chocolate shavings or a light dusting of cocoa powder for extra sophistication.
Creative Adaptations
Transform this recipe by using different Oreo varieties - mint for the holidays or golden Oreos for a striking color contrast. Create a gluten-free version using certified gluten-free chocolate sandwich cookies and a measure-for-measure gluten-free flour blend.
Extended Freshness
Keep this masterpiece fresh by storing it in the refrigerator for up to five days. For best results, place it in a cake carrier or cover loosely with foil to prevent the cheesecake from absorbing other flavors. Let slices sit at room temperature for 15 minutes before serving.
Planning Ahead
Prepare this dessert up to three days in advance for best flavor development. The layers actually meld together better with time, creating an even more harmonious taste. Perfect for busy schedules or holiday preparations.
Temperature Control
Maintain consistent cold storage between 35-40°F for optimal texture. When serving outdoors in warm weather, keep the cake chilled until just before presentation to prevent the cheesecake layer from softening too much.

This red velvet Oreo cheesecake has become my signature celebration dessert. The combination of textures - from the crunchy Oreo base to the tender cake and silky cheesecake - creates an experience that's both elegant and comforting. The key to success lies in patience and attention to detail, but the result is a dessert that will have everyone believing you're a professional pastry chef.
Common Recipe Questions
- → Can I make this ahead?
- Yes, make up to 3 days ahead and store in fridge. It also freezes well for up to 3 months.
- → Why use a water bath?
- It prevents cracks in the cheesecake layer and ensures even baking.
- → Can I use cake mix for red velvet layer?
- Yes, prepared red velvet cake mix works as a time-saving alternative.
- → Why are my ingredients room temperature?
- Room temperature ingredients blend better and create a smoother cheesecake texture.
- → How do I know it's done baking?
- Edges should be set but center slightly jiggly. It will set fully while cooling.
