
 Save
Save
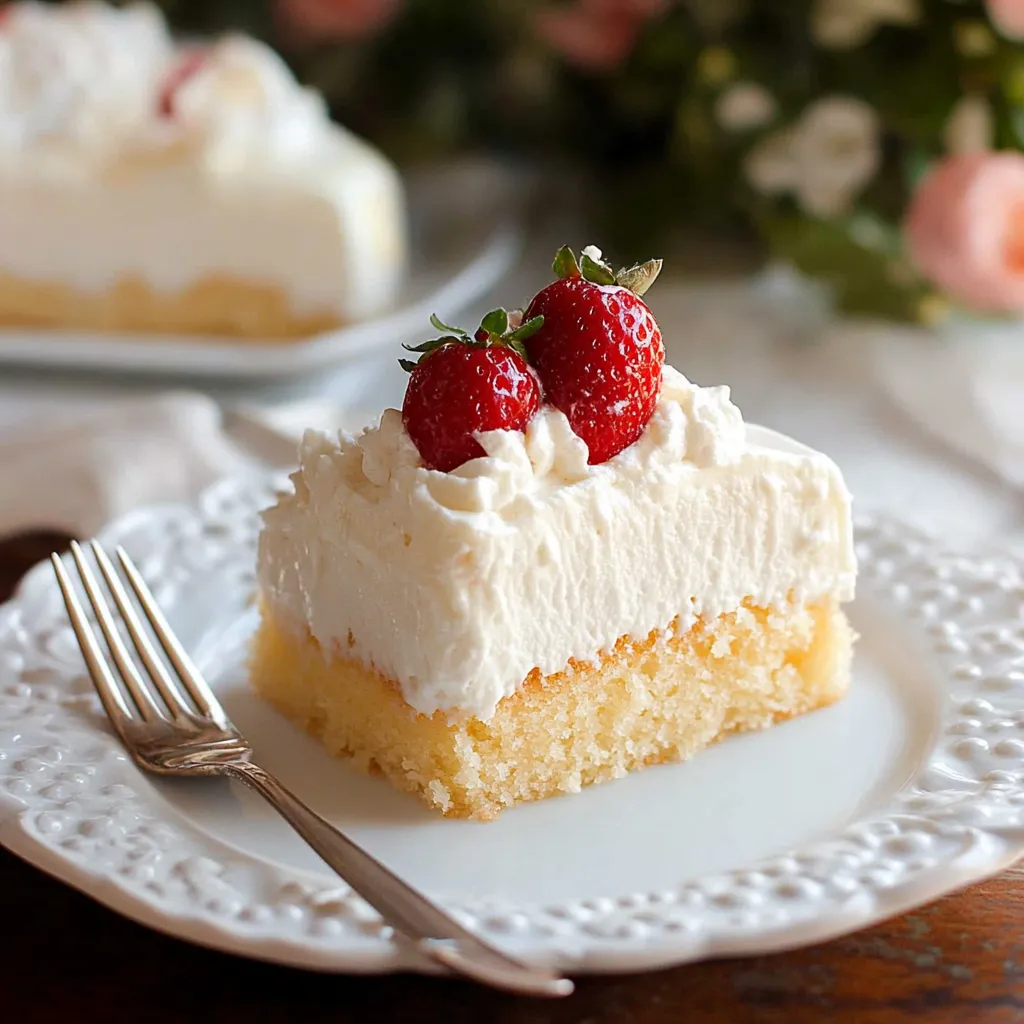
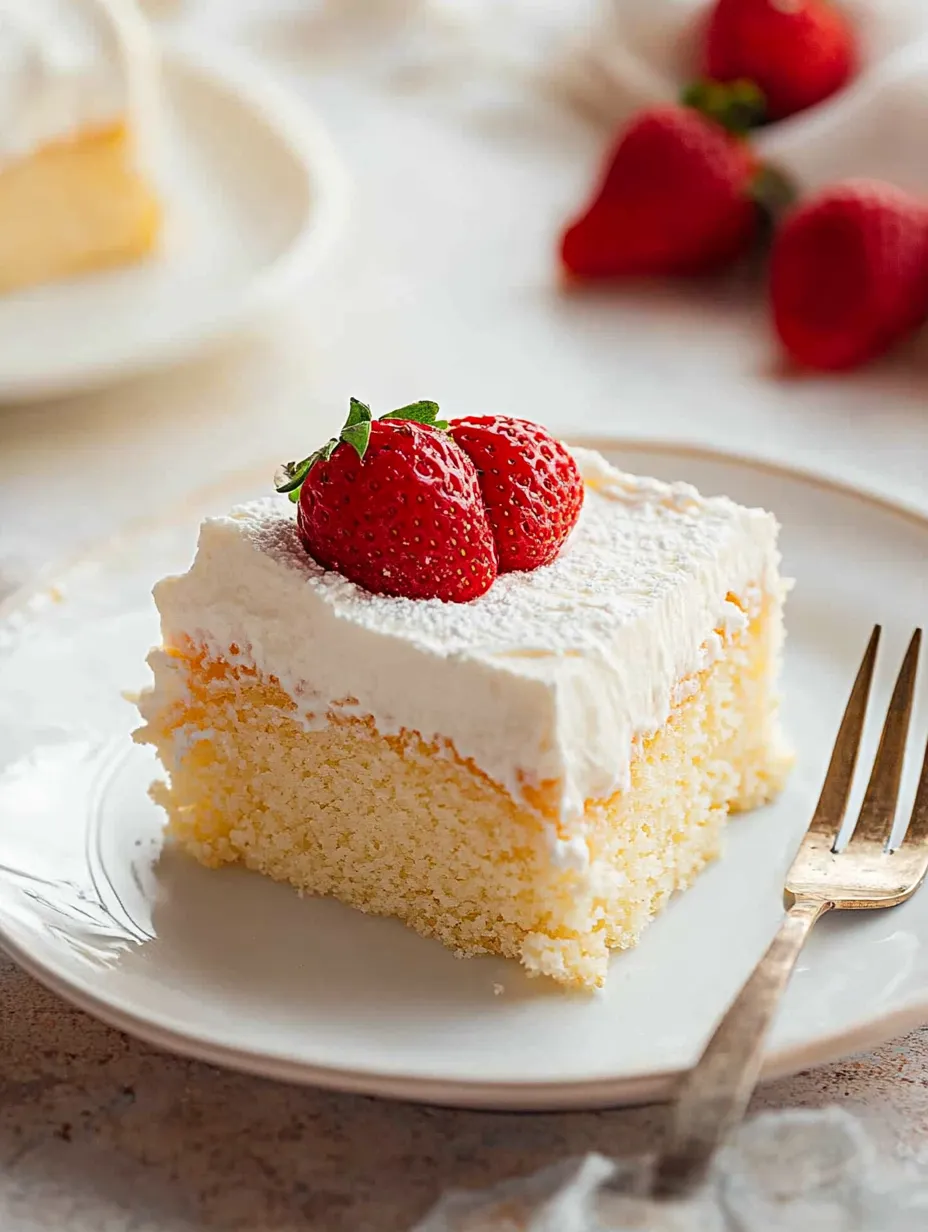
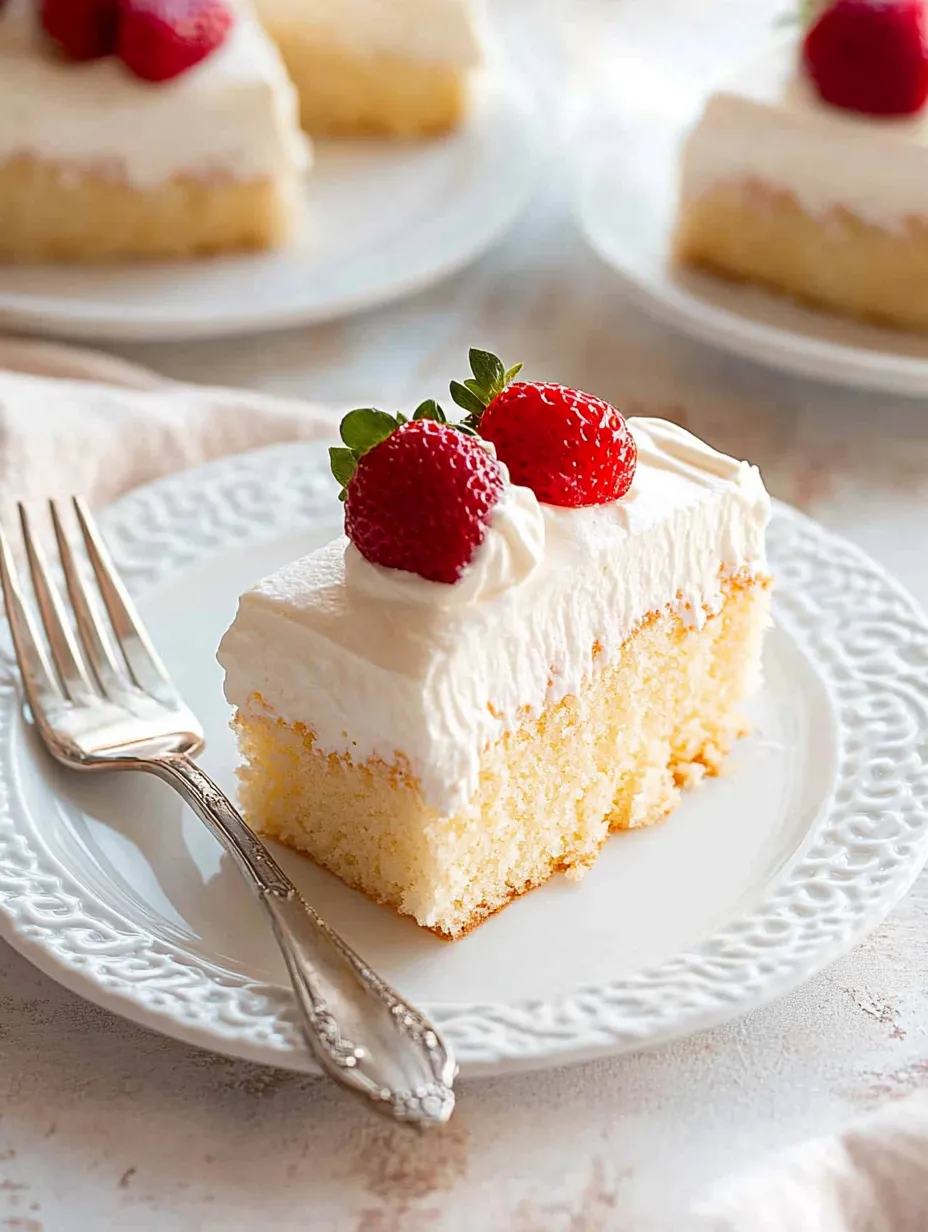
This classic Tres Leches Cake transforms a simple vanilla sponge into something magical when soaked with the signature three-milk mixture. The result is an incredibly moist, sweet treat that remains light despite all that delicious moisture. It's the perfect make-ahead dessert for gatherings since it actually improves with time in the refrigerator.
I first made this cake for my sister-in-law's birthday after she mentioned craving it from her childhood. The moment everyone took their first bites, the table fell silent except for appreciative murmurs. Now it's requested at nearly every family celebration.
Ingredients
- For the Cake: Cake flour creates a tender, light crumb essential for properly absorbing the milk mixture. Select a quality brand for best results.
- Baking powder: Provides just enough lift without making the cake too airy to hold the liquid.
- Kosher salt: Balances the sweetness. Use table salt if necessary but reduce quantity slightly.
- Unsalted butter: Adds richness. Make sure it's truly room temperature for proper creaming.
- Granulated sugar: Sweetens and helps create structure. Plain white sugar works perfectly.
- Eggs: Provide structure and richness. Use large eggs at room temperature.
- Vanilla extract: Adds warm flavor. Use pure extract rather than imitation for best results.
- For the Three-Milk Glaze: Evaporated milk provides concentrated dairy flavor without extra sweetness.
- Sweetened condensed milk: Contributes silky thickness and caramel-like sweetness.
- Half-and-half: Adds richness while keeping the mixture pourable.
- For the Whipped Cream: Heavy cream should be very cold for best whipping results.
- Granulated sugar: Sweetens the topping. Some recipes use powdered sugar, but granulated works perfectly.
- Vanilla extract: Complements the cake beautifully.
Step-by-Step Instructions
- Prepare the Cake Base:
- Begin by preheating your oven to 350°F and greasing a 9x13-inch baking pan thoroughly. This thin layer of cake will be the foundation that absorbs all that creamy goodness, so ensure no spots are missed. Whisk the dry ingredients together thoroughly to ensure even distribution of leavening.
- Create the Batter:
- Beat the butter until truly fluffy before gradually adding sugar. This slow addition creates tiny air pockets essential for proper texture. Add eggs individually, fully incorporating each one before adding the next. This patience prevents curdling and ensures smooth batter. The vanilla goes in next, followed by gradually adding the flour mixture just until combined. Overmixing will develop gluten and toughen the cake.
- Bake to Perfection:
- Spread the seemingly small amount of batter evenly in your prepared pan. It will look alarmingly thin but don't worry. Bake until the cake reaches an internal temperature of 200°F and appears lightly golden. The exact timing matters less than the visual and temperature cues. After cooling for 30 minutes, poke holes all over the surface using a skewer or fork. These channels allow the milk mixture to penetrate deeply.
- Create the Signature Soak:
- Whisk together the three milks until perfectly combined. The mixture will be quite sweet and rich. When the cake has cooled completely, begin pouring this mixture over the cake with extreme patience. Go incredibly slowly, allowing small amounts to absorb before adding more. This patience ensures even distribution and prevents pooling.
- Finish with Clouds of Cream:
- After the cake has thoroughly chilled and absorbed the milk mixture for at least four hours, prepare the whipped topping. Start on low speed to prevent splashing, then increase to medium once the cream begins to thicken. The finished topping should be thick enough to hold its shape but still spreadable. Apply generously over the entire cake and chill until serving time.
I learned the importance of pouring the milk mixture slowly after my first attempt resulted in liquid pooling around the edges. My daughter now helps with this step, treating it like a meditative process as we watch each tablespoon of liquid disappear into the cake. Those few extra minutes of patience transform an ordinary cake into something extraordinary.
The Secret to Perfect Texture
The key distinction of Tres Leches Cake lies in its unique texture, which requires specific techniques to achieve. Unlike regular cakes where moisture is undesirable, here we deliberately create a structure that absorbs liquid without becoming soggy. The cake flour creates a more delicate structure with less gluten, allowing it to hold moisture without becoming gummy. The proper creaming of butter and sugar creates tiny air pockets that eventually fill with the milk mixture. Watch your baking time carefully as overbaking will create a crust that repels rather than absorbs the liquid.
Cultural Significance
Tres Leches Cake has a fascinating history spanning multiple Latin American countries. While its exact origins remain debated, many believe it gained popularity when Nestlé printed the recipe on condensed milk cans throughout Latin America in the 1940s. The cake represents celebration and abundance in many cultures. In Mexico, it's traditionally less sweet and often topped with fresh fruit. In Nicaragua, cinnamon and rum frequently appear in variations. In modern American interpretations like this recipe, the sweetness level is typically higher with a more substantial whipped topping. Understanding these cultural connections adds depth to the experience of making and sharing this beloved dessert.
Creative Variations
While the classic version is perfection, Tres Leches Cake welcomes thoughtful variations. Consider adding 1 teaspoon of cinnamon to the cake batter for warmth. For adults, rum or brandy makes a sophisticated addition to the milk mixture. The topping can be customized endlessly fruit compotes, dulce de leche drizzle, toasted coconut, or chopped nuts all complement the creamy base beautifully. Some bakers use coconut milk as one of the three milks for a tropical twist. For chocolate lovers, cocoa powder can be added to the cake batter, creating a chocolate tres leches experience. Each variation maintains the essence of the original while offering new flavor dimensions.
Common Recipe Questions
- → How do I make the cake fluffier?
Using cake flour is key to a tender and fluffy texture. If you don't have cake flour, mix ¾ cup sifted all-purpose flour with 2 tablespoons cornstarch for each cup needed.
- → Can I make this cake ahead of time?
Yes, the cake is best when chilled overnight after soaking in the milk mixture. This allows it to fully absorb the glaze and develop its flavor.
- → What toppings can I use besides whipped cream?
Common toppings include fresh fruit like strawberries, peaches, or mangos. Toasted coconut or pecans are also popular options to complement the cake's sweetness.
- → Why is my cake not absorbing all the liquid?
Pour the milk mixture slowly and wait for each layer to soak in before adding more. This patience ensures the sponge fully absorbs the glaze.
- → Can I freeze the cake?
You can freeze the plain baked cake before adding the glaze and whipped cream. Wrap tightly in plastic wrap and foil, freeze for up to 3 months, then thaw and proceed with the recipe.