 Save
Save
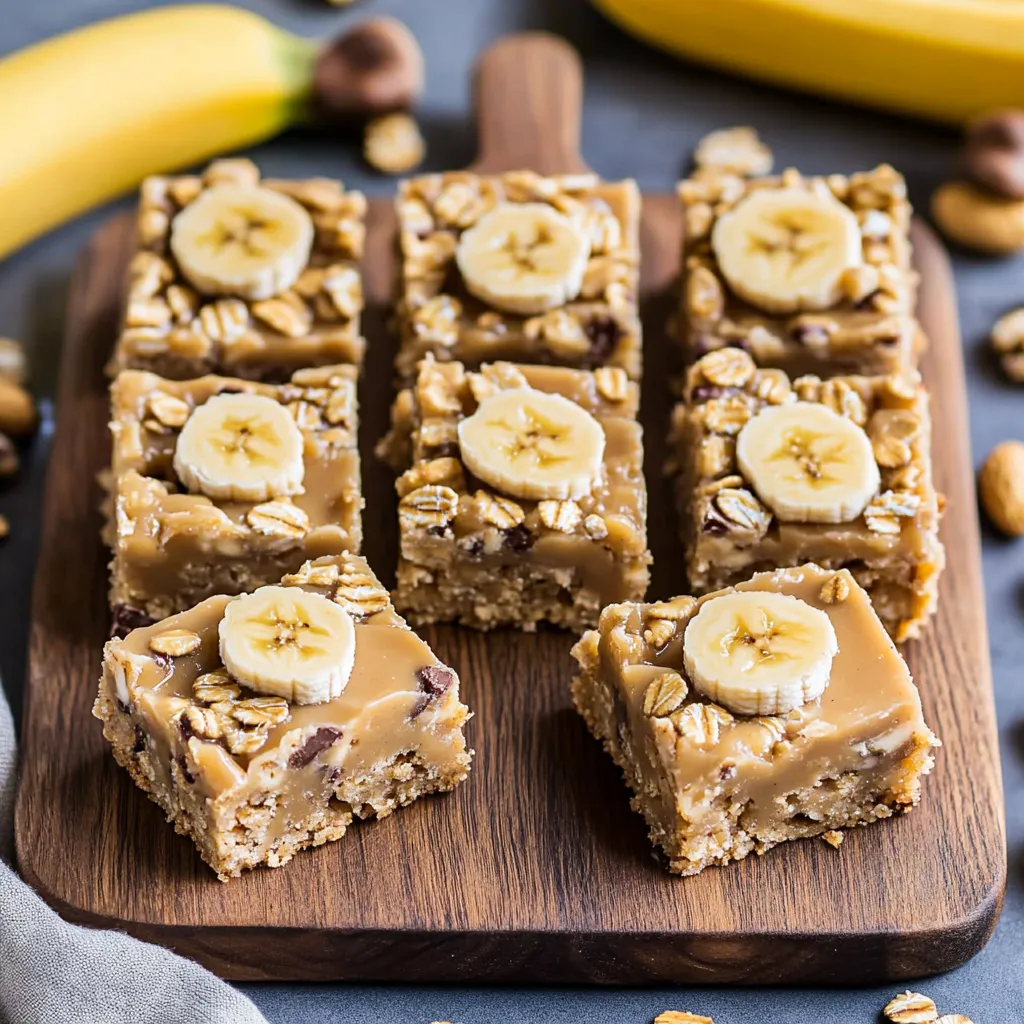
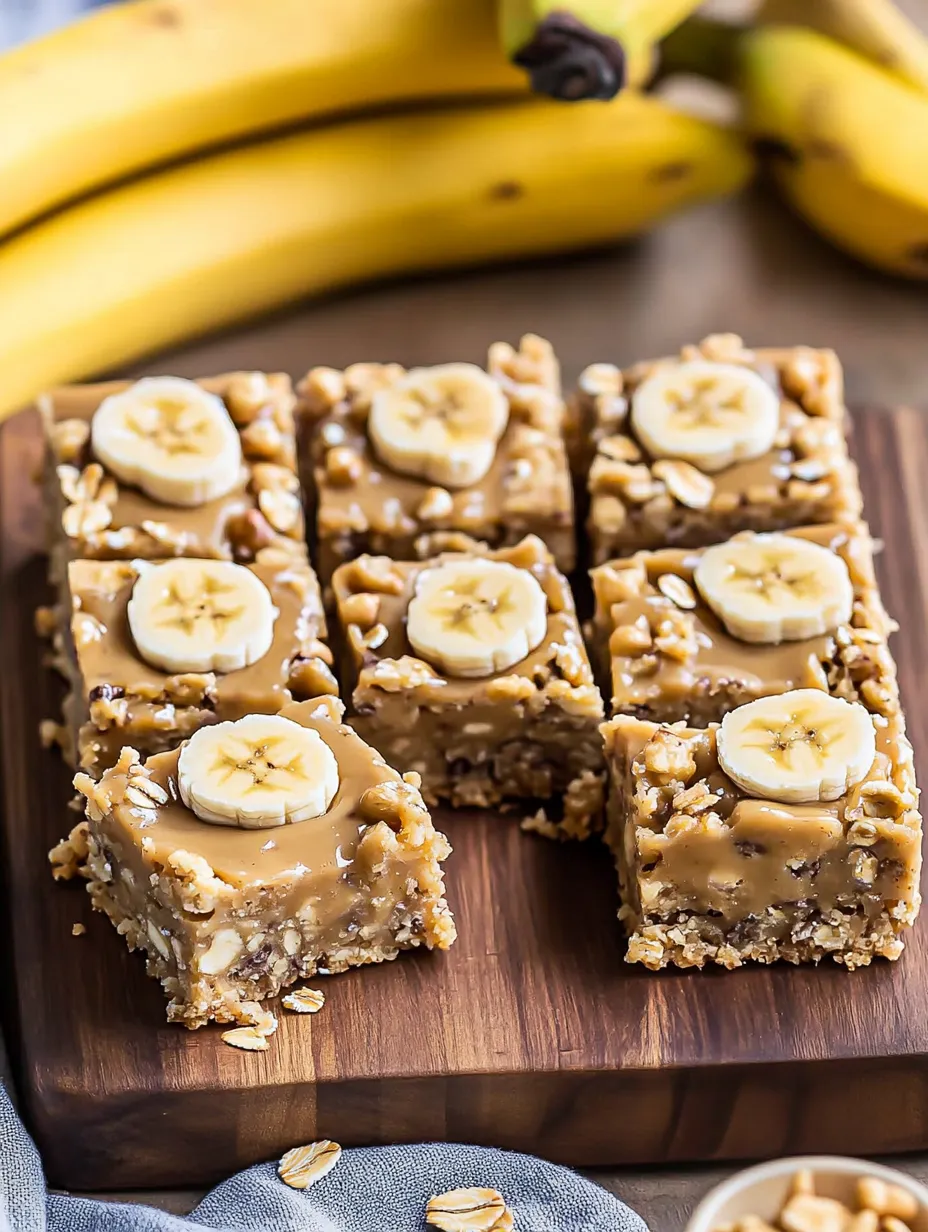
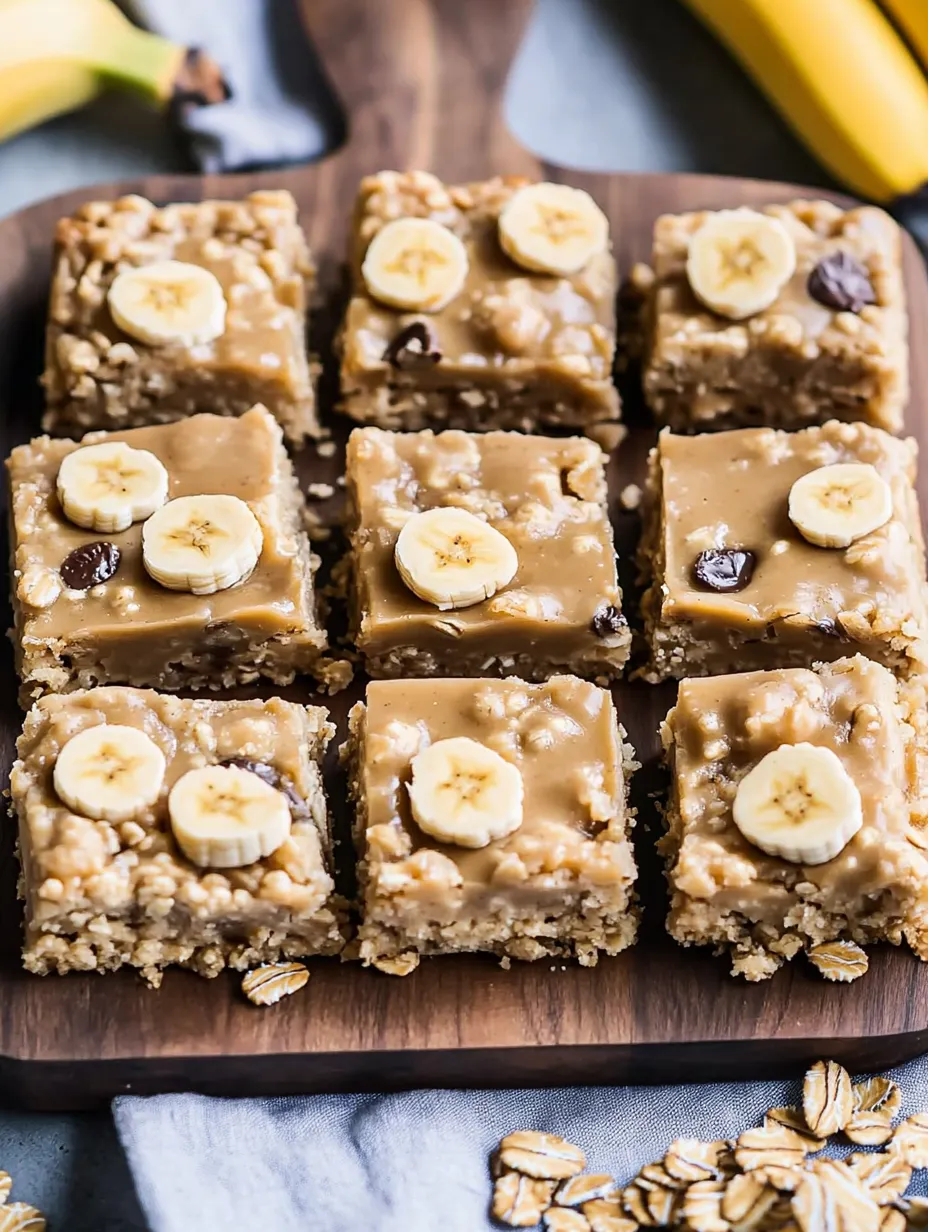
I stumbled across this recipe last winter when I was sick of grabbing coffee shop muffins on my way to work. My wallet was suffering, and honestly, so was my energy level - I'd crash hard around 10am. These bars started as an experiment that's turned into a Sunday night ritual for me. They're not fancy or complicated, just good solid fuel that actually keeps me going.
My roommate Kate initially rolled her eyes when I started making these ("health food"), but now she texts me when she's coming home late: "Did you make those peanut butter banana things?" That's when I knew the recipe was a keeper.
What You'll Need
- Spotty bananas - Those ugly ones nobody wants to eat are perfect here
- Peanut butter - The natural kind works but honestly regular Jif is fine too
- Old-fashioned oats - Not the quick-cooking kind, they get too mushy
- Honey or maple syrup - Just enough for a little extra sweetness
- Cinnamon - Don't skip this, it makes a huge difference
- Vanilla - Use the real stuff if you have it

I tried making these once with almond butter when I ran out of peanut butter. They were... fine. Not bad, but not the same. Some substitutions just aren't worth it. Stick with peanut butter unless you really hate it.
How It Comes Together
- Mash Those Bananas
- Start by smashing your bananas in a bowl. I use a fork and leave some chunks because I'm lazy and also like finding little banana pieces in the finished bars. The riper your bananas, the sweeter your bars will be.
- Mix It Up
- Dump in your peanut butter, honey, vanilla, and egg if you're using one. Mix until it's mostly smooth - again, I don't stress about perfection here. Add your oats, cinnamon, salt, and whatever mix-ins you like.
- Pan Prep
- Line your pan with parchment paper with some hanging over the edges. This isn't just for easy cleanup - it's how you'll lift the bars out later. Press the mixture down firmly - I mean FIRMLY - into the pan. Use the back of a measuring cup if your hands get too sticky.
- Bake It
- Pop it in the oven until the edges look golden and it feels set in the middle when you gently press it. Mine usually take about 22 minutes but ovens vary wildly, so start checking at 20.
- The Waiting Game
- Here's where patience matters - let them cool COMPLETELY before cutting. I usually make them after dinner and cut them in the morning. Otherwise, they'll fall apart and you'll be eating granola instead of bars.
My first time making these, I tried using quick oats because that's what I had. The bars ended up with a weird gummy texture that nobody enjoyed. Now I keep old-fashioned oats on hand specifically for this recipe.
Make It Your Own
I've made about fifty variations of these over the last year. Some favorites:
- For chocolate emergencies, throw in a handful of dark chocolate chips. They get all melty when the bars are warm.
- When I'm training for a race, I add an extra spoonful of peanut butter and some chia seeds for more staying power.
- In the fall, I sometimes swap one banana for 1/2 cup of pumpkin puree and add extra cinnamon and nutmeg.
How To Enjoy Them
During the week, I grab one from the container in the fridge and eat it on my commute. On weekends, sometimes I'll heat one up for about 15 seconds in the microwave and top it with a dollop of Greek yogurt and some berries.
They're great fuel before a long run or bike ride. I've also crumbled them over yogurt when I'm feeling fancy, or warmed one up and topped it with a small scoop of ice cream when I'm craving dessert but trying not to completely blow my healthy eating.
Storing & Freezing
These keep in an airtight container in the fridge for about a week. I usually make eight bars from one batch, which is perfect for breakfast Monday through Thursday for both me and my roommate.
If I make a double batch, I'll freeze individually wrapped bars. Just grab one and throw it in your bag - it'll thaw by mid-morning for a perfect snack.

Common Recipe Questions
- → Can I make these bars without honey or maple syrup?
- Yes! If your bananas are very ripe (with lots of brown spots), they provide natural sweetness. You can omit the honey/maple syrup or replace it with applesauce for moisture.
- → How can I tell when the bars are done baking?
- The edges should be golden brown and slightly pulling away from the sides of the pan. The center should feel set and firm when lightly touched, not wet or too soft.
- → Can I use quick oats instead of rolled oats?
- Yes, quick oats will work but will create a slightly different texture - more dense and less chewy. Don't use instant oatmeal packets as they contain added sugars and flavorings.
- → How should I store these bars?
- Store in an airtight container at room temperature for 2-3 days, in the refrigerator for up to a week, or freeze individually wrapped for up to 3 months.
- → Can I make these bars nut-free?
- Absolutely! Substitute the peanut butter with sunflower seed butter or tahini for a nut-free version that's safe for school lunchboxes.
