 Save
Save
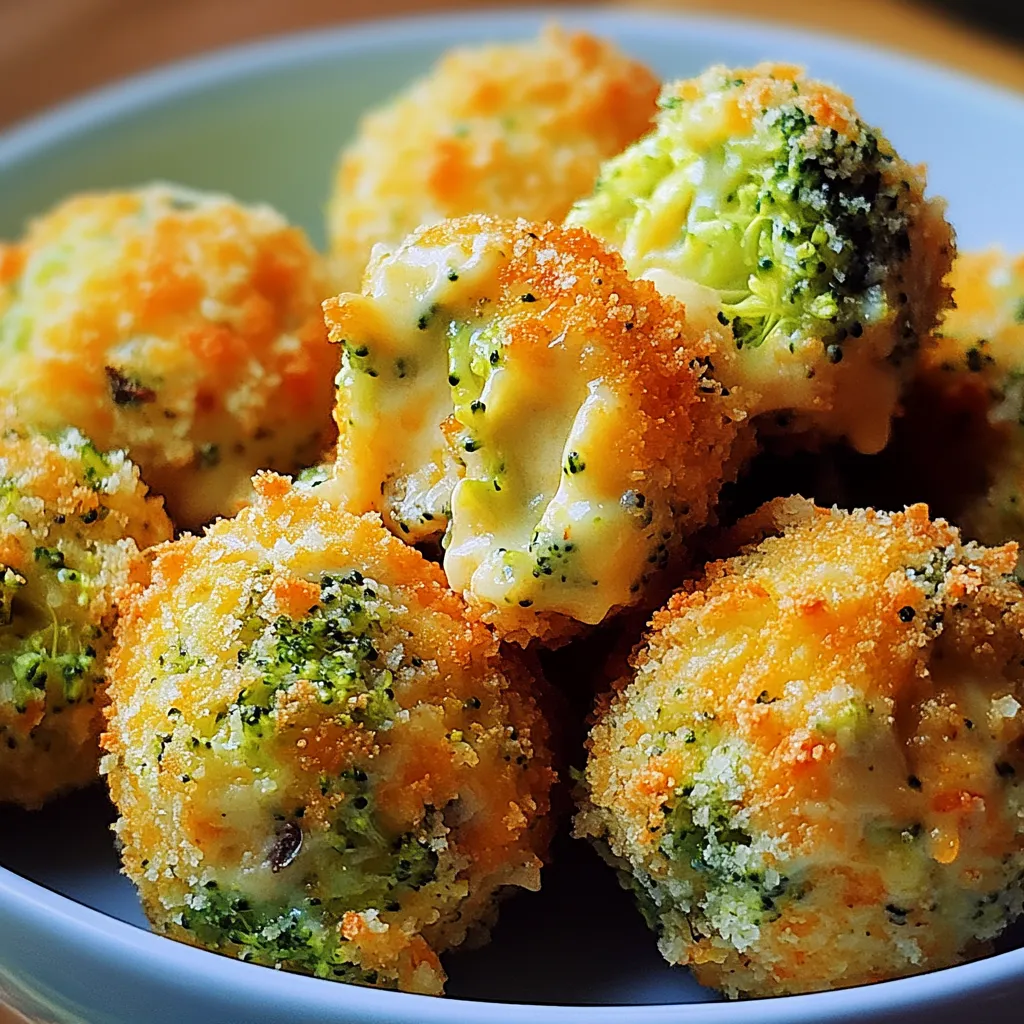
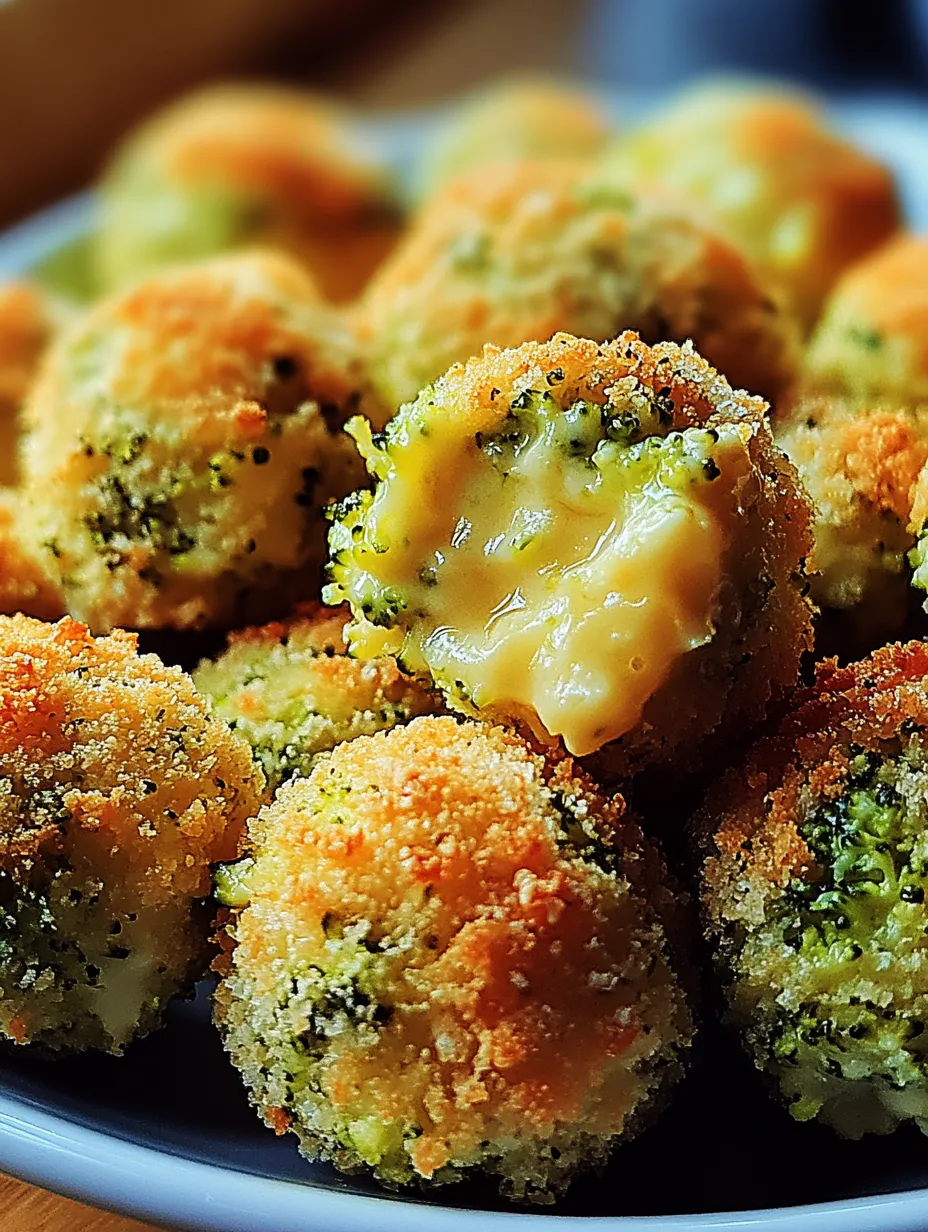
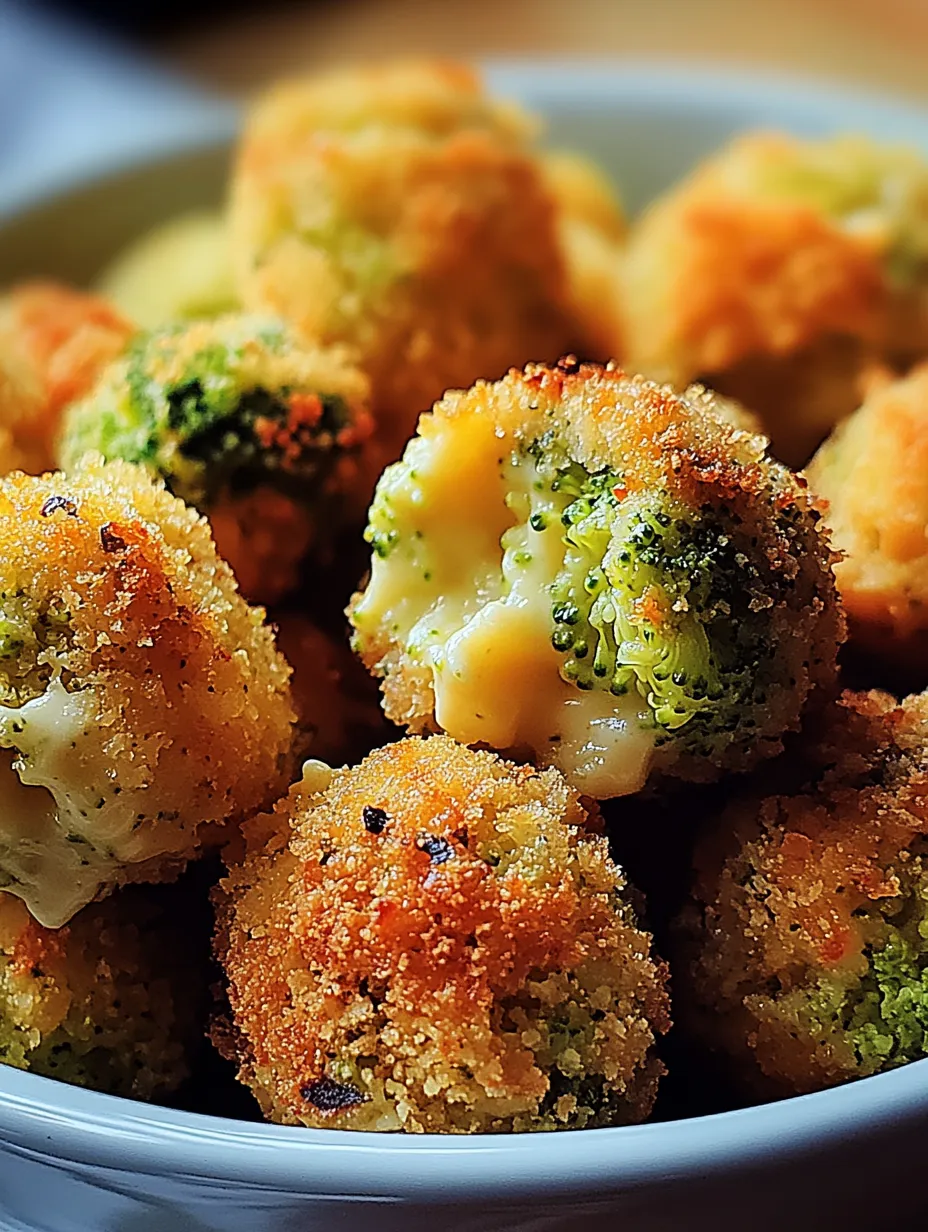
I stumbled across this recipe a few years back when I had a head of broccoli about to go bad in my fridge and a potluck to attend. After throwing together what I thought would be a simple appetizer, I was shocked when people kept asking for the recipe all night long. These broccoli cheese balls have since become my go-to party food, especially when I need to impress without spending hours in the kitchen.
Last month, my friend's picky 7-year-old who "hates anything green" ate four of these without realizing they contained broccoli. When his mom pointed it out, he just shrugged and grabbed another. That's when you know you've found a winner!
Simple Ingredients
- Fresh broccoli - The star that adds nutrition without overwhelming flavor
- Cheddar cheese - Provides that melty, gooey center everyone loves
- Parmesan cheese - Adds depth and helps bind everything together
- Breadcrumbs - Creates structure and that crispy exterior
- Egg - The glue that holds it all together
- Simple seasonings - Garlic, onion powder, salt and pepper are all you need

I tried making these once with frozen broccoli when that's all I had on hand. While they turned out okay, the excess moisture made them harder to form and less crispy. Fresh broccoli definitely makes a difference here.
Prep Magic
- Perfect Chop
- The key is chopping your broccoli finely enough that it incorporates well but not so fine that it turns to mush. I've found that pulsing it a few times in the food processor gives the perfect texture, but a good sharp knife works too.
- Moisture Control
- After cooking the broccoli (I usually steam it), make sure to drain it really well. Too much moisture ruins the texture, making it impossible to form balls that hold together. I sometimes even press it with paper towels.
- Cheese Choice
- Shredding your own cheese rather than using pre-packaged makes a huge difference. The pre-shredded stuff has anti-caking agents that affect how it melts. A few extra minutes with a grater is worth it for that perfect gooey center.
- Forming Technique
- Wet your hands slightly before rolling the balls to prevent sticking. This makes the whole process much cleaner and faster. A small cookie scoop helps ensure they're all the same size for even cooking.
- Perfect Coating
- Don't skip the extra breadcrumb coating on the outside. It's what creates that satisfying crispy shell around the cheesy interior. For even crispier results, use panko breadcrumbs instead of regular.
My first attempt at these was nearly ruined when I tried to skip chilling the mixture. The balls kept falling apart, and I ended up with a frustrated mess. Now I always make the mixture, stick it in the fridge while I clean up, then form the balls. This small step makes a huge difference!
Serving Ideas
These versatile bites work in so many settings. For casual gatherings, I serve them hot from the oven with a few dipping options - marinara sauce, ranch dressing, and a spicy sriracha mayo usually cover everyone's preferences.
For fancier occasions, I skewer them with toothpicks and arrange them on a platter with a small bowl of warm marinara in the center. The presentation looks impressive despite the minimal effort.
They also make a surprisingly great side dish with a simple protein like grilled chicken or fish. My husband actually requests them as a side with dinner rather than just party food.
Creative Variations
While the basic recipe is delicious as is, I've experimented with some fun twists:
- For a Mediterranean version, I add some crumbled feta, chopped sun-dried tomatoes, and a pinch of oregano to the mixture.
- When I want something with a kick, I mix in some diced jalapeños and substitute pepper jack for some of the cheddar. The spicy cheese balls are always the first to disappear at parties.
- For a lower-carb version, I've successfully used almond flour instead of breadcrumbs. The texture is slightly different but still delicious, and it makes them suitable for friends with dietary restrictions.
Prep-Ahead Tips
One of the best things about this recipe is how well it works for make-ahead prep. I often form the balls the night before a party, place them on a parchment-lined baking sheet, cover with plastic wrap, and refrigerate. The next day, I just pop them in the oven when guests arrive.
For even longer storage, freeze the uncooked balls on a baking sheet until solid, then transfer to a freezer bag. They'll keep for up to two months and can be baked directly from frozen (just add a few extra minutes to the cooking time).

Common Recipe Questions
- → Can I use frozen broccoli for this recipe?
- Yes, frozen broccoli works well! Thaw it completely, then squeeze out excess moisture before chopping. This prevents the mixture from becoming too wet, which would make it difficult to form into balls.
- → How do I store leftover broccoli cheese balls?
- Store cooled leftovers in an airtight container in the refrigerator for up to 3 days. To reheat, place them in a 350°F oven for 10 minutes until heated through and crispy again.
- → Can I make these ahead of time?
- Absolutely! You can prepare the mixture and form the balls up to a day ahead, storing them covered in the refrigerator. You can also fully cook them, refrigerate, and reheat when needed.
- → What dipping sauces pair well with broccoli cheese balls?
- These versatile bites pair wonderfully with marinara sauce, ranch dressing, honey mustard, garlic aioli, or even a spicy sriracha mayo. Choose based on your preference for tangy, creamy, or spicy flavors.
- → How can I make these balls gluten-free?
- Simply substitute the regular breadcrumbs with gluten-free breadcrumbs, crushed Rice Chex cereal, or almond flour. Ensure all other ingredients, like the cheeses, are certified gluten-free as well.
