 Save
Save
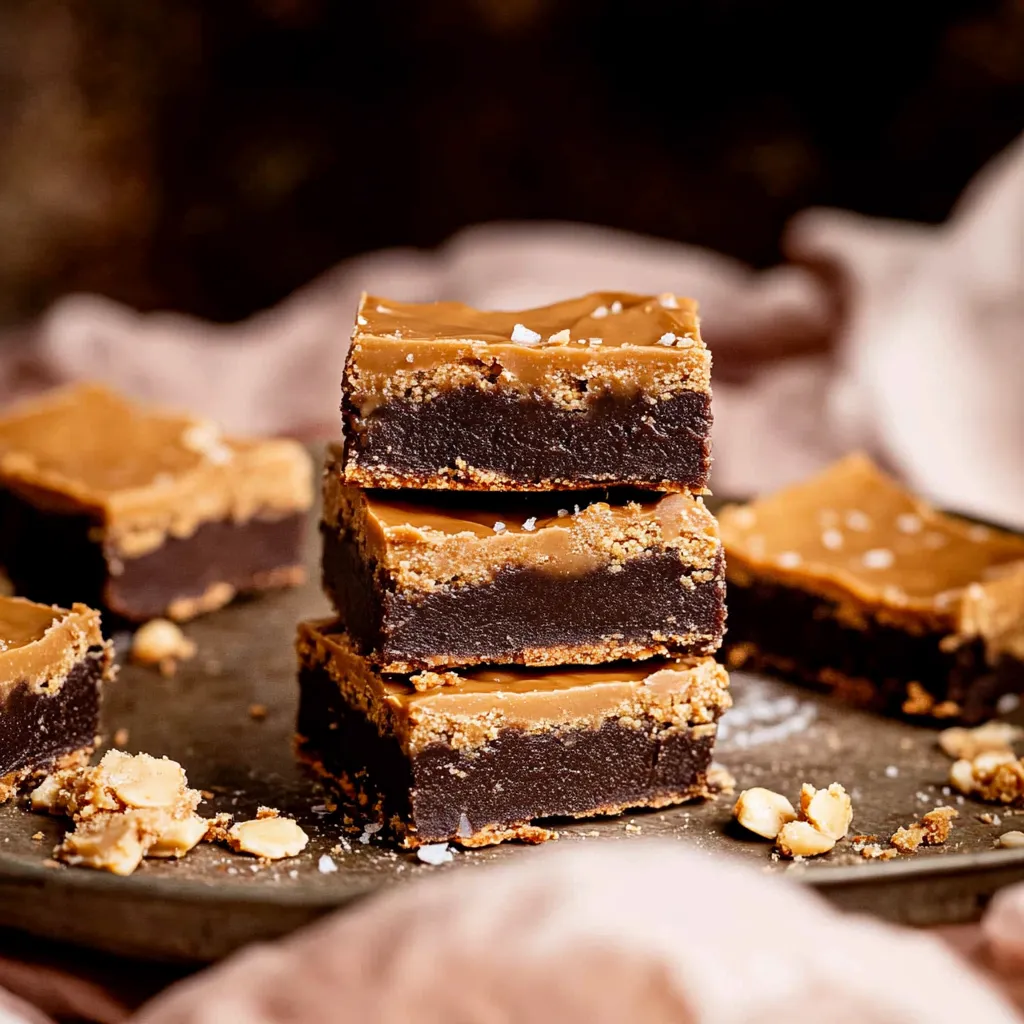
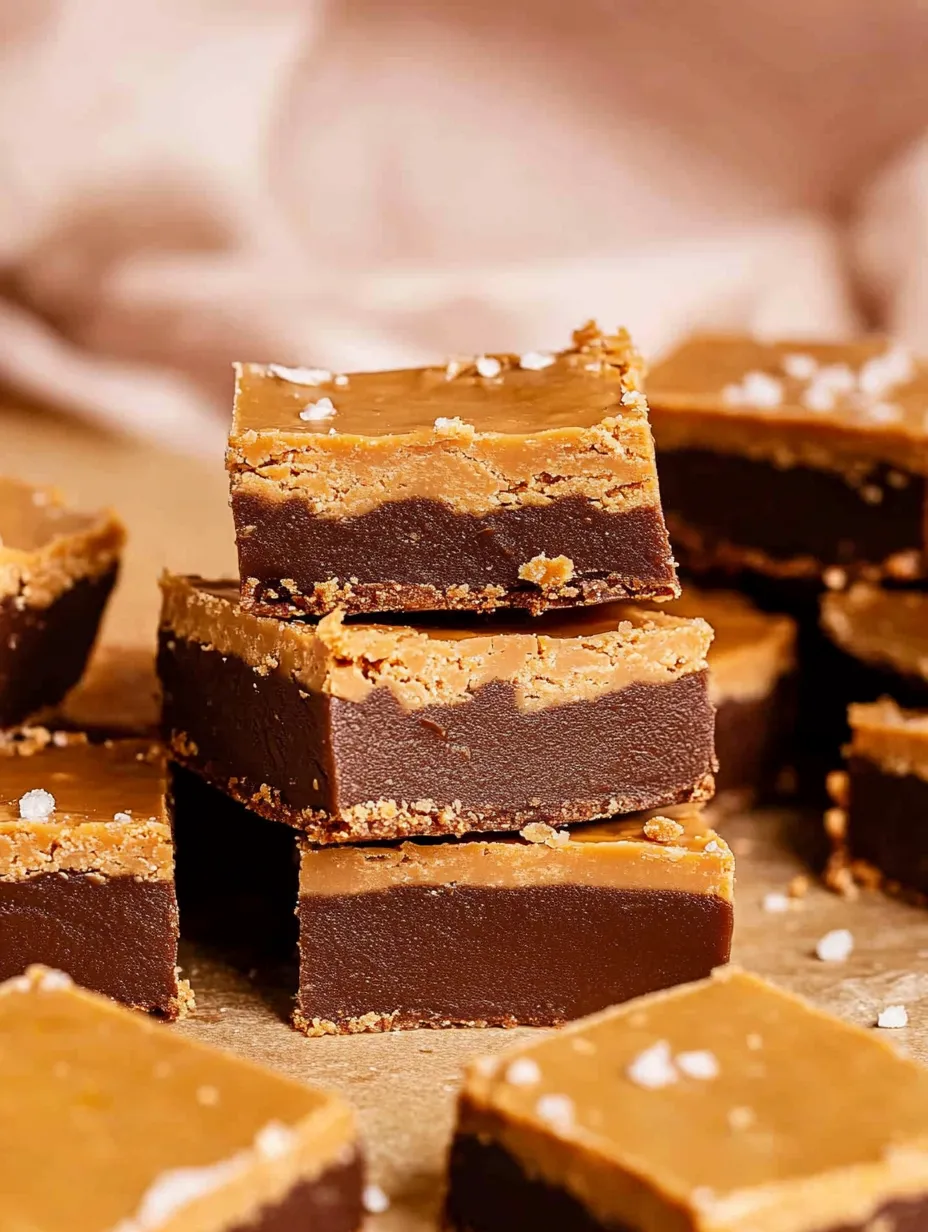
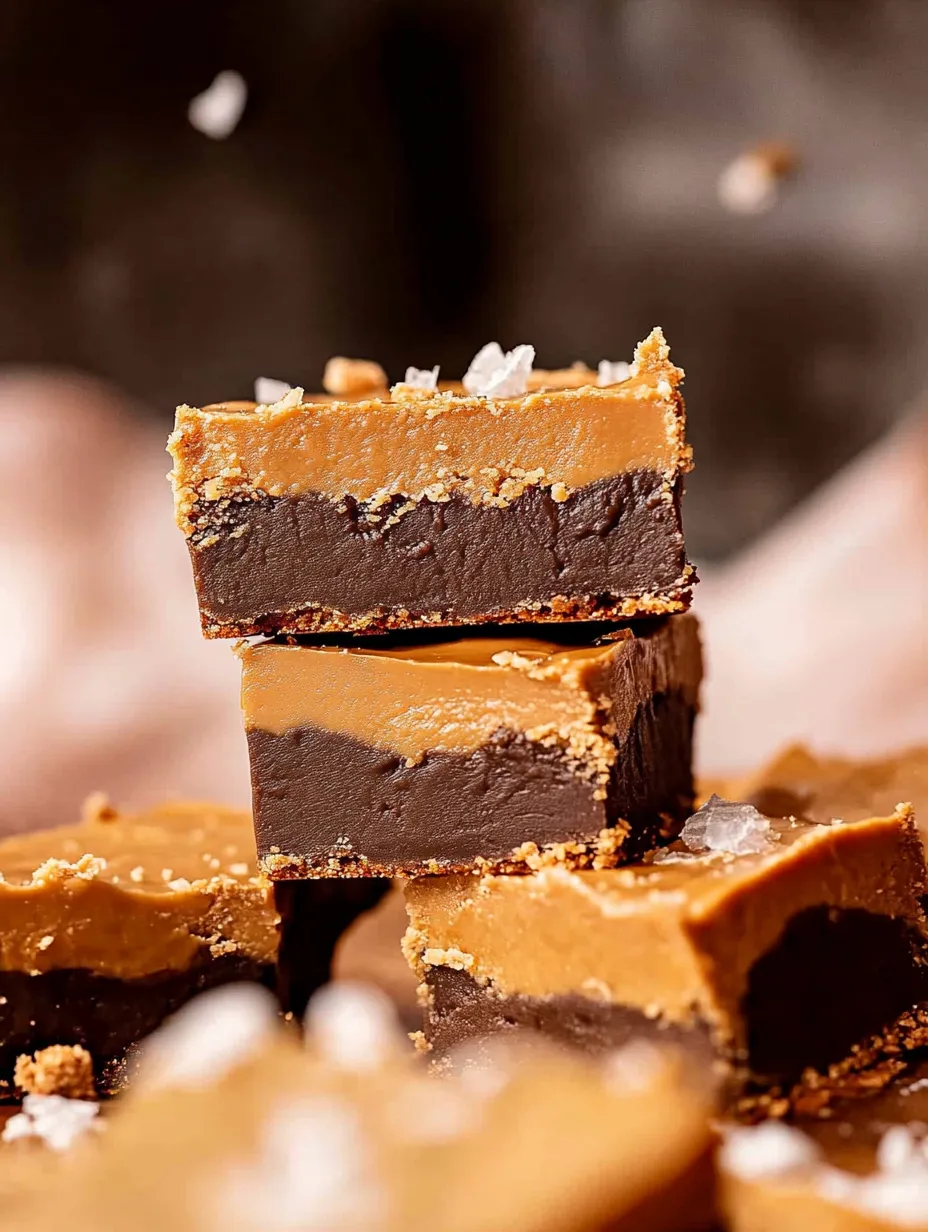
Easy Chocolate PB Squares
These irresistible bars combine creamy peanut butter with rich dark chocolate to create a no-bake treat that tastes indulgent while staying wholesome. Perfect for satisfying sweet cravings, these bars come together with minimal effort and simple pantry ingredients. The combination of nutty and chocolatey layers creates a satisfying treat that's sure to become a family favorite.
I've made these countless times for my family, and they've become our go-to dessert when we want something sweet without turning on the oven. The way the smooth chocolate layer complements the nutty base reminds me of my favorite childhood candy bars, but with ingredients I feel good about.
Quality Ingredients Guide
- Natural peanut butter: Choose creamy, drippy varieties for best texture
- Almond flour: Creates a tender, grain-free base
- Pure maple syrup: Adds natural sweetness
- Dark chocolate: Select quality chips or bars for melting
- Vanilla extract: Enhances overall flavor
- Coconut oil: Helps chocolate set properly
- Sea salt: Balances sweetness and enhances flavor

Creating Your Bars
Base Preparation
- Mix peanut butter, almond flour, and maple syrup:
- Until well combined.
Layer Formation
- Press mixture firmly into lined pan:
- Ensuring even thickness.
Chocolate Melting
- Combine chocolate and coconut oil:
- Heating gently until smooth.
Topping Assembly
- Pour melted chocolate over base:
- Spreading evenly.
Final Setting
- Chill:
- Until firm before cutting into squares.
Growing up, my mother always added a pinch of sea salt to chocolate desserts. I've continued this tradition, finding that it perfectly balances the sweetness and brings out the richness of both the peanut butter and chocolate layers.
Serving Suggestions
Present these bars on a wooden board for casual gatherings, or arrange on a decorative platter for special occasions. Pair with cold milk or hot coffee for an afternoon treat. For an elevated dessert, serve alongside fresh berries or a scoop of vanilla ice cream.
Creative Adaptations
Transform this recipe by using different nut butters - try almond butter for a more delicate flavor or cashew butter for extra richness. Swap dark chocolate for milk chocolate if preferred, or create a marbled effect by swirling both types together. For added texture, sprinkle chopped nuts or coconut flakes over the chocolate layer before it sets.
Storage Success
Keep bars fresh in an airtight container in the refrigerator for up to two weeks. For longer storage, freeze for up to three months. Layer parchment paper between bars to prevent sticking. Let frozen bars thaw in the refrigerator for about 30 minutes before serving.
Planning Perfect Portions
These bars can be cut into various sizes depending on your needs. For party bites, cut into small squares. For lunchbox treats, try larger rectangular portions. Always use a sharp knife warmed under hot water for the cleanest cuts.

These no-bake peanut butter bars have become my secret weapon for potlucks and bake sales. The combination of simple, wholesome ingredients with minimal prep time makes them perfect for busy schedules, while their rich, satisfying taste never fails to impress. Remember, patience during the chilling process is key to achieving those picture-perfect layers that make these bars as beautiful as they are delicious.
Common Recipe Questions
- → Why use natural peanut butter?
- Natural drippy peanut butter mixes better and creates the right texture for these bars.
- → Can I freeze these bars?
- Yes, they freeze well for up to 3 months in an airtight container.
- → What can I use instead of almond flour?
- Oat flour works well as an alternative, though texture will be slightly different.
- → Can I use honey instead of maple syrup?
- Yes, though the bars won't be vegan. Honey works well as a sweetener.
- → Why add coconut oil to chocolate?
- It helps the chocolate layer stay smooth and gives a better texture when set.
