
 Save
Save
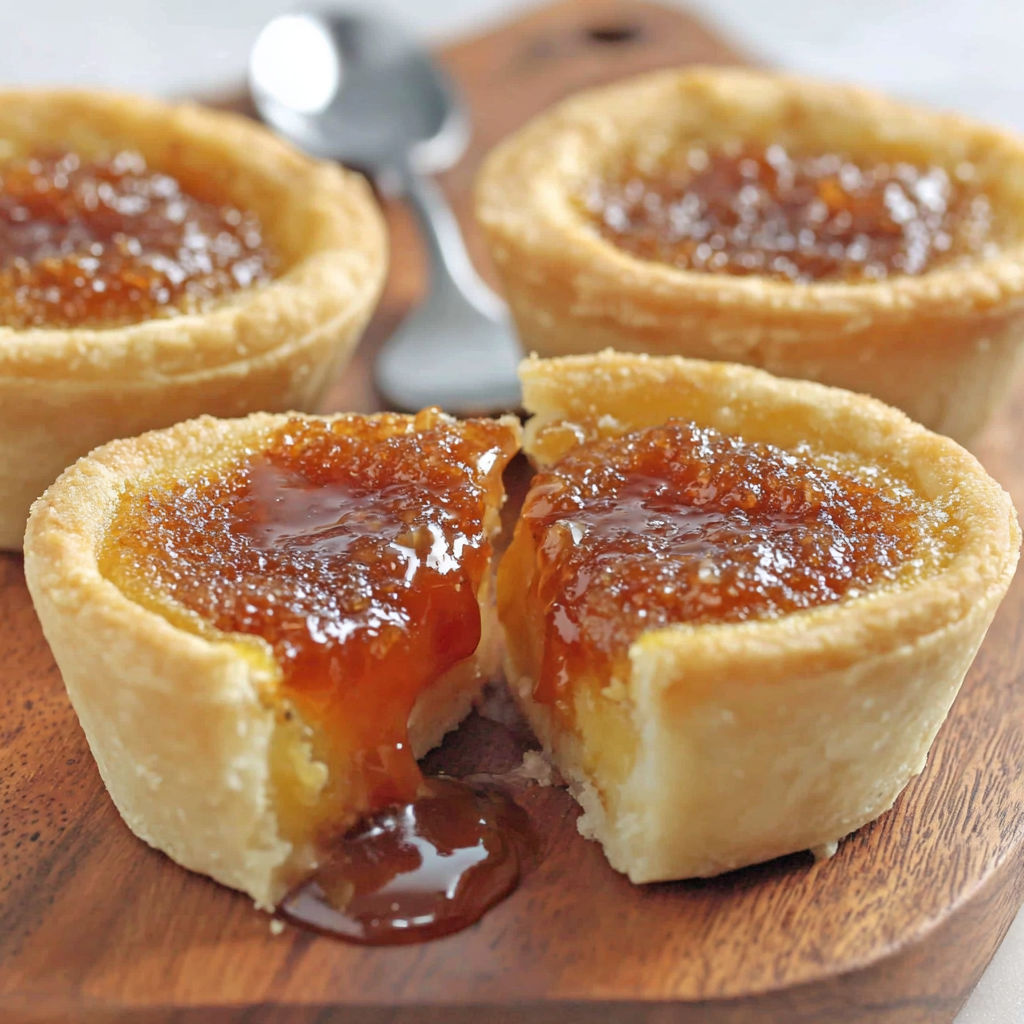
Classic Canadian butter tarts are a true point of pride for so many families across the country. They capture the irresistible balance of flaky pastry and gooey rich filling in every bite.
My first butter tart adventure involved my grandmother teaching me the secrets of a cold pastry and that anticipation as the sweet aroma filled the kitchen skews this treat with nostalgia every time.
Ingredients
- All purpose or pastry flour: Gives you a sturdy base for that crisp tart shell. Look for unbleached flour for best results.
- Brown sugar: Adds a touch of deep molasses flavor to both pastry and filling. Choose fresh soft brown sugar for easy mixing.
- Salt: Enhances the overall sweetness and balances the filling. Use fine sea salt if you have it.
- Cold butter and cold shortening: Make the pastry especially tender and flaky. Use unsalted butter and keep both fats as cold as possible.
- Ice water: Keeps the dough together without making it tough. Always use a little at a time to avoid a sticky dough.
- Corn syrup: Brings classic caramel like sweetness and keeps the filling smooth. Opt for light corn syrup or golden syrup for subtle flavor.
- Egg: Helps to set the filling so it does not spill out when you take a bite. Use a room temperature egg so it mixes easily.
- Vanilla extract: Lifts all the caramel notes in the filling. Pure vanilla makes the flavor pop.
- Raisins (optional): For a burst of sweetness. Substitute chopped pecans, walnuts or chocolate chips for a twist.
Instructions
- Make the Pastry:
- Begin by pulsing cold butter and shortening into the flour, brown sugar and salt in a food processor. Continue until you have small pieces each about the size of a pea. This careful mixing keeps your pastry light and flaky.
- Hydrate the Dough:
- Sprinkle ice water gently over the mixture and use a fork to toss until just combined. Make sure you stop mixing as soon as the dough holds together. Overworking makes butter tarts tough.
- Form and Chill:
- Shape the dough into two rounds each about an inch thick. Wrap them in plastic and rest in the fridge for half an hour. Chilling lets the gluten relax and keeps the pastry from shrinking.
- Roll and Cut:
- Lightly flour your work surface and roll the dough out evenly. Cut into rounds with a four inch cutter. Transfer to muffin tins, gently pressing to fit. Chill again to keep everything cold before baking.
- Mix the Filling:
- In a bowl, whisk brown sugar, corn syrup, melted butter, egg, vanilla and salt until well blended. This step ensures an even custard like texture in every tart.
- Add Fillings to Shells:
- Scatter raisins or chosen add ins in the bottom of each chilled pastry cup. This layer protects the crust and adds flavor right where it counts.
- Fill and Bake:
- Pour the syrupy filling over the raisins, filling about two thirds full. Place in a very hot oven and bake for twelve to fifteen minutes. This fast bake sets the shell and caramelizes the top of each tart.
- Cool and Enjoy:
- Let the tarts cool fully in their tins before removing. It takes patience but helps the filling stay set and makes removing them much easier.
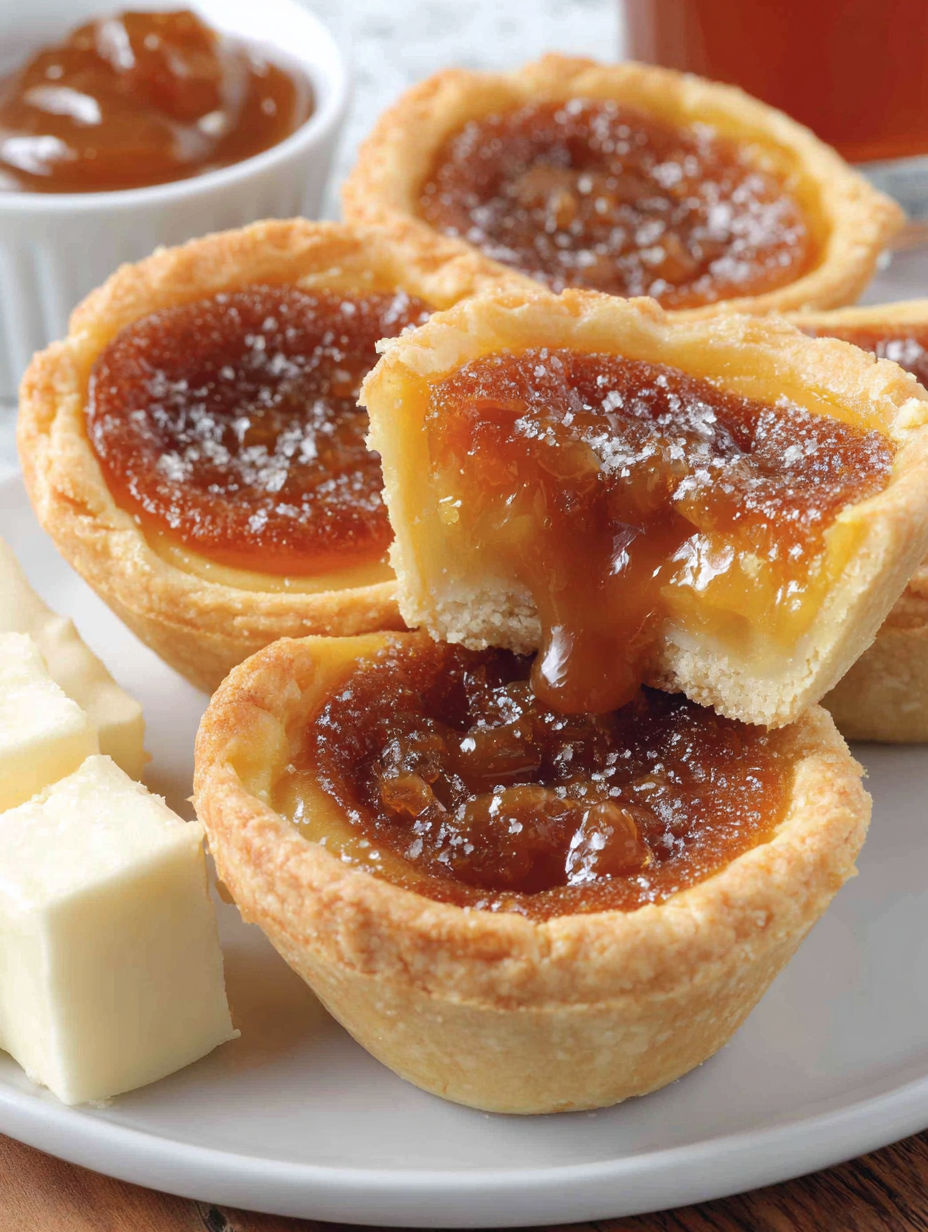
My favorite part is the moment you bite into the tart and the chewy edge and gooey center hit all at once. These are tarts that my grandfather requested for every special occasion and now my children love to make them with me.
Storage Tips
Butter tarts are best at room temperature the day they are made but stay fresh covered for up to three days. For longer storage keep them in a single layer in an airtight tin in the fridge. They also freeze beautifully wrapped in plastic wrap and tucked into a sealed container. Thaw at room temperature before serving.
Ingredient Substitutions
If you do not have corn syrup try golden syrup or even maple syrup for more Canadian flavor. Chopped pecans or walnuts can be swapped for raisins or leave them out entirely for the purist tart shell and filling experience. For a richer taste use dark brown sugar in the filling.
Serving Suggestions
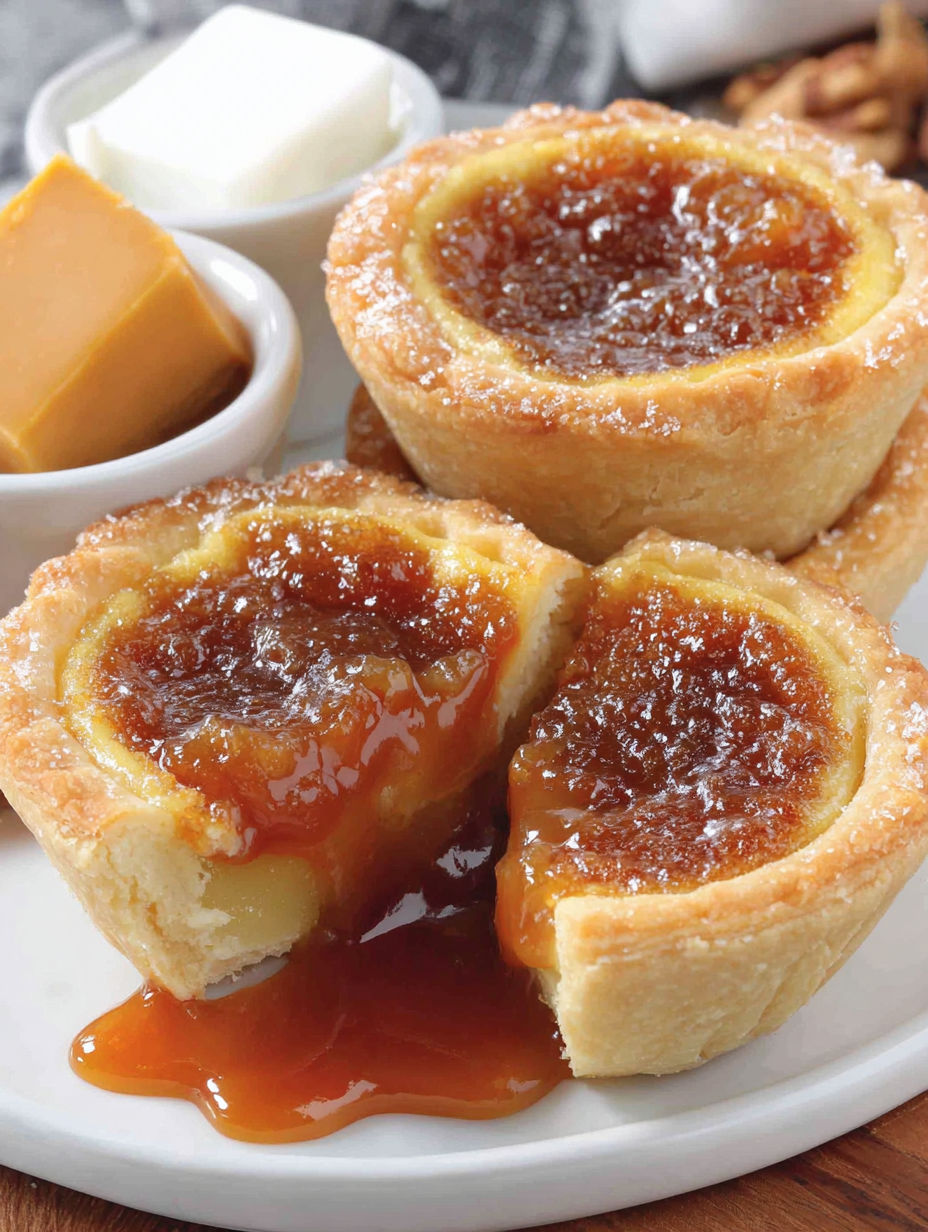
Serve butter tarts with hot tea or coffee for an afternoon treat. They pair beautifully with a dollop of lightly whipped cream or even vanilla ice cream if serving as dessert. For a festive twist sprinkle with a little sea salt or drizzle with extra maple syrup right before serving.
Cultural and Historical Context
Butter tarts date back to at least the early 1900s and are a point of culinary heritage across Canada. Each province has its own take with slight variations in filling consistency, sweetness and what to add or not add. Growing up I remember every family picnic and church bazaar had at least one batch piled high on a platter.
Seasonal Adaptations
Try using dried cranberries or currants in the fall. In winter swap brown sugar for maple sugar if you find it. Add a splash of spiced rum or whisky to the filling at holidays for warmth.
Success Stories
I have made these for bake sales, school fairs and family reunions and the feedback is always the same. The pastry is so buttery and the filling walks the line between firm and oozy in every bite. This recipe is forgiving for new bakers but delivers truly classic results.
Freezer Meal Conversion
To make ahead for holidays or gifts, prepare butter tarts completely then freeze once cooled. Place in a single layer between sheets of parchment in a sturdy container. They will keep well for up to two months. To serve just let them thaw uncovered at room temperature for an hour.
Take a bite and taste Canadian tradition. These classic butter tarts are sure to become a must have for your family table.
Common Recipe Questions
- → What makes Canadian butter tarts unique?
Butter tarts are celebrated for their flaky pastry and gooey, caramelized filling, often including raisins or nuts for extra flavor, making them a beloved Canadian treat.
- → How do I ensure the pastry stays flaky?
Use very cold butter and shortening, mix minimally, chill well before baking, and bake in a hot oven; this creates a tender, flaky crust.
- → Can I substitute raisins with other ingredients?
Absolutely. Pecans, walnuts, or chocolate chips are excellent substitutes for raisins in butter tarts, allowing for personal preference or dietary needs.
- → Why bake butter tarts on the oven's bottom shelf?
Baking on the lower shelf helps the pastry base become crisp and firm while allowing the filling to remain perfectly set and gooey.
- → How can I prevent the filling from overflowing?
Fill each tart shell only about two-thirds full and chill the assembled tarts before baking to keep the filling contained during baking.