
 Save
Save
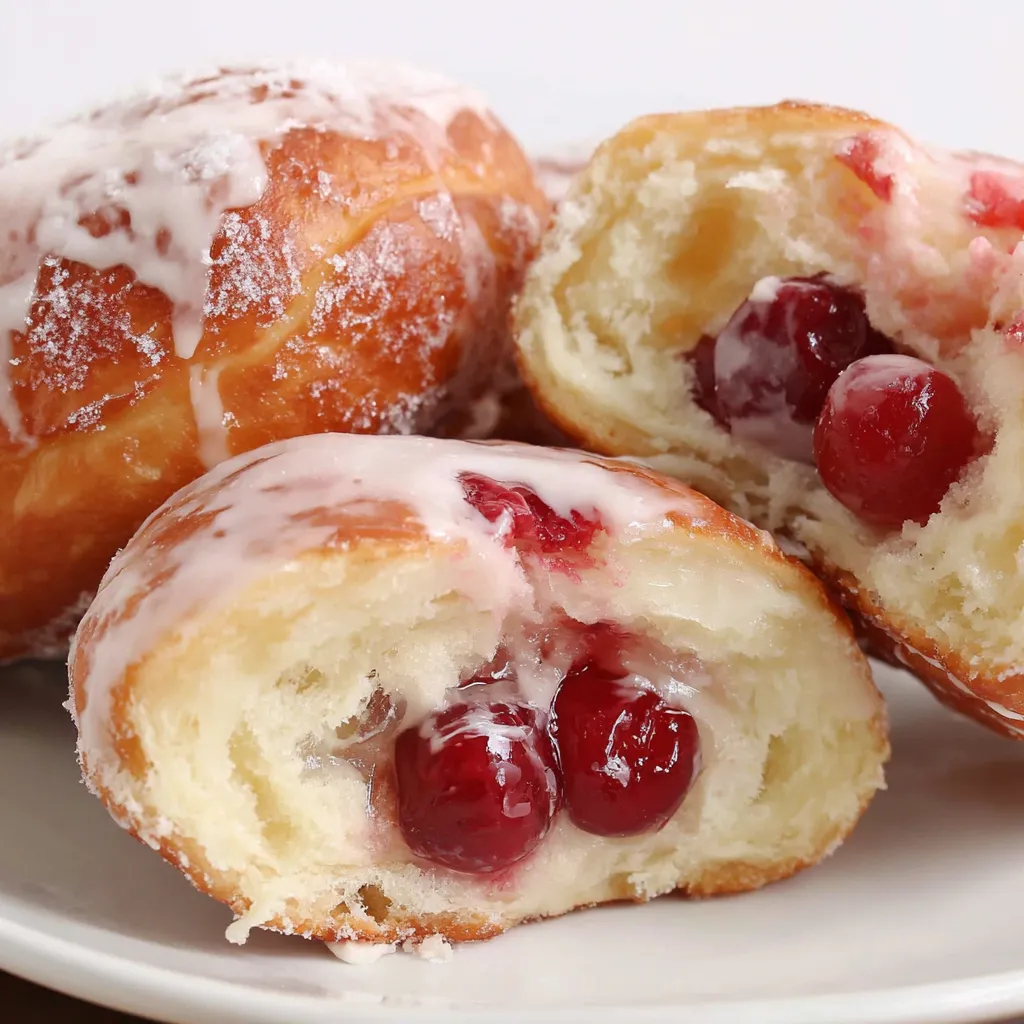
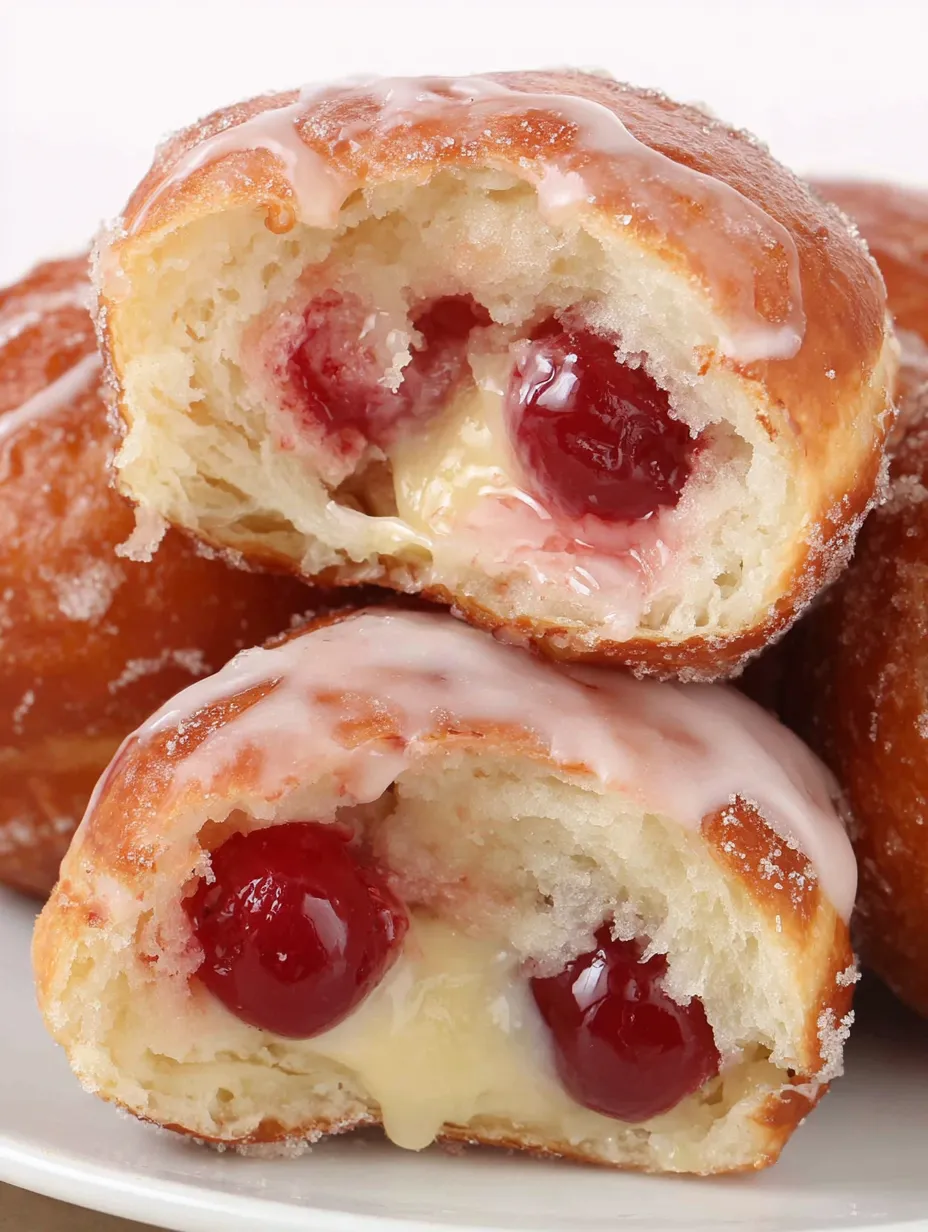
Cherry Doughnut Hand Pies with Vanilla Bean Glaze bring together pillowy fried dough and a homemade cherry filling for a nostalgic treat sure to wow at brunches and summer gatherings. Dipped in a luscious vanilla bean glaze while warm these hand pies taste like they came straight from the corner bakery but have the comfort of a home kitchen.
That magical moment when you bite into a warm pie and the glaze gives way to tart cherries takes me straight back to my childhood kitchen My family always gathered around the table for first tastes unable to resist the smell of frying dough and vanilla
Ingredients
- All-purpose or gluten-free flour: Adds structure to the dough Choose a high-quality brand for best texture
- Instant yeast: Leavens the dough and gives it that classic doughnut rise Always check freshness by the expiration date
- Eggs: Create tenderness and richness in every bite
- Butter, melted and cooled: Enriches the dough For best flavor use real butter not margarine
- Warm milk: Binds ingredients together and activates yeast Ensure it is warm but not hot to the touch
- Sugar: Sweetens both dough and filling Use fine granulated for smooth results
- Salt: Balances sweetness and boosts flavor
- Vanilla bean paste or extract: Adds deep floral notes Choose real vanilla for best taste
- Canola or vegetable oil: Neutral oils perfect for frying
- Fresh or frozen cherries: The starring ingredient Look for plump juicy cherries or a quality frozen brand with no sugar added
- Lemon juice: Brightens cherry filling Choose fresh lemons for zingy flavor
- Ground cinnamon, cloves and nutmeg: Build complexity in the cherry filling Use freshly ground where possible for robust flavor
- Cornstarch: Thickens fruit filling for mess-free pies
- Powdered sugar and milk: Create a creamy smooth glaze Be sure to sift powdered sugar for a lump-free finish
Step-by-Step Instructions
- Prepare the Dough:
- Combine warm milk eggs sugar vanilla and melted butter in a stand mixer bowl Gently mix to combine Add yeast flour and salt Beat on low until just starting to come together then increase the speed to medium Allow dough to knead for around seven to nine minutes You are looking for a dough that is sticky yet clears the sides of the bowl Pull the bowl off the mixer cover tightly and let rise in a warm place until doubled This usually takes one to two hours Warmth is key for a light doughnut texture so I often set mine on a sunny windowsill
- Make the Cherry Filling:
- Place the cherries lemon juice sugar salt cinnamon cloves nutmeg and water in a large stockpot Use low to medium heat to bring the mixture to a gentle simmer Stir occasionally letting the cherries break down slightly for about fifteen minutes In a separate small bowl whisk cornstarch with cold water to create a slurry Pour the slurry into the cherries stirring constantly to avoid lumps Continue to cook for an extra two to three minutes The filling is ready when it is thick and glossy Cool thoroughly before assembling hand pies
- Shape the Hand Pies:
- Dust a clean work surface with flour Roll out the risen dough to about a quarter inch thickness Use a five inch round cutter to portion out circles Place a generous spoonful of cherry filling in the center of each circle For a sturdy hand pie fold the dough over and firmly press edges closed For extra security fold the seam up again pressing tightly As you finish place shaped pies on individual parchment squares this prevents sticking
- Fry the Hand Pies:
- Fill a Dutch oven or heavy skillet with oil and bring to 350 degrees Fahrenheit Working in batches fry each pie for about three minutes per side Aim for deep golden brown and an audible crisp as they come out Lay them on a wire rack so excess oil can drain and the crust stays crisp
- Glaze the Pies:
- Mix powdered sugar vanilla bean paste and milk until completely smooth The glaze should be pourable but not watery While pies are warm dip the tops or drizzle glaze generously Set on wire racks and let the glaze set up before serving
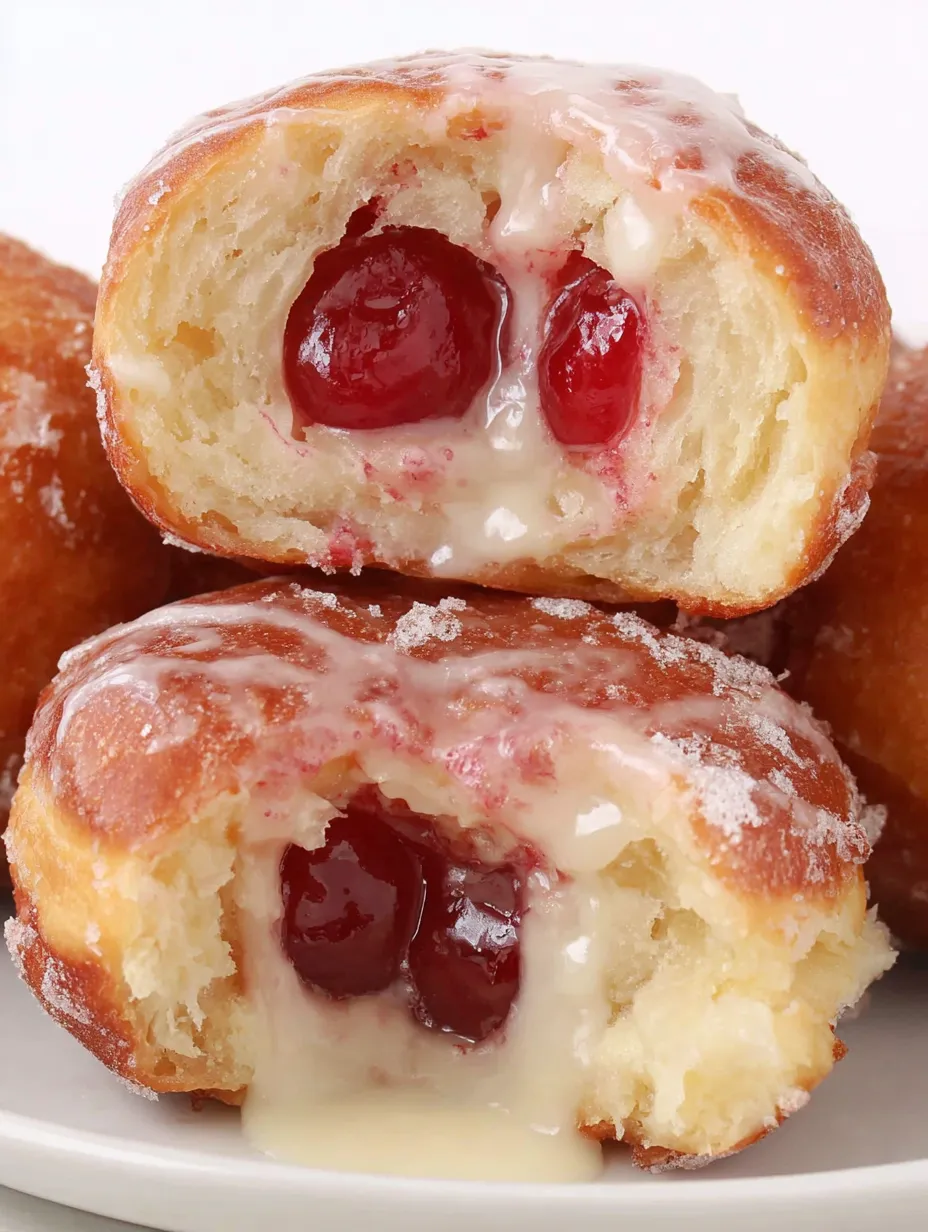
The vanilla bean paste in the glaze is my favorite touch It gives every pie a speckled old-fashioned look and smells just like a real bakery My family always argues over who gets the last one especially if there is extra glaze to swipe from the bowl One bite and you will see why these are a top request at my house
Storage Tips
Hand pies store well in an airtight container at room temperature for about a day For longer keeping refrigerate up to three days Warm briefly in a low oven to revive their texture The glaze may soften with storage but the pies stay delicious
Ingredient Substitutions
If cherries are out of season try blueberries or chopped strawberries in the filling Dairy free milk and butter substitutes work for the dough Gluten-free flour blends can be swapped one for one but you may need a little extra for rolling
Serving Suggestions
Perfect with coffee or a cold glass of milk Serve for summer picnics special breakfasts or even as a unique dessert For a show stopping dessert plate add a scoop of vanilla ice cream on the side
Cultural and Historical Context
Hand pies have roots in many cultures as portable snacks or desserts Their doughnut twist and cherry filling call to mind classic American fairs and roadside bakeries Making them at home brings a sense of nostalgia and celebration to any table
Common Recipe Questions
- → How do I achieve a fluffy, tender dough for these hand pies?
Use warm milk and let the dough rise until doubled for a light, tender texture. Knead thoroughly for elasticity.
- → Can I use frozen cherries for the filling?
Yes, you can use fresh or frozen cherries. Be sure to pit and halve them, and simmer until softened before thickening.
- → How do I prevent the pies from leaking filling during frying?
Seal the edges very well, folding the seam a second time like an empanada to prevent leaks during frying.
- → What’s the secret to a smooth vanilla bean glaze?
Whisk powdered sugar with vanilla bean paste and milk until completely smooth, then glaze the pies while still warm.
- → How can I ensure even frying?
Keep oil at 350°F, fry for about 3 minutes per side, and avoid overcrowding to allow pies to cook evenly and consistently.
- → Is it possible to make these hand pies gluten-free?
Yes, substitute an all-purpose gluten-free flour blend and add extra flour for rolling as needed to prevent sticking.