
 Save
Save
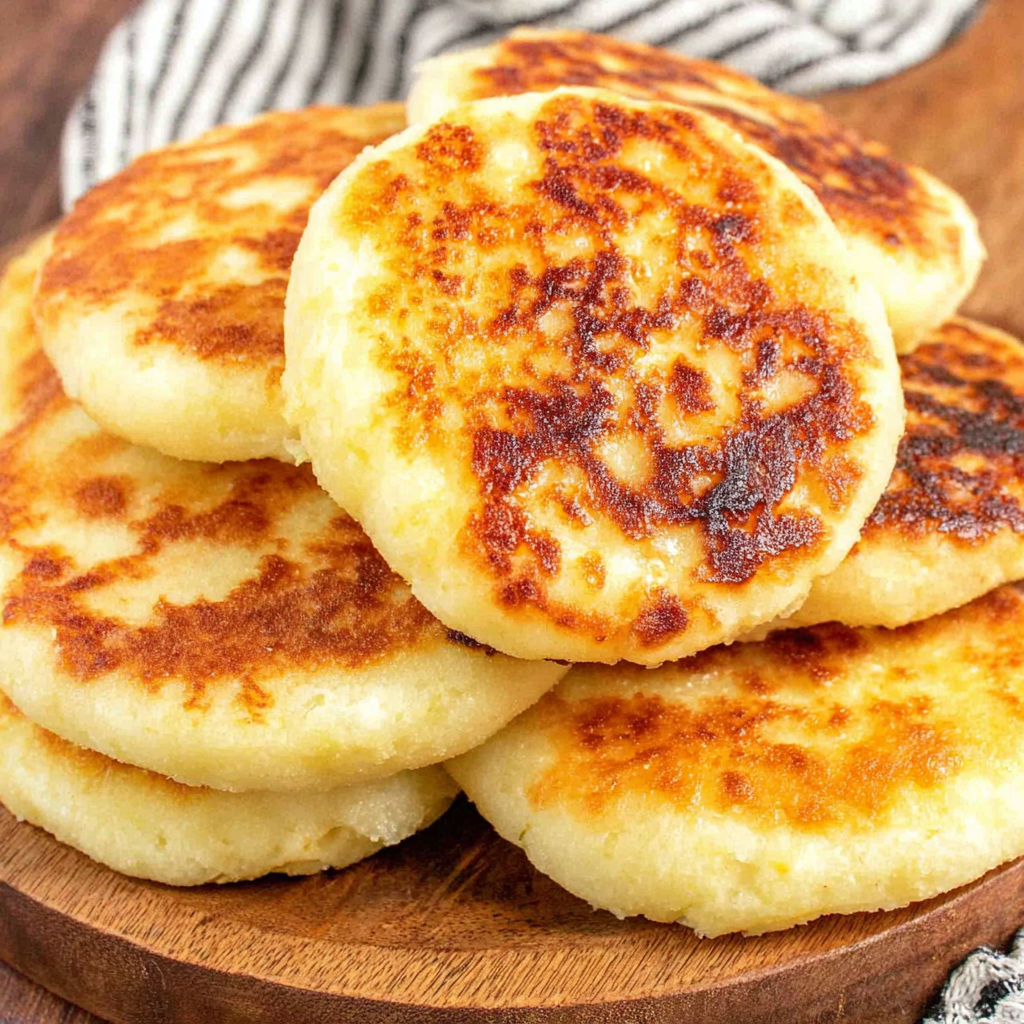
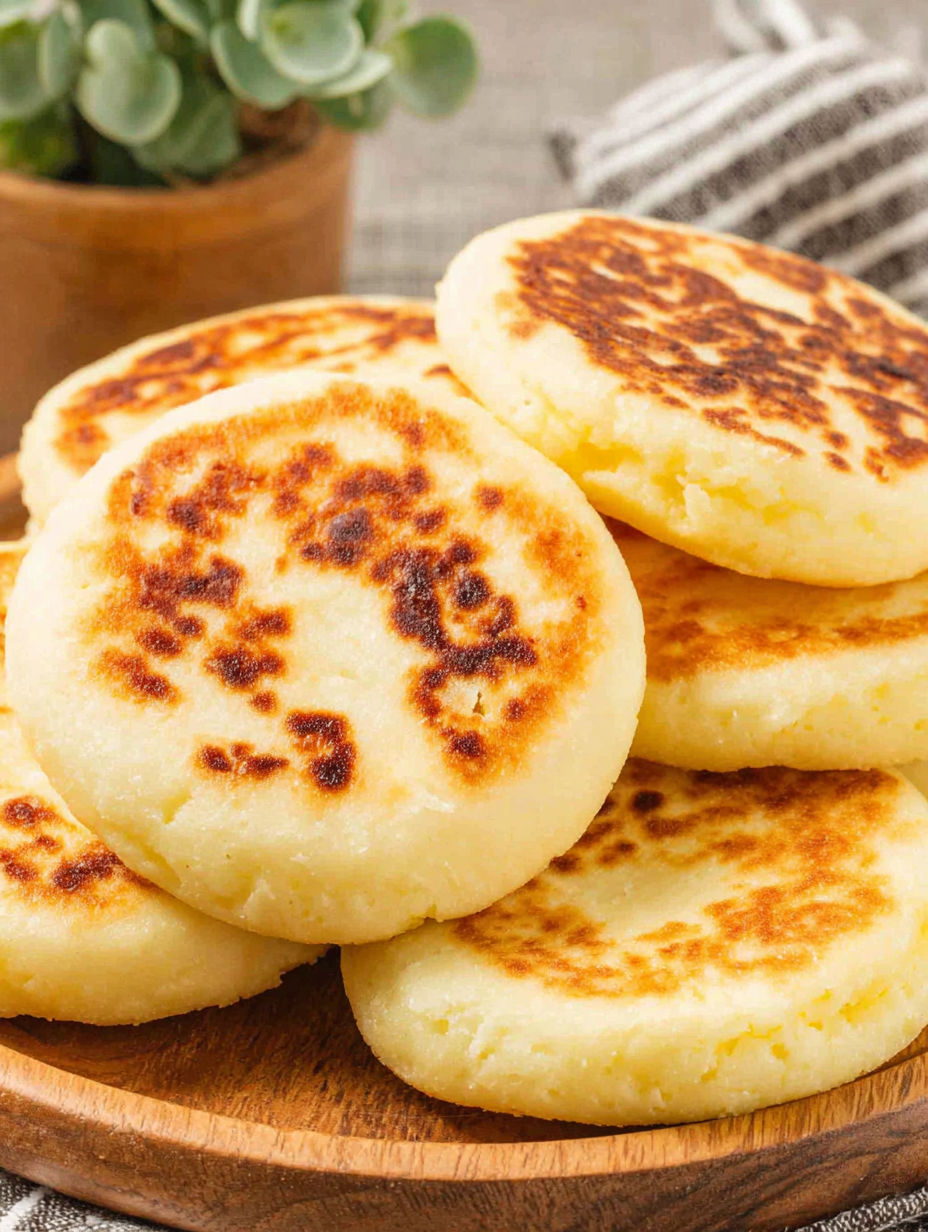
These Arepas con Queso are loaded with warmth and cheesy goodness, featuring a delightful crispy outer layer that defines comfort food. This traditional dish from South America uses just a few basic ingredients and guarantees gooey cheese in every soft bite. With common pantry staples and a skillet, you can whip up these Colombian treats in as little as 30 minutes. I love making these whenever I want to wow my family without a lot of hassle but a ton of taste.
I got my first taste of arepas at a lively street stall in Bogotá and I was hooked right away because they’re so simple and tasty. Now, every Sunday brunch has a big batch cooking, and my kitchen fills with the aroma of butter and cheese for hours.
Ingredients
- Masarepa flour: provides the authentic texture and corn flavor. Brands like P.A.N. work best.
- Salt: boosts all flavors; fine salt mixes evenly.
- Sugar: gives a hint of sweetness to balance flavor; adjust as needed.
- Unsalted butter: adds richness and keeps the dough moist; let it soften before using.
- Mozzarella cheese: key for that gooey texture; go for low moisture and freshly grated for best results.
- Whole milk: helps bind the dough; use fresh and chilled.
- Lukewarm water: smooths the dough; add slowly.
- Nonstick cooking spray: prevents sticking and makes cleanup a breeze; pick a neutral oil-based one.
Instructions
- Mix Dry Ingredients with Cheese:
- In a big bowl, stir together the masarepa flour, salt, and sugar. Then, add in the softened butter and shredded mozzarella. Use your hands or a strong spoon to blend everything well, making sure the cheese is evenly spread and the butter is mixed into the dry ingredients.
- Incorporate Milk and Water:
- First, pour in the milk, then gradually add lukewarm water while mixing with your hands. Knead for several minutes until you get a smooth and cohesive dough. The dough should be soft but not sticking to your hands. If it’s too dry, sprinkle on a bit more water. If it’s sticky, add a touch more masarepa.
- Let Dough Rest:
- Allow the dough to rest uncovered at room temperature for about five minutes. This helps the flour absorb moisture and makes it easier to shape.
- Form Arepas:
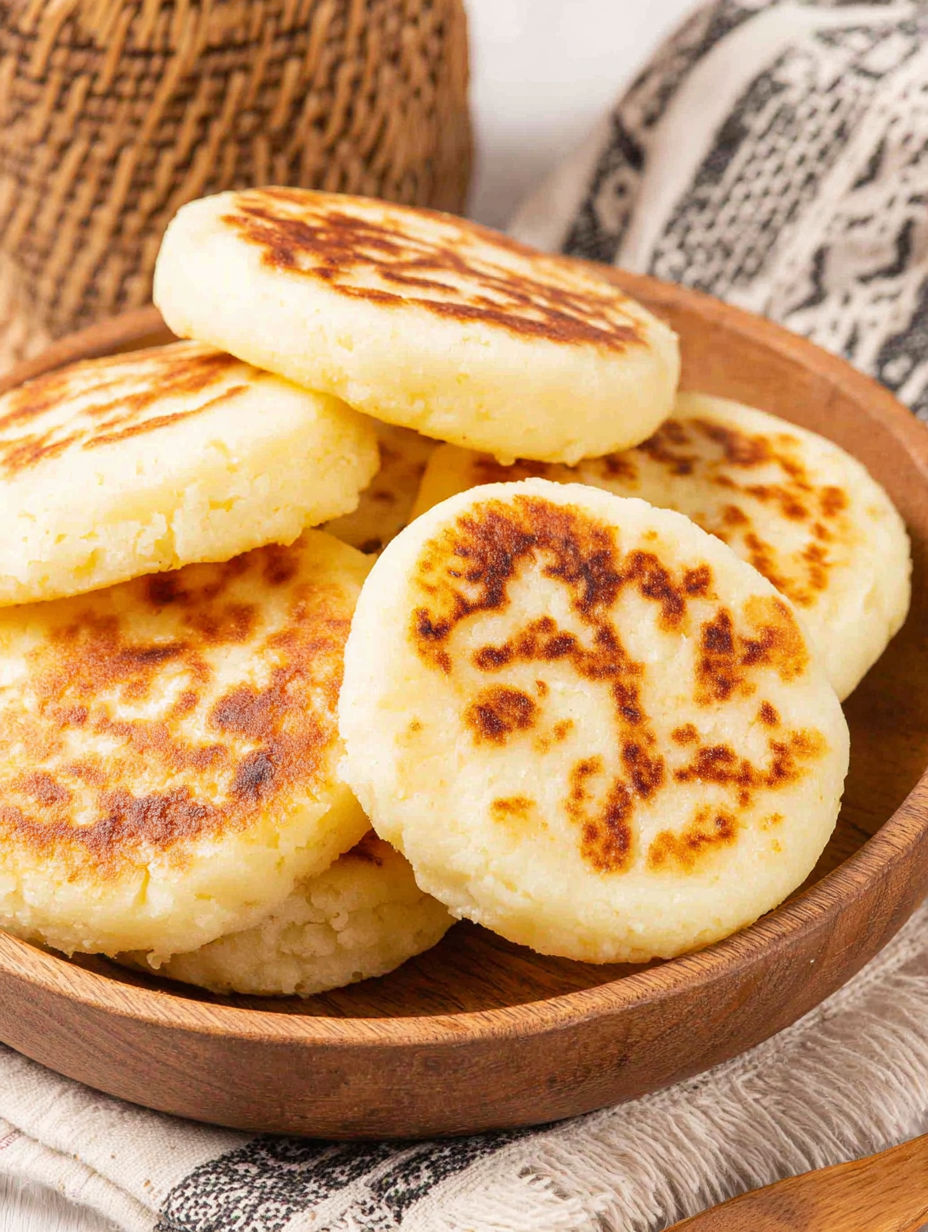
- Split the dough into six equal pieces. Roll each piece into a ball in your palms. Gently press each ball into a thick disc, around half an inch thick and three to four inches wide. For extra cheesy goodness, you can add a little more cheese in the center before flattening.
- Cook Arepas:
- Heat a nonstick skillet over medium heat and lightly spray it with nonstick cooking spray. Place the arepas on the skillet. Cook for about five minutes on each side until they turn golden brown and have a nice crunchy crust. Inside, they should be heated through with melting cheese.
- Serve and Cool:
- Move the finished arepas to a plate and let them sit for a few minutes to cool. Enjoy them warm so the cheese remains melting inside.
I love pulling apart an arepa to watch the steam escape and see the cheese stretch. Now my kids ask for arepas on their birthdays, and it feels like a little slice of Colombian culture in our kitchen here in Minnesota.
Storage Tips
Make sure to let the arepas cool completely before storing. Keep them in an airtight container at room temperature for up to a day if you want them to stay soft. To reheat, warm them on a dry skillet or toast them in the oven until they're crispy again. Leftovers can lose some crunch, but you can refresh them with quick reheating. Sometimes I wrap them in a damp paper towel and microwave them for a softer bite.
Ingredient Substitutions
If you want to try a different cheese, farmer cheese or mild cheddar will work, but mozzarella provides the best gooey texture. For a vegan option, use plant-based butter and non-dairy cheese. If you can't find masarepa, a mix of fine cornmeal and masa harina can work, though the texture will vary. Always use freshly grated cheese for the best melting results. Pre-shredded cheese often has anti-caking agents that can mess with the melt.
Serving Suggestions
Enjoy them warm straight from the skillet with a pat of salted butter or a dollop of tangy sour cream. Arepas go great with black beans, fried plantains, or a crunchy slaw. For brunch, I love to add a fried egg and slices of avocado. Don’t forget a sprinkle of fresh cilantro right before serving. When entertaining, I sometimes slice them into quarters for easy sharing.
A Little History
Arepas have been around for hundreds of years, coming from the indigenous tribes of Colombia and Venezuela. They’re widely enjoyed for breakfast and snacks throughout South America. The cheese-filled version, or arepas con queso, is loved for its creamy flavor. Making arepas brings a sense of connection to the past; it’s simple food woven with memory.
Seasonal Variations
Try adding chopped jalapeños or roasted red peppers for a summer twist. When corn is in season, mix in fresh kernels for extra sweetness. In the winter, pair them with rich hot chocolate or café con leche. Here's a tip: masarepa is different from masa harina, so don’t swap one for the other. Letting the dough rest helps keep it moist and soft. If you seal the cheese tightly in, it melts evenly.
Success Stories
A friend of mine made these gluten-free arepas for her book club, and everyone wanted the recipe. My neighbor now preps extra batches and freezes them for quick lunches for her kids. Once, I hosted a Colombian dinner party and served mini arepas as appetizers, which were gone in no time.
Freezer Meal Prep
You can prepare arepas ahead of time; just shape them but don’t cook yet. Place them on a lined sheet and freeze until solid. You can cook them straight from the freezer, just add a few extra minutes on each side. Keeping frozen arepas is a lifesaver for busy weeks. Sometimes I double the batch just to stock up!
These arepas are simple enough for a weeknight meal but impressive enough for family brunches. You’ll love the cheesy center and the perfectly crispy exterior every single time you whip them up.
Common Recipe Questions
- → What type of cheese works best for Arepas con Queso?
Fresh mozzarella is the best choice because it melts nicely and has a mild taste. Other options like queso blanco or Halloumi also work pretty well.
- → How can I get a crispy outside without burning?
Cook arepas over medium heat with some nonstick spray or oil. Don’t use butter in the pan since it burns fast; you can add butter afterwards if you want.
- → Why does the dough need to rest before shaping?
Letting the dough sit helps the flour soak up the moisture, giving it a smoother feel that's easier to shape and cook.
- → Can I change up the filling for Arepas con Queso?
Definitely! You can add a spoonful of extra cheese to the center of each dough ball or try mixing in herbs and spices for more flavor.
- → How do I stop air pockets from forming in the arepas?
Make sure to press the edges firmly when flattening the dough to seal it, and gently push out any air before you start cooking to help everything melt evenly.