 Save
Save
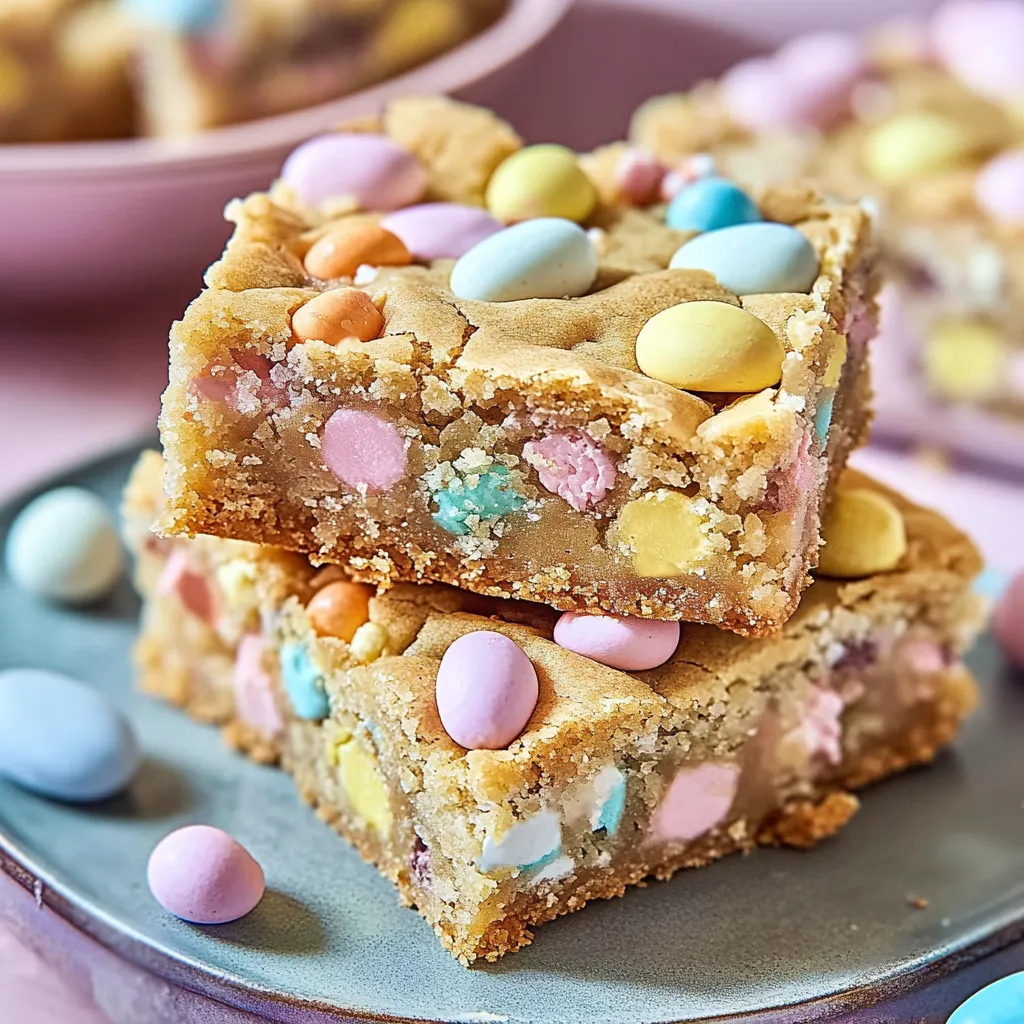
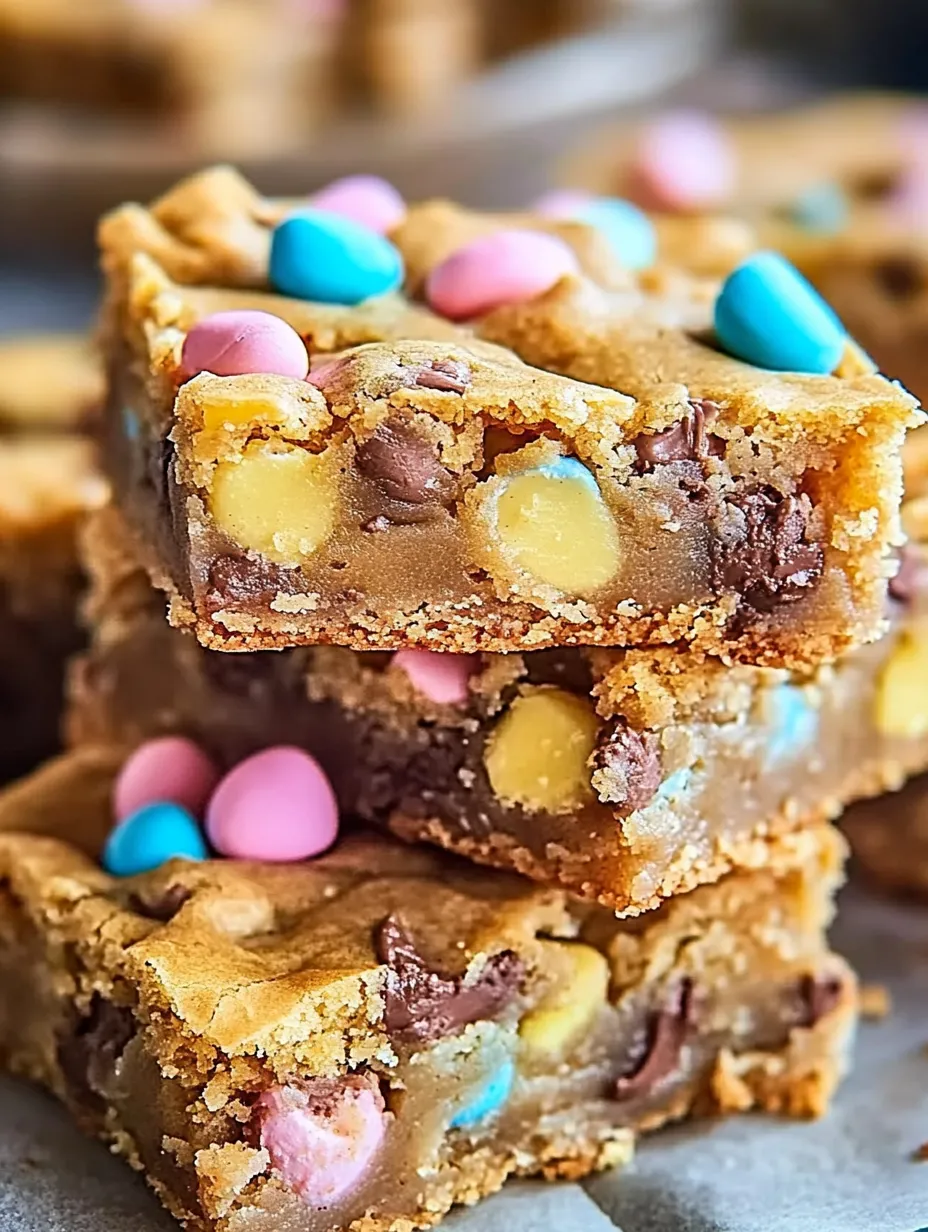
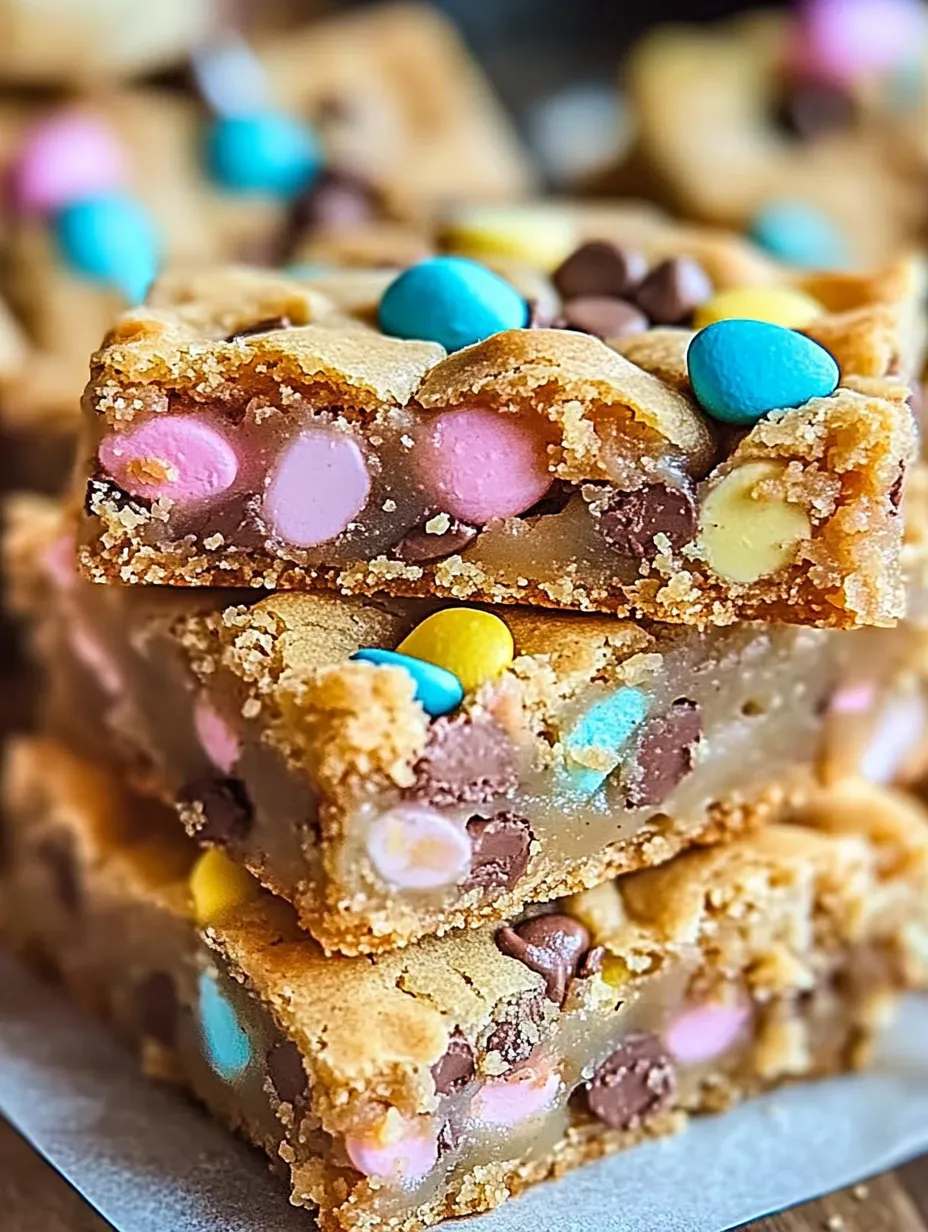
I discovered this recipe last spring when searching for something quick to bring to my niece's Easter egg hunt. Between work deadlines and family commitments, I needed something impressive that wouldn't keep me in the kitchen all day. These colorful cookie bars were such a hit that they've become my go-to dessert for spring gatherings.
Last Easter, my neighbor Tom (who claims he "doesn't have a sweet tooth") ate three of these bars while helping hide eggs in the backyard. When I caught him reaching for a fourth, he just shrugged and said, "These things are dangerously good."
Simple Ingredients
- Yellow cake mix - Creates the perfect chewy base without measuring multiple dry ingredients
- Large eggs - Binds everything together while adding richness and structure
- Vegetable oil - Keeps the bars moist and tender without fussing with butter
- Vanilla extract - Enhances all the flavors with its warm, aromatic notes
- Chocolate chips - Semi-sweet provides the perfect balance with the sweet cake mix
- Colorful sprinkles - The festive element that makes these truly celebration-worthy

I once tried making these with a butter-flavored cake mix I had in my pantry, and they turned out even better than the original! The slight buttery undertone paired beautifully with the chocolate chips. That's the beauty of this recipe – it's incredibly forgiving and adaptable to whatever you have on hand.
Baking Magic
- Simple Prep
- Preheat your oven to 350°F and line a 9×13-inch baking pan with parchment paper. The parchment makes removing and cutting the bars so much easier later. I like to leave a bit hanging over the edges to create handles for lifting.
- Quick Mixing
- Combine the cake mix, eggs, oil, and vanilla in a large bowl. Don't worry about overmixing – unlike traditional cookies, these are pretty forgiving. The batter will be thick and sticky, almost like cookie dough rather than cake batter. This is exactly what you want!
- Festive Additions
- Fold in chocolate chips and colorful sprinkles with a rubber spatula. I sometimes reserve a few tablespoons of sprinkles to scatter on top right before baking for extra visual appeal. The dough will be thick, so be patient when incorporating these add-ins.
- Easy Spreading
- Press the mixture into your prepared pan. The dough won't naturally spread out, so use a spatula (or clean hands lightly coated with cooking spray) to spread it evenly into the corners. Don't stress about getting it perfectly smooth – rustic edges add character!
- Perfect Timing
- Bake for 20-25 minutes until the edges are golden brown and the center is just set. They might seem slightly underdone in the middle, but they'll continue cooking in the hot pan after removal. For that perfect cookie-like texture, it's better to slightly underbake than overbake.
My first attempt at these bars was nearly ruined when I forgot they were in the oven while helping my daughter find her missing Easter basket. Thankfully, the forgiving nature of this recipe meant they were still delicious, just a bit crispier around the edges. Now I always set two timers when baking!
Serving Style
These colorful bars look beautiful arranged on a simple white platter for Easter brunch or spring gatherings. For kid-friendly presentations, I sometimes cut them into bunny shapes using a cookie cutter, though this does create some delicious scraps that mysteriously disappear while I'm working!
For an extra special touch, try drizzling the cooled bars with melted white chocolate before cutting. The contrast of the smooth white drizzle against the colorful sprinkles creates a professional-looking finish that belies how simple these treats are to make.
Creative Variations
The versatility of this recipe is what makes it truly special. Try using chocolate cake mix with peanut butter chips for a decadent twist. For a fruity version, strawberry cake mix with white chocolate chips creates a delightful spring flavor combination.
My personal favorite variation uses lemon cake mix with white chocolate chips and a tablespoon of lemon zest mixed in. The bright citrus flavor feels perfectly suited to spring celebrations and offers a refreshing alternative to chocolate desserts.
Storage Secrets
These bars keep beautifully at room temperature in an airtight container for up to five days, though they rarely last that long in my house! Layer them between sheets of parchment paper to prevent sticking if you need to stack them.
For longer storage, they freeze exceptionally well. Wrap individual portions in plastic wrap, then store in a freezer bag for up to three months. My husband actually prefers them slightly frozen – he says they develop an almost fudge-like texture that's irresistible.

I've made these cookie bars countless times since discovering the recipe, and they never fail to bring smiles and recipe requests. There's something about their colorful appearance and perfect texture that makes them irresistible to kids and adults alike. When something this simple creates such joy, it deserves a permanent spot in your recipe collection!
Common Recipe Questions
- → Can I use a different flavor of cake mix?
- Absolutely! Chocolate, strawberry, or funfetti cake mix all work great in this recipe. Just match your sprinkle colors to complement your cake flavor.
- → How do I know when the bars are done baking?
- The edges should be light golden brown and starting to pull away from the sides of the pan. The center might look slightly underdone but will set as it cools.
- → Can I add other mix-ins besides chocolate chips?
- Yes! Try white chocolate chips, butterscotch chips, chopped nuts, or even mini candy-coated chocolate eggs for more Easter flair.
- → How should I store these cookie bars?
- Store in an airtight container at room temperature for up to 5 days. You can also freeze them for up to 3 months.
- → Can I make these for other holidays?
- Definitely! Just change the sprinkle colors to match any holiday or celebration - red and green for Christmas, orange and black for Halloween, etc.
