
 Save
Save
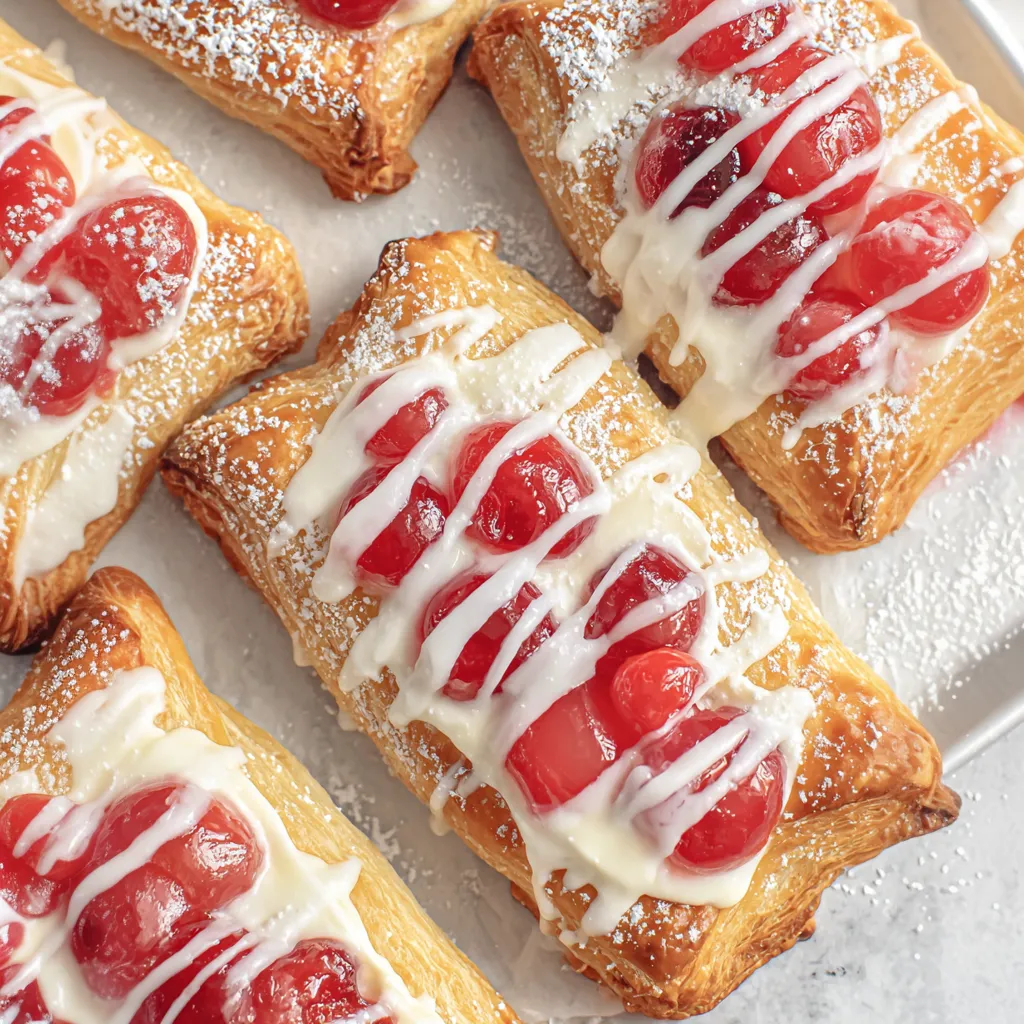
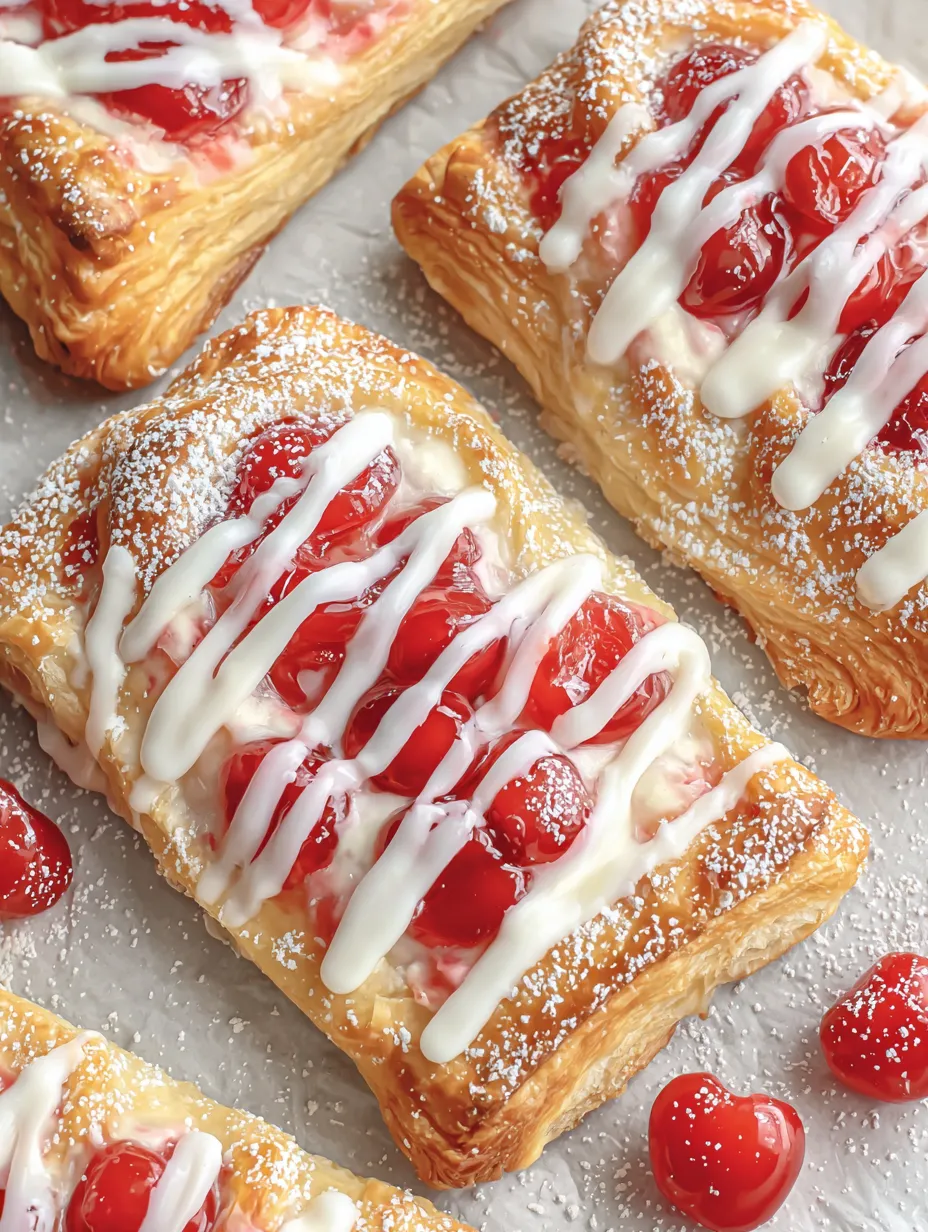
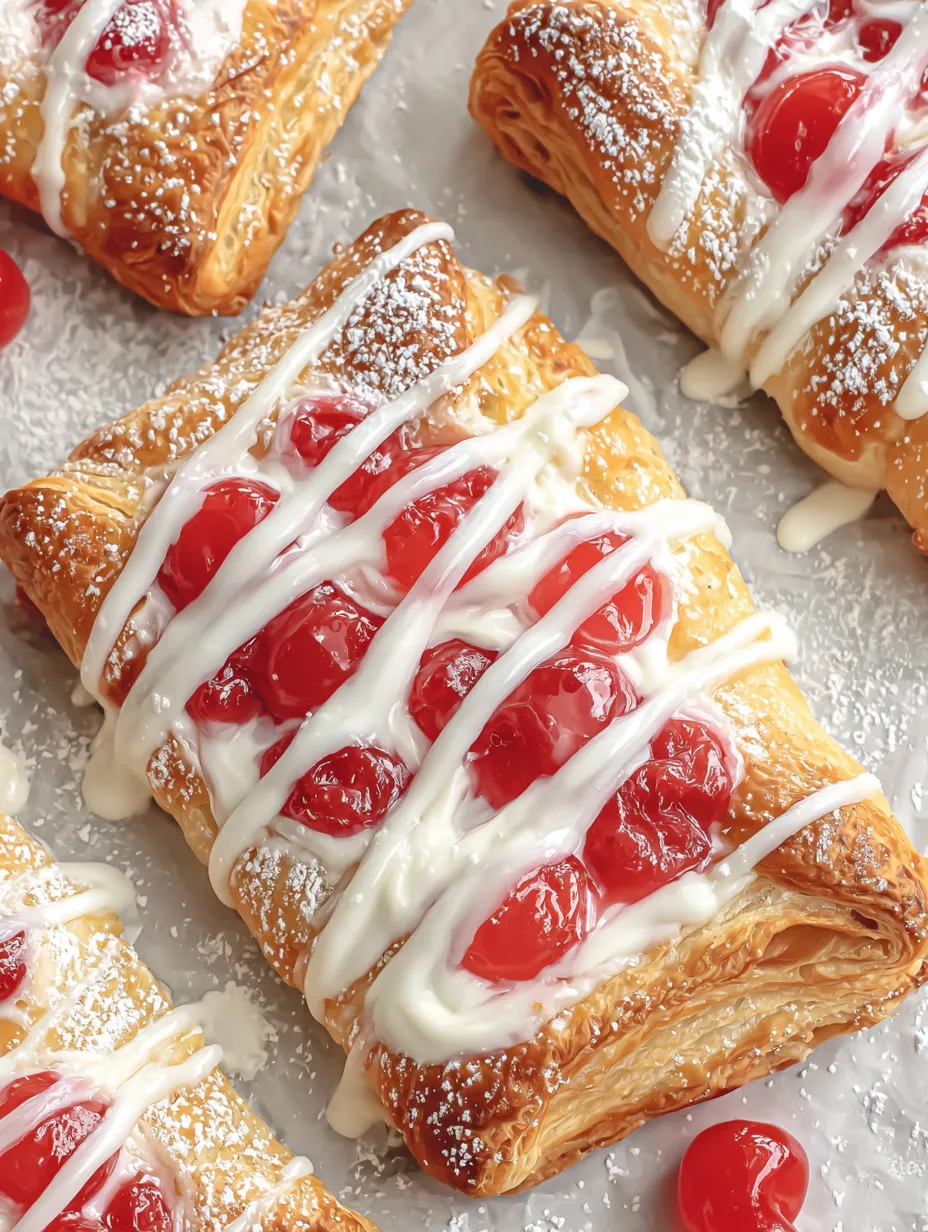
Flaky golden pastry filled with sweet cream cheese and jammy cherries makes this easy cherry Danish a bakery-worthy treat right from your own oven It is ready in under forty minutes with no complicated dough or special skills required My family cheers every time I pull these out of the oven and they never last long enough to cool
Ever since I made these during a lazy Sunday morning brunch I have reached for this recipe whenever I want an easy yet impressive treat The flaky layers and creamy center always get rave reviews
Ingredients
- Thawed puff pastry: Ensures buttery flaky layers Buy a good brand and let it thaw fully for best texture
- Canned cherry pie filling: Packed with fruit and the ideal sweet tart balance Choose a filling where cherries are the first ingredient
- Cream cheese softened: This is the creamy backbone of the filling Use real full fat for best richness
- Granulated sugar: Adds a subtle sweetness to the cream cheese
- Vanilla extract: Gives a hint of warmth and depth Use pure vanilla if you can
- Large egg: Blended with water for a shiny golden finish when baking
- Milk: For mixing the icing to a smooth drizzle Use whole milk for richness
- Powdered sugar: Essential for that sweet pretty icing or dusting
Choosing fresh high quality ingredients especially for the filling makes all the difference and gives your danishes bakery style quality
Step by Step Instructions
- Thaw the Pastry:
- Place puff pastry on the counter until pliable around thirty to forty minutes If it cracks it is still too cold let it rest longer
- Make the Cream Cheese Mixture:
- Beat softened cream cheese sugar and vanilla in a bowl with a mixer until completely smooth No lumps means a silkier filling
- Prep the Baking Sheets:
- Line two large rimmed baking pans with parchment paper which prevents sticking and makes cleanup easier
- Shape the Pastries:
- Lightly flour your work surface Unfold the pastry and gently roll into a nine by eleven inch rectangle for even layers Cut each sheet into six triangles with a sharp knife
- Score the Edges:
- Using a small knife trace a quarter inch border around each triangle Do not cut all the way through just make a clear crease
- Dock the Centers:
- Poke the middle of each triangle with a fork three or four times This controls how the pastry puffs up so the border rises higher than the center
- Add Fillings:
- Spoon about two tablespoons of the cream cheese mixture into the center of each pastry leaving the border clear Top with two tablespoons of cherry pie filling
- Chill Before Baking:
- Transfer the filled pastries onto the prepared baking sheets Place in the fridge for at least fifteen minutes This keeps the butter cold and ensures maximum puff
- Apply Egg Wash:
- Whisk egg with water Then use a pastry brush to carefully paint egg wash along the borders for shine and color
- Bake:
- Put pastries in a four hundred degree oven for eighteen to twenty two minutes until deeply golden and crisp Watch the last few minutes so they do not over brown
- Finish and Serve:
- Let them cool for five to ten minutes If you like mix powdered sugar with milk and drizzle over the cooled pastries Or simply dust with powdered sugar Serve warm or chilled as you prefer
I have a special fondness for the cherry filling which reminds me of summer pie Our whole family would gather around the kitchen counter and watch as these disappeared hot from the oven
Storage Tips
Let pastries cool completely before storing Place in an airtight container lined with paper towels to absorb excess moisture They will keep fresh in the fridge for three to four days You can freeze them tightly wrapped for up to two months Thaw at room temperature and refresh in a warm oven for ultimate flakiness
Ingredient Substitutions
Swap cherry pie filling for blueberry or raspberry filling if you prefer a different fruit If you are out of puff pastry crescent roll dough works in a pinch but will be less flaky For a less sweet dessert use fresh cherries tossed with sugar and cornstarch instead of canned
Serving Suggestions
Serve these cherry danishes as a festive brunch centerpiece alongside coffee and fresh fruit They also make a beautiful dessert paired with whipped cream or a small scoop of vanilla ice cream For a party platter cut the pastries in half for mini treats
Cultural and Historical Context
Danish pastries originally come from Austrian bakers who brought laminated dough techniques to Denmark in the nineteenth century The sweet cheese and fruit combo is a beloved classic across Europe and Scandinavia Today the American version with canned cherry filling gives a nostalgic nod to classic bakery cases
Common Recipe Questions
- → Can I use fresh cherries instead of canned filling?
Yes, you can use fresh pitted cherries. Cook them with sugar and a touch of lemon juice to create a similar texture and sweetness as canned filling.
- → How do I store leftover Danish pastries?
Place cooled pastries in an airtight container and refrigerate for up to three days. Reheat briefly in the oven for crispness.
- → Is it possible to prepare the Danish ahead of time?
Yes, you may assemble the pastries and refrigerate them before baking. Simply bake fresh in the morning for best results.
- → Can a homemade pastry dough be used?
Absolutely! If you prefer, prepare your own puff pastry or yeasted dough as the base for a more hands-on approach.
- → What else can I use for the filling?
You can substitute cherry with other fruit fillings like blueberry, raspberry, or apricot preserves, or even use chocolate.