
 Save
Save
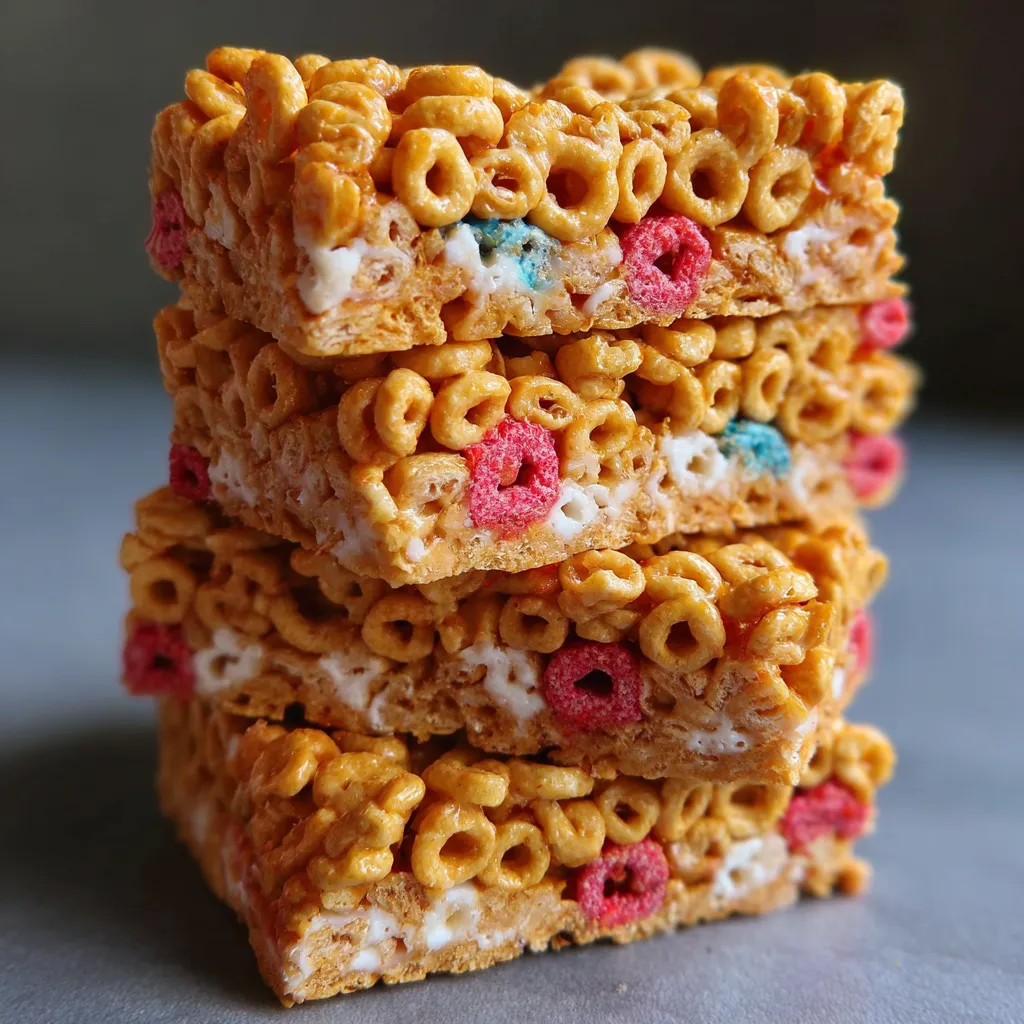
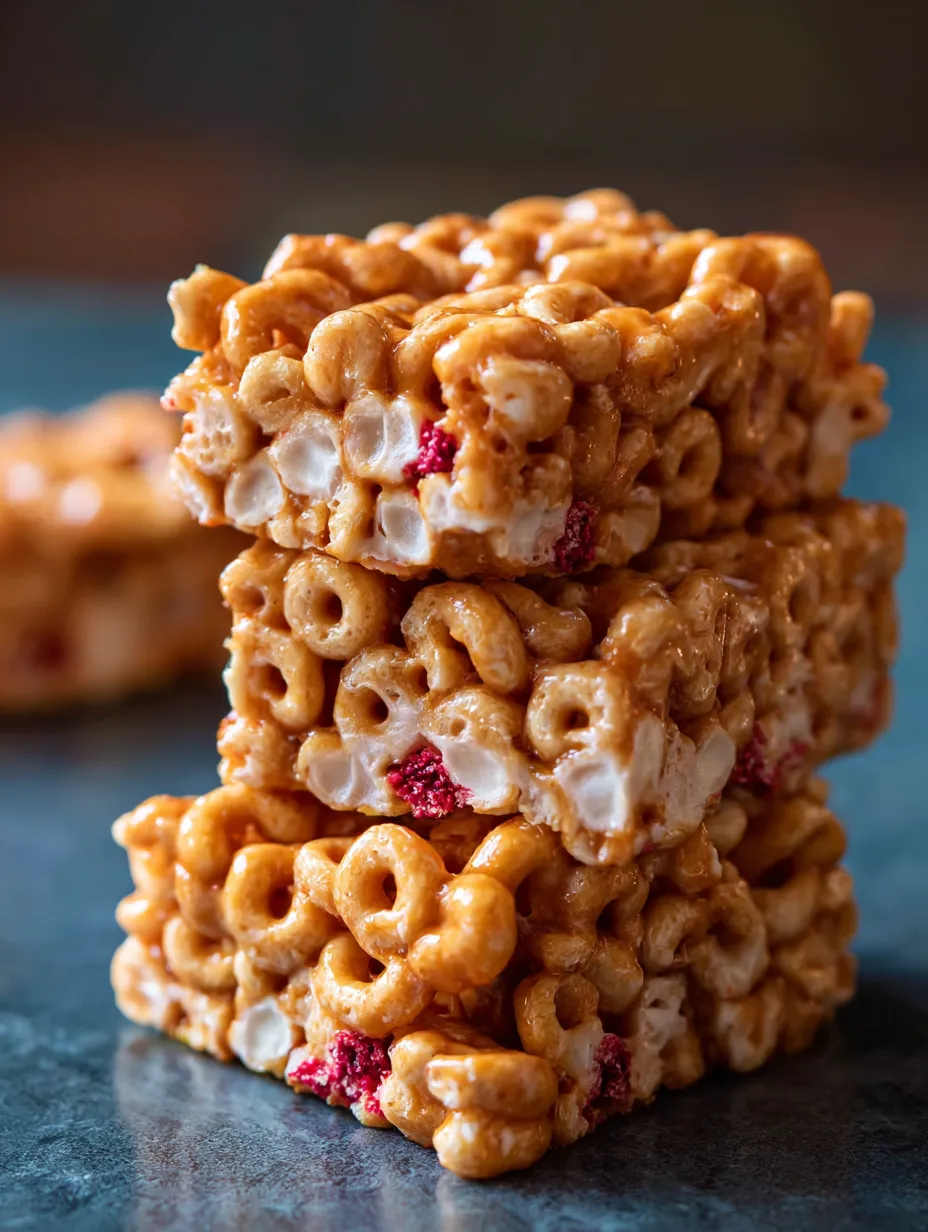
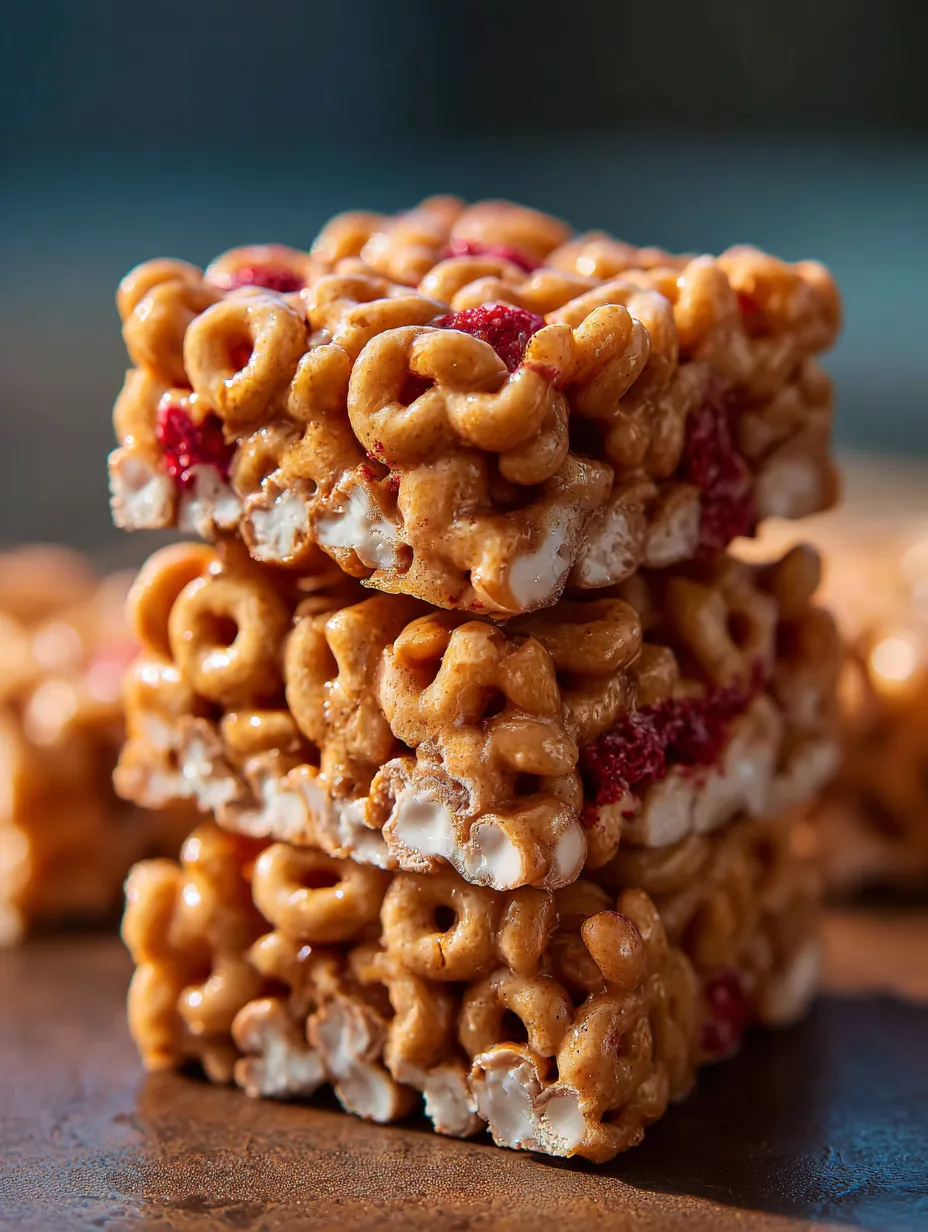
Busy mornings call for something easy and nourishing and these homemade cereal bars always deliver. You get chewy squares packed with wholesome crunch in just five minutes of hands-on time. When I need something my kids will grab before school or friends drop by for coffee these bars save the day again and again.
My youngest first requested these before a field trip and now they are my go-to for after sports or road trip snacks. Each batch vanishes by sunset every time.
Ingredients
- Cereal of choice: provides the crunch and base for these bars try whole grain or gluten free options for added nutrition
- Peanut butter or any nut butter: binds everything together while offering natural richness choose creamy with no added sugar for best flavor
- Agave honey or brown rice syrup: holds the bars together and adds gentle sweetness select a pure brand with just one ingredient
- Optional salt: boosts the taste especially if using unsalted nut butter
- Optional protein powder: brings an extra protein punch to keep you full longer always check for a neutral taste
Step-by-Step Instructions
- Prep the Pan:
- Line an eight inch pan with wax or parchment paper This makes removing the bars easy and keeps cleanup simple
- Warm the Nut Butter:
- Gently heat your peanut butter in the microwave for ten to fifteen seconds if it feels too stiff This helps everything mix together smoothly
- Mix the Base:
- In a large bowl stir together the cereal nut butter agave and salt and protein powder if using Stir very well so every piece of cereal is coated This step is key for bars that hold
- Press and Chill:
- Pour the mixture into your prepared pan Lay a second sheet of parchment on top Press down as firmly as possible Use your hands or the bottom of a flat measuring cup This step ensures the bars stay together when sliced
- Freeze and Cut:
- Place the pan in the freezer for at least thirty minutes until the mixture feels solid enough to cut Slice into bars with a sharp knife
- Store the Bars:
- Keep extras covered Store in the refrigerator the freezer or on your counter if the weather is cool They stay good for up to a week
Each batch reminds me of summer camp snacks my grandma used to pack She always tucked in a handwritten note and these bars feel like a little piece of that memory every time
Storage Tips
Keep your bars wrapped or in an airtight box in the fridge for maximum freshness They hold well in the freezer for up to a month Or store at room temperature up to three days if your kitchen is cool
Ingredient Substitutions
Swap the peanut butter for sunflower seed or almond butter if needed Maple syrup works in place of honey for vegan bars Gluten free cereals like puffed rice work just as well Find what fits your pantry
Serving Suggestions
Cut the bars into bite sized squares for party trays or slice into strips and dip in yogurt at breakfast I like wrapping individual bars in parchment for grab and go snacks
Cultural Context
Cereal bars have roots in lunchbox snacks from North America and the UK Often made with whatever cereal was on hand homemade versions let you avoid additives and make use of pantry ingredients
Common Recipe Questions
- → Can I use any type of cereal?
Yes, feel free to use your favorite cereal—crispy rice, whole grain, or even granola all work well for chewy texture.
- → How do I keep the bars from falling apart?
Press the mixture very firmly into the pan. This helps the bars hold together after slicing and makes them easier to handle.
- → What sweeteners are best?
Honey, agave, or brown rice syrup are ideal as they provide both sweetness and help bind the bars together.
- → Are these bars suitable for meal prep?
Absolutely! The bars store well in the fridge or freezer, making them great for prepping ahead for busy weeks.
- → Can I add extra nutrition?
Yes, you can mix in protein powder or a sprinkle of seeds to boost nutritional value as desired.