
 Save
Save
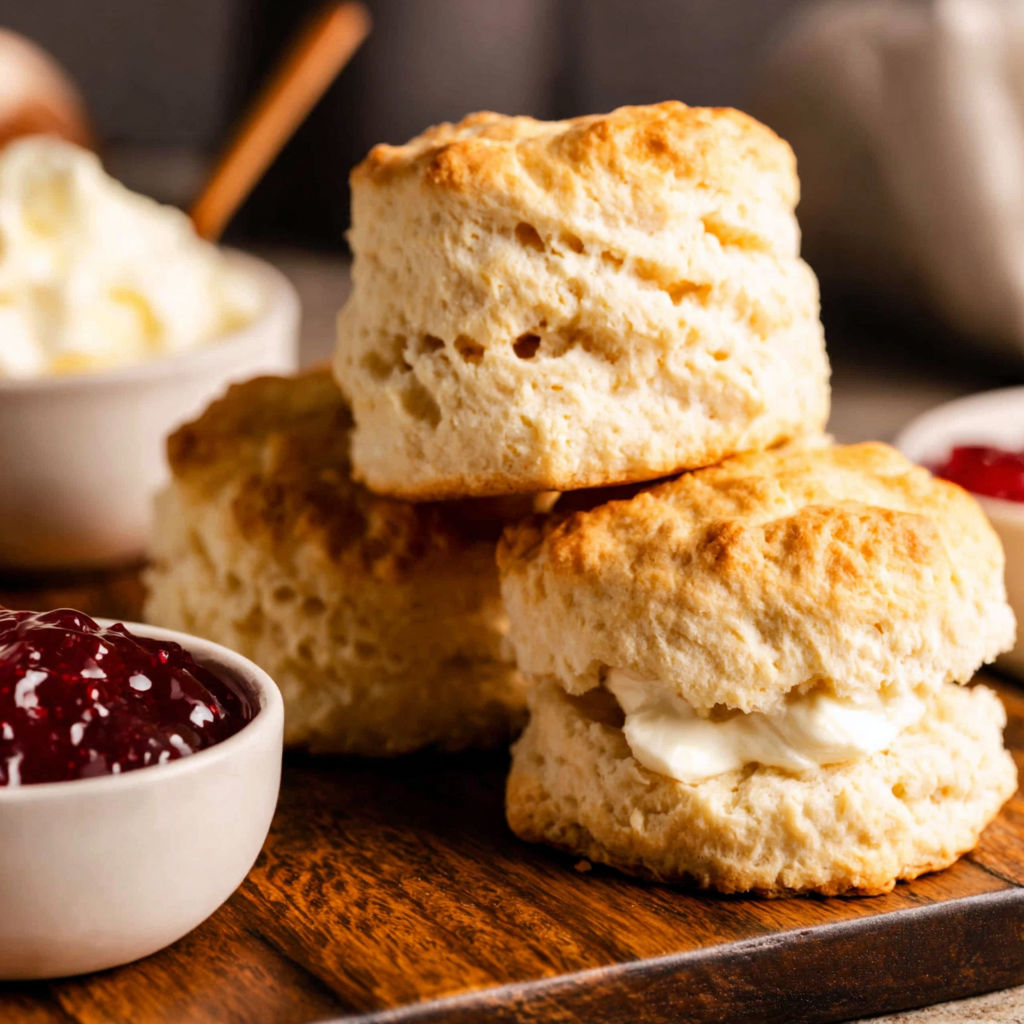
This timeless scone method is my favorite for everything from lazy weekend brunches to festive gatherings. Each batch, with its crispy golden crust and soft flaky center, tastes freshly baked without much hassle. The key is using cold butter and being gentle with the dough which helps scones rise and have that perfect texture. I appreciate how the dough can be tailored to various add-ins, making it both classic and flexible.
The first time I whipped these up, I was amazed at how much my family loved them straight from the oven. Now, they’re a cozy Sunday staple and a favorite way to greet visitors.
Ingredients
- All-purpose flour: forms the base and keeps them light; weigh it for precision and use unbleached for optimal flavor
- Granulated sugar: adds just the right amount of sweetness without overshadowing delicate flavors; choose organic for a brighter taste
- Baking powder: necessary for that perfect rise; make sure it's fresh
- Salt: enhances all flavors; fine sea salt works great if possible
- Cold unsalted butter: the trick for flakiness; keep everything cold until baking
- Heavy cream or buttermilk: adds richness; select the freshest options
- Large egg: binds everything and gives color; room-temperature eggs are best
- Vanilla extract: contributes a lovely aroma; opt for pure extract for more depth, or skip for simpler scones
- Optional add-ins like dried fruit, chocolate chips, or chopped nuts: make each batch unique; toss them in flour first for even mixing
Instructions
- Prep and Preheat:
- Get your oven up to a true 400 degrees F (200 C) and line a strong baking sheet with parchment paper to prevent sticking and ensure even browning
- Combine Dry Ingredients:
- In a large bowl, whisk together flour, sugar, baking powder, and salt until fully blended—this helps to avoid any uneven baking later
- Incorporate the Butter:
- Add in the cubed cold butter, using a pastry cutter or your fingers to mix it into the dry ingredients; aim for pea-sized pieces to help create airy layers when baking
- Blend Wet Ingredients:
- In a separate bowl, crack the egg and mix it with the cream or buttermilk and vanilla, whisking until smooth for quick mixing
- Mix Wet and Dry Together:
- Gently pour the wet mix over the dry, and with a spatula, fold until the dough is a bit lumpy and primarily combined; stop before it becomes too smooth to keep scones tender and lofty
- Add Mix-ins:
- If you're using chocolate or fruit, sprinkle them in now and fold gently to mix without overworking the dough
- Shape the Scones:
- On a floured surface, pat the dough into a disc about 1 inch thick; work quickly to keep it cool for flakiness
- Cut and Place:
- Use a sharp knife to cut into wedges or a circular cutter for rounds, then space them out on the prepared baking sheet
- Brush the Tops:
- Coat each scone top with a bit of cream for a golden finish; this makes any toppings stick better if using coarse sugar
- Bake:
- Place the tray in the hot oven and bake for 12 to 15 minutes until the edges turn golden and the centers feel soft yet fully cooked
- Cool and Enjoy:
- Allow the scones to cool for a few minutes on the tray before transferring to a rack to avoid soggy bottoms; serve warm with clotted cream, jam, or butter
I particularly enjoy adding high-quality dried cherries for a burst of tartness that contrasts nicely with the rich buttery crumb. My youngest always sneaks an extra scone when I add mini chocolate chips—it reminds me of our happiest tea gatherings.
Storage Tips
Let leftover scones cool completely, then keep them in an airtight container at room temperature for up to two days. Warm them in the oven for a few minutes to bring back the crispness. For longer storage, freeze the baked scones on a tray, then move to bags and reheat straight from frozen.
Ingredient Swaps
If you want a tangier taste, trade buttermilk for cream. For dairy-free, chilled coconut oil is a great substitute for butter, and a splash of coconut or almond milk can replace the cream. You can also switch regular flour for a gluten-free blend, but be extra gentle with the dough.
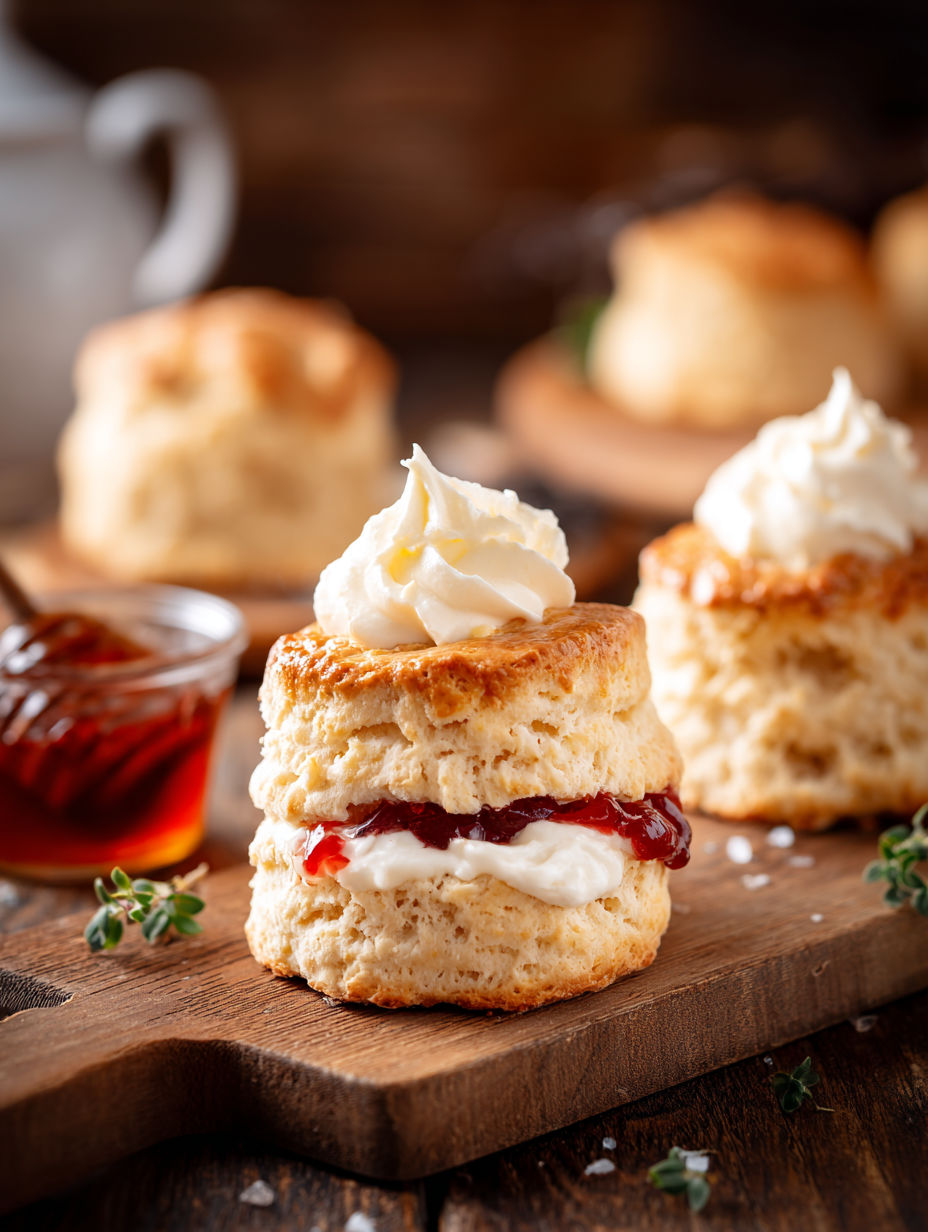
Serving Ideas
Warm scones paired with classic clotted cream and fruity jam make a great afternoon tea. For brunch, I like to serve a savory version with sharp cheese and herbs. Simply drizzling some honey or offering whipped butter is also delicious.
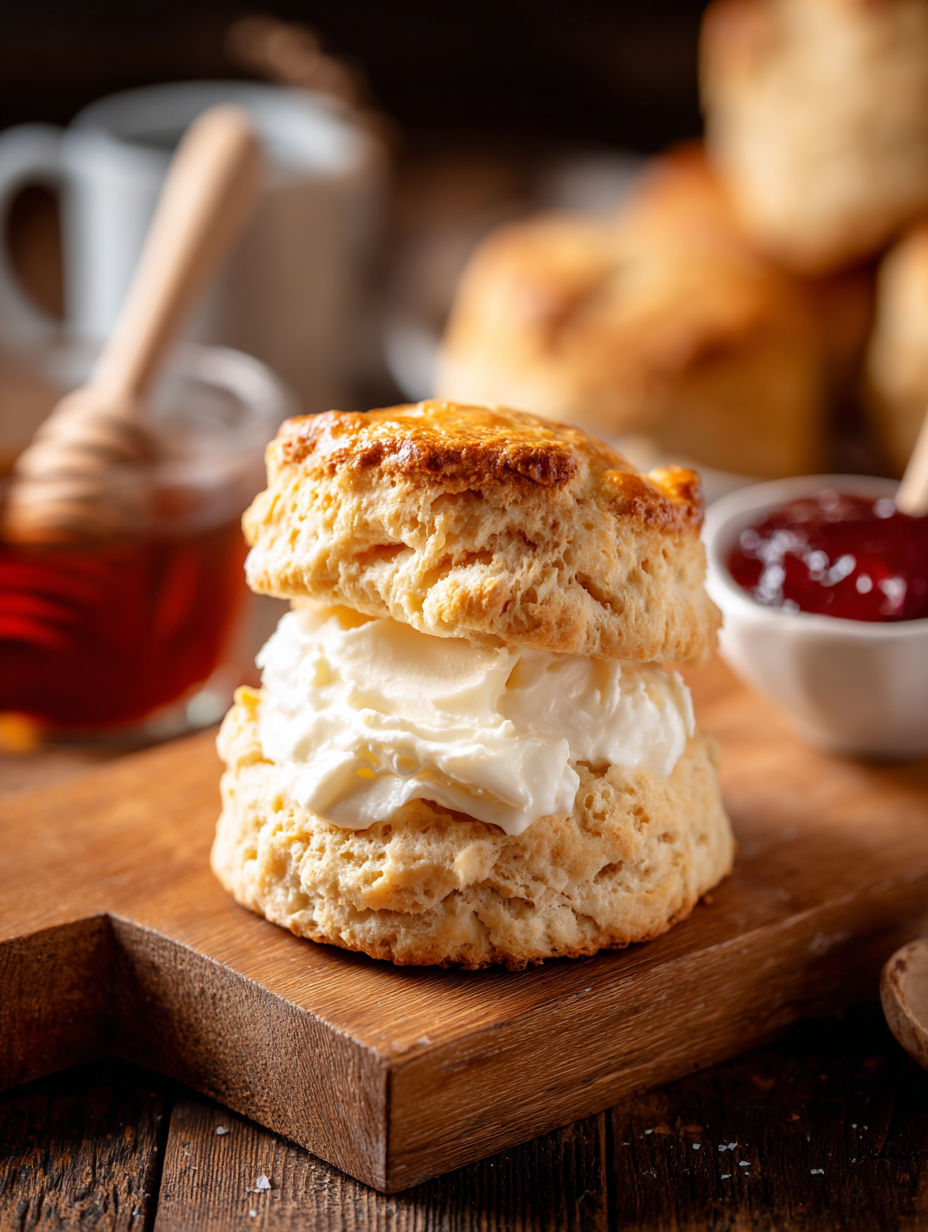
Cultural Background
The scone hails from Scotland, where it was often grilled before baking became typical. Now, scones are a favorite during British and Irish tea times, enjoyed everywhere as a tasty treat with coffee or tea. Sharing them warm with fresh cream is a lovely tradition that connects the past with the present.
Seasonal Variations
Add tiny wild blueberries in summer for a juicy treat. In fall, chopped apples and warm spices like cinnamon are perfect. For a festive winter vibe, try dried cranberries mixed with white chocolate.
Success Stories
I’ve brought fresh scones to countless book club meetings and never returned home with any leftovers. People are always impressed by how flaky and rich they come out. You can adapt this for any holiday, and it’s easy enough for novice bakers.
Freezer Meal Prep
Shape the raw dough into wedges, place them on a tray, and freeze until solid. Store the frozen scones in a bag, and bake directly from the freezer, adding a few extra minutes to the bake time. Fresh scones are just a quick bake away.
Once you get the hang of it, these scones are endlessly adaptable. Enjoy them on any occasion and share the love with friends and family.
Common Recipe Questions
- → How do I get scones extra flaky?
Keep the butter very cold and cut into cubes, then don't mix too much. Leaving some butter bits in the dough helps with the flakiness.
- → Can I use buttermilk instead of heavy cream?
Definitely! Buttermilk gives a slight tang while cream makes them richer and softer.
- → What add-ins work well for scones?
Dried cranberries, chocolate chips, nuts, and raisins are great. Just mix them in before shaping the dough.
- → Why brush tops with cream before baking?
Brushing cream on top gives a nice golden crust and makes the scones taste even better.
- → How should scones be served?
Serve them warm with clotted cream, butter, or fruit preserves. They’re perfect for breakfast or afternoon tea.