
 Save
Save
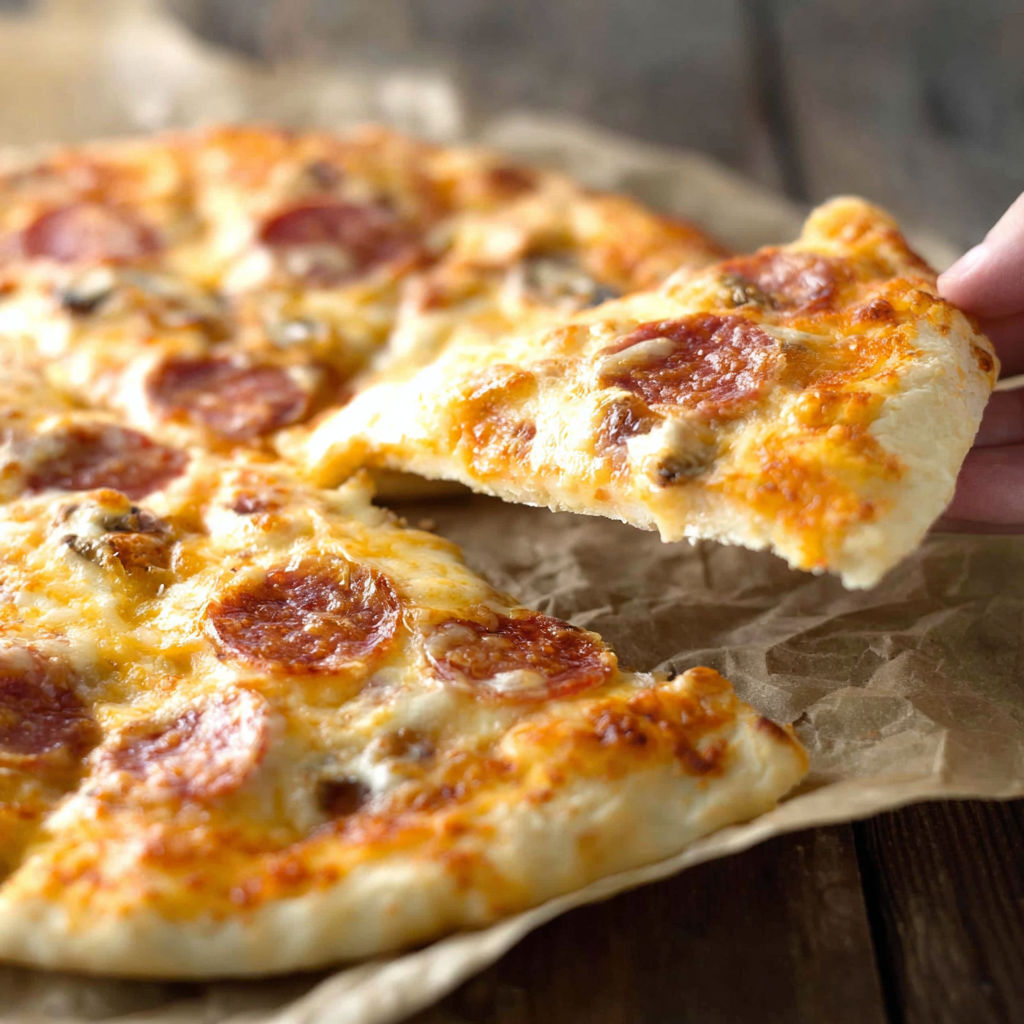
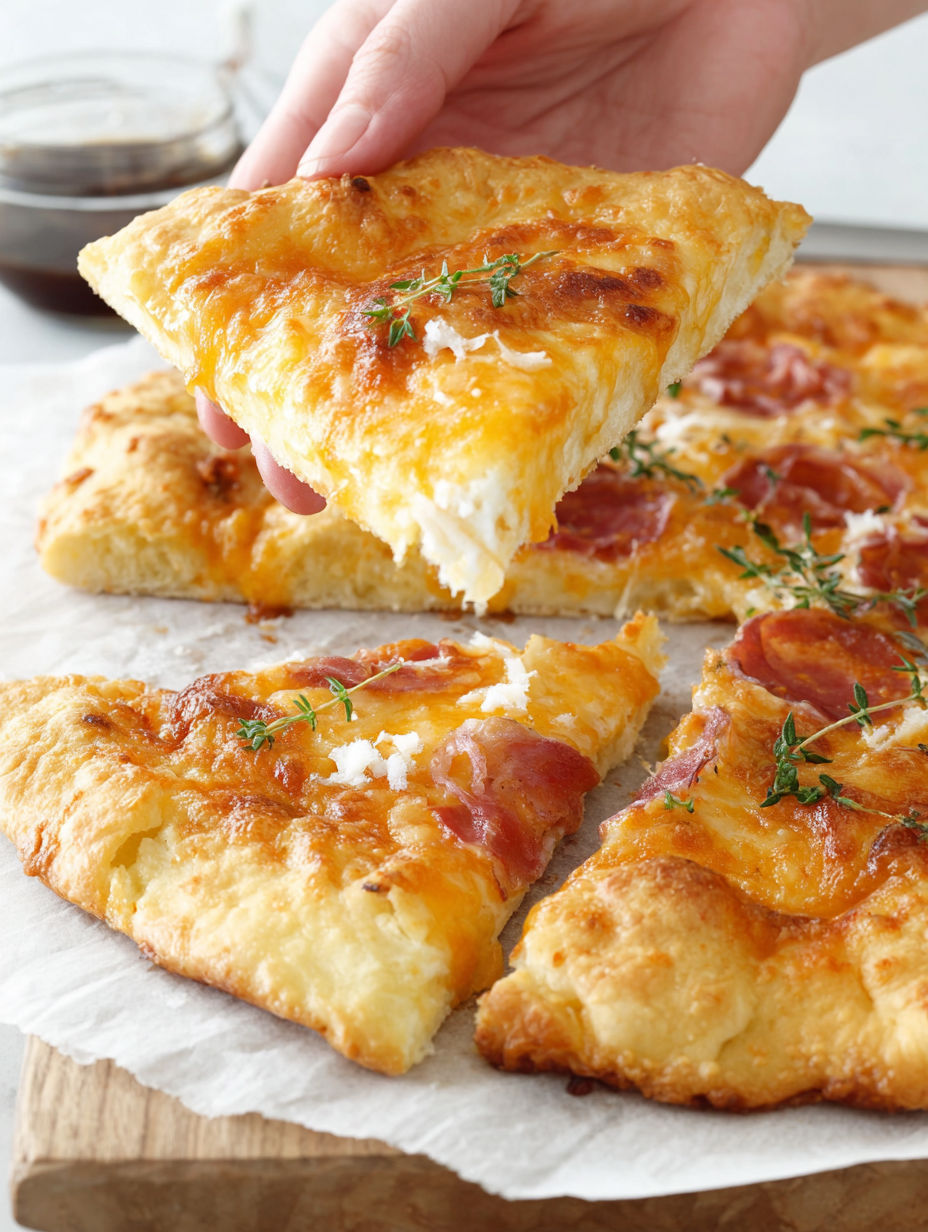
You just can't resist a true New York style pizza, especially with a chewy, golden crust that has that iconic stretchy feel everyone craves. This stretchy gluten free pizza crust takes you back to your favorite corner pizza shop, right in your own kitchen. It's gluten free and way better than any frozen option. After numerous attempts, I finally nailed the secret to a crust that bends without breaking.
The first time I whipped this dough up, I honestly thought it might not hold a candle to the pies I used to enjoy. My friends were amazed it was gluten free, and it quickly became our Friday night go-to.
Ingredients
- All purpose gluten free flour blend: Brands like Better Batter work best; a mix with xanthan gum helps with stability
- Xanthan gum: This ingredient mimics gluten’s stretchy quality when not included in your flour blend
- Tapioca starch or flour: It gives the dough that appealing pull and chew
- Instant yeast: Creates that classic rise and airy pockets in the crust
- Granulated sugar: Nourishes the yeast for a tender crumb and a hint of sweetness
- Kosher salt: Important for enhancing flavor in the crust
- Warm water: Aim for around 95 degrees to kick off yeast activity; too hot can kill it
- Extra virgin olive oil: Adds flavor and keeps the crust tender
- Cooking oil spray: Makes it easier to handle sticky dough and helps your pizza release from the pan
- Your favorite pizza toppings: Go wild with classic cheese or piled-high veggies; pick the freshest ingredients you can find
Instructions
- Make the Dough:
- Start by whisking together the gluten free flour blend, xanthan gum, tapioca starch, instant yeast, and sugar in a stand mixer or food processor. Add the salt separately after mixing to get the yeast started. Combine these ingredients until they’re mixed well.
- Form the Dough:
- Add your warm water and olive oil. Mix on medium or pulse the food processor just until it begins to clump. Then, switch to high speed and mix for another two minutes until the dough forms a soft, sticky mass.
- Rest the Dough:
- Move the dough to a lightly greased bowl or an oiled airtight container. Cover it well and chill in the fridge for at least an hour, up to three days. This downtime is crucial for developing flavor and texture. Good things come to those who wait!
- Prepare Oven and Shape:
- Put a pizza stone or inverted baking sheet in your oven while it preheats to 450 degrees. This gives your crust that crispy base. When you’re ready to roll, split the dough in half, keeping the second half chilled while you shape the first. Wet or grease your hands and tools to avoid sticking.
- Shape the Crust:
- Place the dough on parchment paper and press from the center outwards to create a 12-inch round. Smooth and slightly lift the edge, tucking it under as you go. Spray the whole surface with cooking oil spray, focusing on the outer edge.
- Top and Bake:
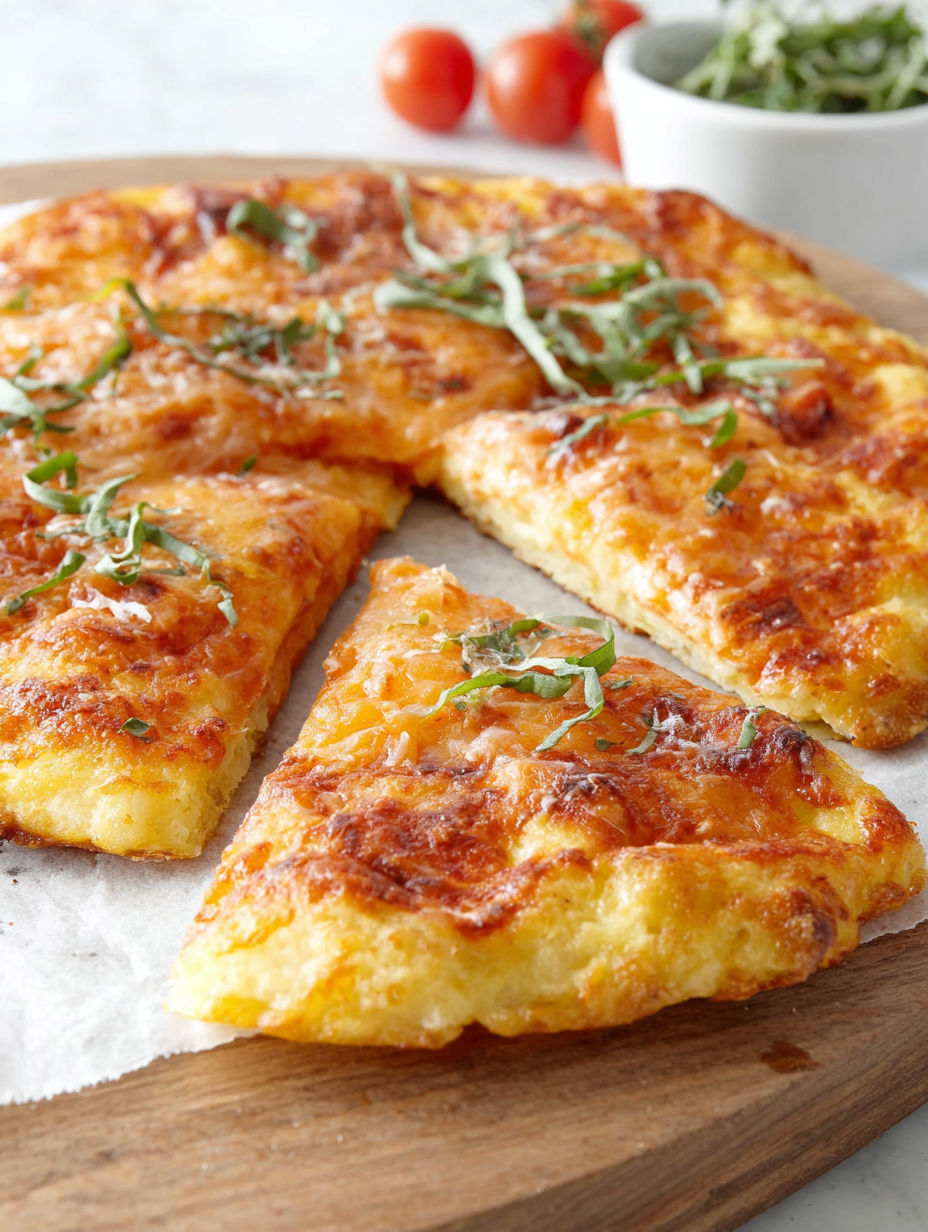
- Add your sauce, cheese, and favorite toppings. Slide the parchment with the pizza onto a peel or cutting board, then onto the hot stone or sheet. Bake for eight to ten minutes, looking for a golden crisp underneath and bubbling cheese. Once out of the oven, let it cool for a few minutes before slicing into classic triangular pieces.
Tapioca starch is my go-to ingredient that I never skip. It transforms the dough from rigid to wonderfully elastic. One of my favorite moments was serving this at a birthday bash and seeing a group of friends, both gluten free and gluten lovers, reaching for more slices without a second thought.
Storage Tips
After baking, wrap leftover slices in foil and keep them in the fridge for up to four days. For the best crispiness, reheat directly on the oven rack. If you have any unbaked dough, it can rest in the fridge for up to three days or be frozen for longer storage if wrapped tightly.
Ingredient Substitutions
If you can't find Better Batter, any highly-rated all purpose gluten free flour blend will do, as long as it contains xanthan gum. If you run out of tapioca starch, arrowroot can be a substitute, though the chewiness will be somewhat lighter. You can also use avocado oil instead of olive oil, but it won't taste exactly the same.
Serving Suggestions
Keep it classic with tomato sauce, mozzarella, and fresh basil, or go for veggies like peppers, mushrooms, and onions. For something different, try a white garlic sauce, or brush the crust with olive oil and parmesan for a bistro feel. Slice thin for party appetizers or serve family-style.
Cultural and Historical Context
New York style pizza is well-known for its huge slices that fold easily, making it the ultimate street food. While most traditional recipes use high gluten flour, this one employs modern gluten free techniques for an authentic flavor. Taco pizza or Margherita pizza both suit this crust perfectly.
Seasonal Adaptations
In the fall, roasted squash or sautéed mushrooms shine. In summer, fresh heirloom tomatoes and basil make for a bright pie. During colder months, winter greens and cooked sausage create a filling pizza option.
Success Stories
I’ve had countless readers tell me this crust changed their pizza game. Some were baking for newly diagnosed celiac friends, and others for families with mixed diets. The common theme is the pure joy of that first bite of truly delicious gluten free pizza.
Freezer Meal Conversion
Shape the uncooked dough into rounds, place on parchment, and freeze flat. Once they’re solid, layer them with parchment sheets in a zip-top bag. When it’s pizza night, pull from the freezer, add your sauce and cheese directly on top, and bake in a hot oven, adding a minute or two to the baking time.
This pizza crust brings all the nostalgia of New York to your kitchen and makes pizza night accessible for everyone. Enjoy each slice, knowing you’ve unlocked the key to stretchy, gluten free perfection.
Common Recipe Questions
- → How do I make the crust chewy with gluten free flour?
Mixing all purpose gluten free flour with tapioca starch and xanthan gum creates a gluten-like structure, giving you that desired chewy texture.
- → Can I prep the dough ahead of time?
Definitely! You can keep the dough in the fridge for up to three days, which helps flavors come out and makes it easy on prep time.
- → What tips can help keep the dough from sticking?
Wet your hands and surfaces or use some oil before handling the dough. Greasing rolling pins and employing parchment paper works well too.
- → Do I need a pizza stone to bake it?
A stone is great for a crispy bottom, but an upside-down baking sheet does the job just fine in home ovens.
- → Can I freeze the baked crust for later use?
Absolutely! Just bake and cool the crust first, then store it in airtight packaging. When you’re ready, simply reheat it for a few minutes before adding toppings.