
 Save
Save
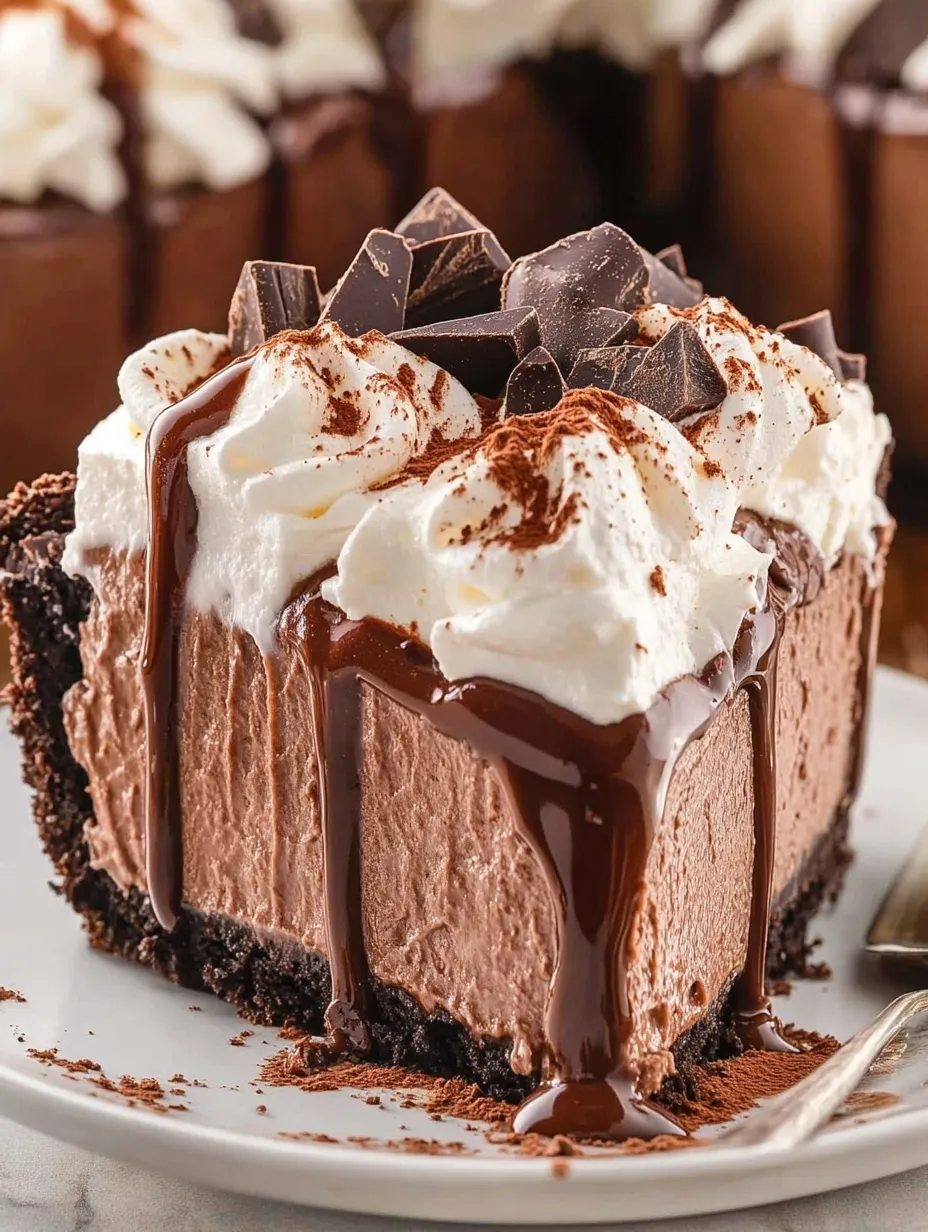
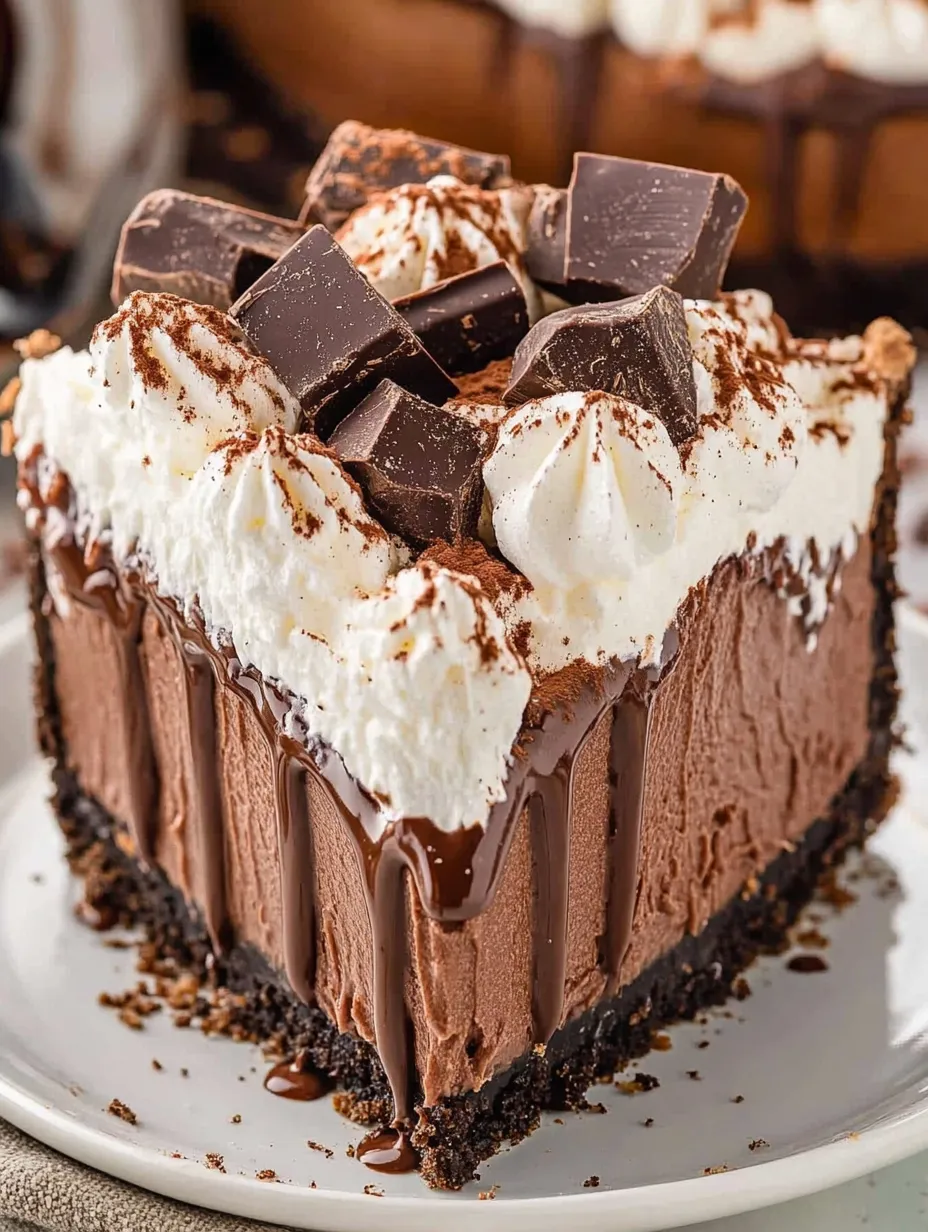
This no-bake hot chocolate pie transforms simple ingredients into a decadent dessert that tastes like your favorite winter drink in creamy pie form. The combination of chocolate cookie crust and rich chocolate filling creates a dessert that satisfies even the most intense chocolate cravings without ever turning on the oven.
I first made this pie for a summer gathering when it was too hot to turn on the oven. The cold chocolatey dessert disappeared faster than any baked treat I had made previously and now my family requests it for every holiday regardless of season.
Ingredients
- Chocolate sandwich cookies: Create the perfect chocolatey base that complements the filling beautifully
- Unsalted butter: Binds the crust together while adding richness look for quality butter for best flavor
- Instant chocolate pudding mix: Provides the quicksilver setup that makes this recipe so convenient
- Cold milk: Activates the pudding use whole milk for the creamiest results
- Semisweet chocolate chips: Add depth and authentic hot chocolate flavor choose a premium brand for best taste
- Cool Whip: Creates the light mousse like texture that makes this pie irresistible
- Vanilla extract: Enhances the chocolate flavor with subtle warmth use pure extract rather than imitation
Step-by-Step Instructions
- Prepare the Crust:
- Thoroughly mix the chocolate cookie crumbs with melted butter until every crumb is moistened. Press this mixture firmly into your pie dish making sure to create an even layer across the bottom and up the sides. The bottom of a measuring cup works perfectly for achieving a compact smooth crust. Chill this base while you work on the filling to help it set properly.
- Create the Pudding Base:
- Whisk the pudding mix and cold milk vigorously for a full two minutes. This is crucial for proper thickening. The mixture should coat the back of a spoon when ready. If it seems too thin give it another minute of whisking before proceeding to ensure your pie sets correctly.
- Incorporate the Chocolate:
- Fold the melted chocolate and vanilla into your pudding mixture using gentle strokes with a rubber spatula. Make sure your melted chocolate has cooled slightly but remains pourable to prevent it from seizing when it hits the cooler pudding mixture. The chocolate should be fully incorporated with no streaks remaining.
- Add the Cool Whip:
- Gently fold in the thawed Cool Whip using a lifting and turning motion rather than stirring. This preserves the air in the whipped topping resulting in a lighter more mousse like filling. Continue until the mixture has a uniform light chocolate color with no white streaks.
- Assemble and Chill:
- Pour the completed filling into your chilled crust spreading it evenly to the edges. Create a slightly domed top for visual appeal. Cover carefully with plastic wrap without touching the filling surface and refrigerate for at least 4 hours. Overnight chilling yields the best flavor and texture development.
The secret to this pie's success is adding both pudding mix and real melted chocolate. The first time I served this to my chocolate loving nephew he asked if I could make it for his birthday instead of cake. Now it has become our special tradition and I always let him add extra chocolate chips to the filling when he helps me make it.
Make Ahead and Storage
This hot chocolate pie actually improves with time in the refrigerator making it an ideal make ahead dessert. You can prepare it up to 48 hours before serving allowing the flavors to meld perfectly. Store leftovers covered in the refrigerator for up to 5 days though the crust may begin to soften slightly after the third day. This pie does not freeze well due to the Cool Whip which can separate upon thawing affecting the texture significantly.
Customize Your Pie
The beauty of this hot chocolate pie lies in its adaptability. Try using different flavored pudding mixes like white chocolate or cheesecake for interesting variations. Add a teaspoon of peppermint extract to evoke a peppermint hot chocolate experience during the holidays. Fold in a half cup of mini marshmallows into the filling for authentic hot chocolate texture. You can even add a tablespoon of instant coffee powder to the pudding mixture for a mocha version that coffee lovers will appreciate.
Serving Suggestions
Serve this pie well chilled for the best texture and flavor experience. A metal pie server dipped in hot water and wiped dry will make clean slice cuts. For an impressive presentation add whipped cream just before serving and garnish with chocolate curls made by running a vegetable peeler along a chocolate bar. During winter months warm some chocolate sauce to drizzle over each slice mimicking the experience of hot chocolate with a cold twist. For summer gatherings serve with fresh raspberries or strawberries to add a bright fruity contrast.
From Drink to Dessert History
Hot chocolate has been enjoyed as a beverage for centuries dating back to Mayan and Aztec cultures. This pie transforms the beloved drink into a modern American dessert experience. The no bake chocolate pie gained popularity in mid 20th century America when convenience foods like instant pudding became household staples. This recipe combines that nostalgic ease with the comforting flavors of traditional hot chocolate including the marshmallow topping that became synonymous with the drink in the 1950s.
Common Recipe Questions
- → Can I use a different crust for this pie?
Yes, you can substitute the chocolate cookie crust with a graham cracker crust or any pre-made crust of your choice.
- → How long does the pie need to chill?
The pie should chill for at least 4 hours to properly set before serving. Overnight is even better for optimal texture.
- → Can I replace Cool Whip with homemade whipped cream?
Yes, homemade whipped cream can be used as a substitute. Whip heavy cream with sugar until soft peaks form, and fold it into the filling.
- → What toppings can I add?
You can add chocolate shavings, mini marshmallows, a drizzle of chocolate sauce, or additional whipped cream for decoration.
- → Can I make this pie ahead of time?
Yes, this pie can be made a day in advance and stored in the refrigerator until ready to serve.