
 Save
Save
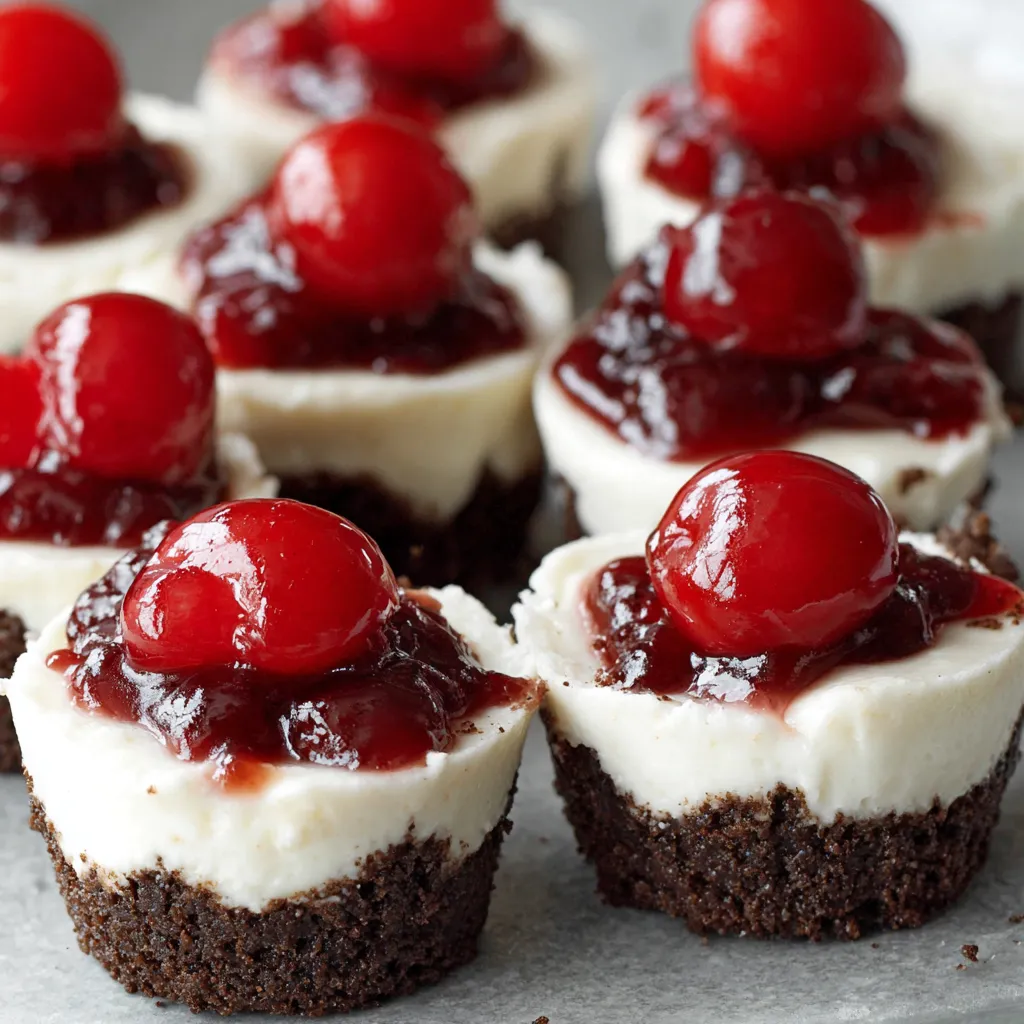
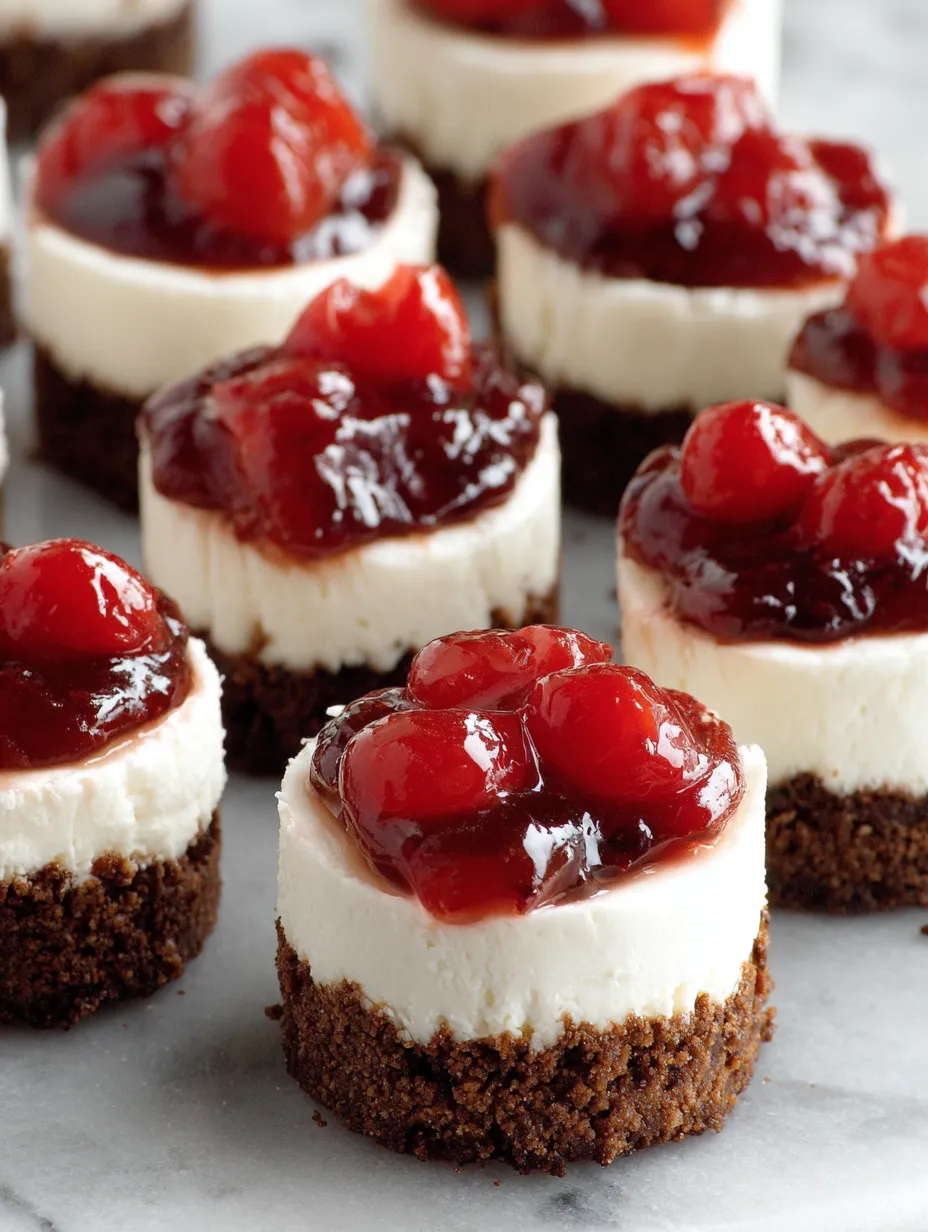
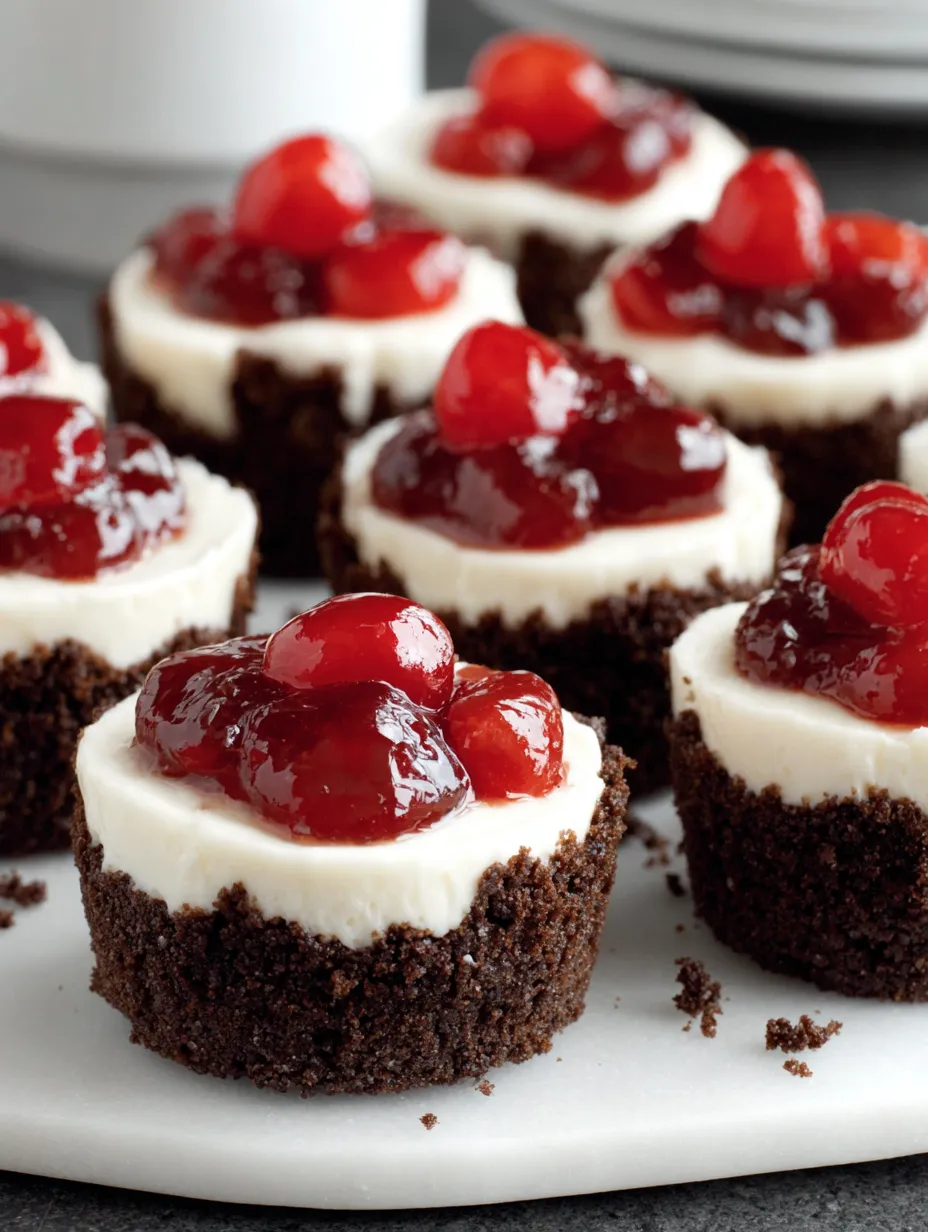
Mini cheesecakes are my favorite treat for celebrations and family gatherings when I want something crowd-pleasing but easy to serve. Each tiny dessert delivers classic creamy cheesecake flavor in just a few bites and is finished with a bright cherry topping for a bakery-style look everyone loves.
There was one summer when I brought mini cheesecakes to every potluck and picnic. One bite and everyone wanted the recipe. They are always gone before the end of the night.
Ingredients
- Chocolate graham crackers: A chocolaty base that makes the crust special Choose crackers that feel crisp and have a fresh cocoa scent
- Sugar: Provides sweetness and helps the crust set as it bakes Use white sugar for a clean flavor
- Butter: Binds the crumbs together and helps them crisp up in the oven Melt the butter completely for even mixing
- Heavy whipping cream: Gives the filling a light airy texture Choose cream with the highest fat content for best results
- Cream cheese: The heart of classic cheesecake Softened cream cheese ensures a silky filling Look for full fat blocks not the whipped kind
- Sour cream: Balances the richness with subtle tang Choose real sour cream not low fat or substitutes
- Lemon juice: Adds a fresh note that brightens every bite Use freshly squeezed for the best flavor
- Vanilla extract: Rounds out the filling with warmth Use real extract for depth
- Cherry pie filling: Classic bright topping for cheesecake Try to pick a can that lists cherries as the first ingredient and avoid ones that seem too syrupy
Step-by-Step Instructions
- Prepare the Crumb Crust:
- In a food processor pulse the chocolate graham crackers until finely ground then add the sugar and process just to mix. With the motor running drizzle in fully melted butter allowing the crumbs to absorb evenly so the crust holds together.
- Pack and Bake the Crust:
- Spray each cup of a mini cheesecake pan with neutral non stick spray. Spoon about one and one half tablespoons of the crumb mixture into each slot making sure to press down firmly and evenly with the back of a spoon so the base is compact. Bake at three hundred fifty degrees Fahrenheit for five minutes. Let cool for another ten minutes before filling so the crust does not crumble.
- Mix the Creamy Filling:
- In a medium bowl use a hand mixer to beat softened cream cheese for a full minute. It should look smooth and lose stiffness. Add sugar sour cream lemon juice and vanilla and blend on low until well combined with no lumps remaining.
- Whip and Fold the Cream:
- In a separate bowl beat the heavy cream on high speed until firm peaks form. This ensures a lighter fluffier texture. Gently fold the whipped cream into the cream cheese base using a spatula in sweeping motions so you do not deflate the mixture.
- Fill and Chill:
- Spoon about two to three tablespoons of the creamy filling on top of each crust. Use the back of the spoon to smooth the tops. Place the pan in the refrigerator for at least four hours or until fully set for easy removal.
- Add the Finishing Touch:
- Just before serving place one tablespoon of cherry pie filling on each cheesecake. Include two to three cherries for the perfect sweet fruit-to-cream ratio.
When I was a kid I always snuck extra cherries from the can before they made it onto the cheesecakes The pop of color and that sweet tart flavor just completes every bite for me My niece now does the same whenever she helps me in the kitchen
Storage Tips
Store mini cheesecakes in an airtight container in the refrigerator for up to five days They taste amazing even after a couple days which makes them perfect for planning ahead If you want to make a big batch for later freezing works great Just wrap each one individually and freeze for up to three months Without the cherry topping they thaw beautifully overnight in the fridge
Ingredient Substitutions
No chocolate graham crackers Swap in regular graham crackers or even chocolate wafer cookies for a different chocolate crunch You can use Greek yogurt instead of sour cream in a pinch For the filling try blueberry or apple pie topping or keep it simple with a swirl of melted chocolate
Serving Suggestions
Mini cheesecakes look beautiful on a platter beside fresh berries lemon zest curls or a drizzle of caramel For a fun party bar set out different toppings for guests to customize their own with chocolates fruits or nuts They are lovely for holiday dessert tables baby showers birthdays or just a sweet ending to a weeknight dinner
Cultural Context
Cheesecake dates back to Ancient Greece but the rich creamy version we enjoy today is an American classic Mini cheesecakes became popular because they solve the problem of slicing clean pieces and make every guest feel treated to something personal The cherry topping is a classic nod to diners and bakeries everywhere
Common Recipe Questions
- → Can I use a regular muffin tin if I don't have a mini cheesecake pan?
Yes, a muffin tin lined with paper cups works well. The cheesecakes may vary slightly in shape, but will still bake and set nicely.
- → How do I know when the filling is sufficiently whipped?
The filling should look smooth and fluffy after folding in the whipped cream, with no visible lumps or streaks in the mixture.
- → What are some alternative toppings besides cherries?
Try strawberry, blueberry, raspberry, chocolate ganache, caramel, or a simple dollop of whipped cream for variety.
- → Can I make these cheesecakes ahead of time?
Absolutely! Prepare and refrigerate them up to five days ahead or freeze for up to three months, adding toppings just before serving.
- → How should I store leftover mini cheesecakes?
Store in an airtight container in the refrigerator for up to five days. For longer storage, freeze without toppings and add them later.
- → Is it possible to use a different crust base?
Yes, regular graham crackers or even crushed cookies such as vanilla wafers or gingersnaps can be substituted for the crust.