
 Save
Save
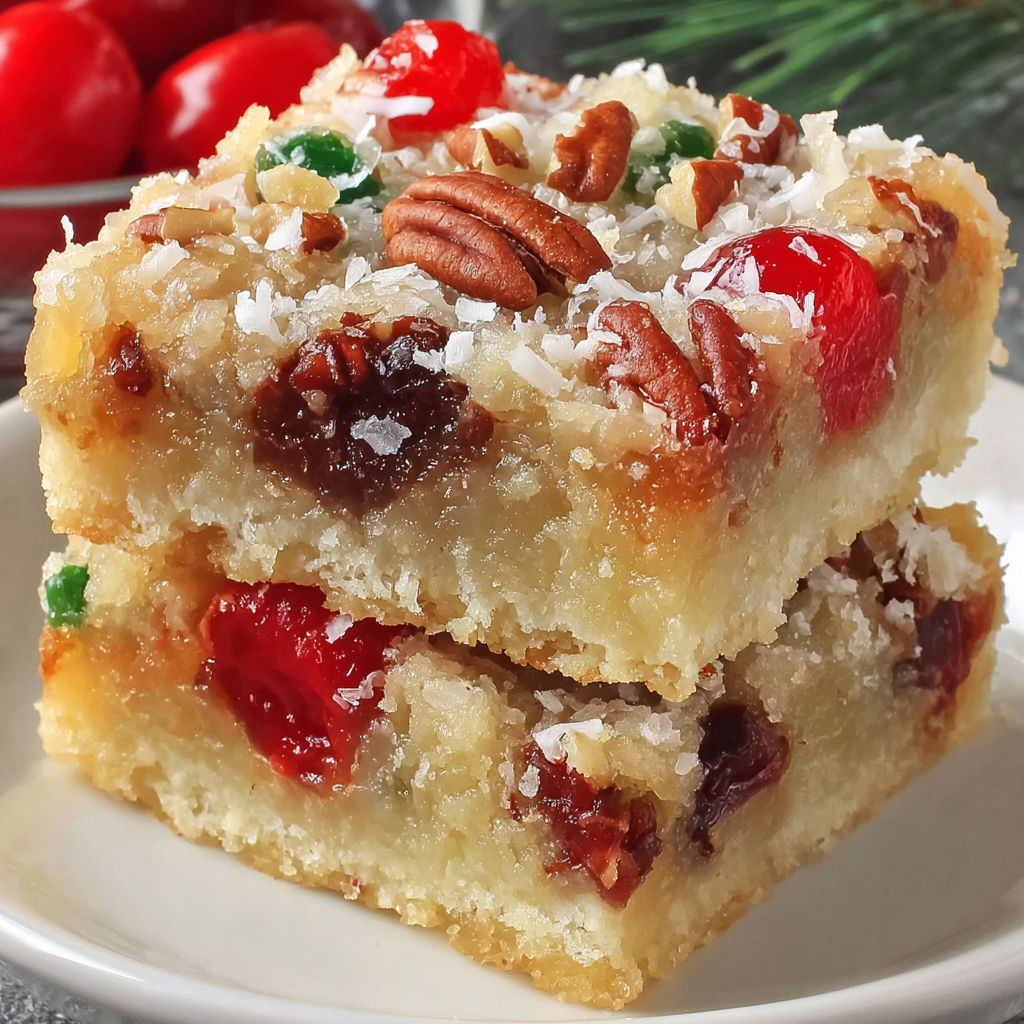
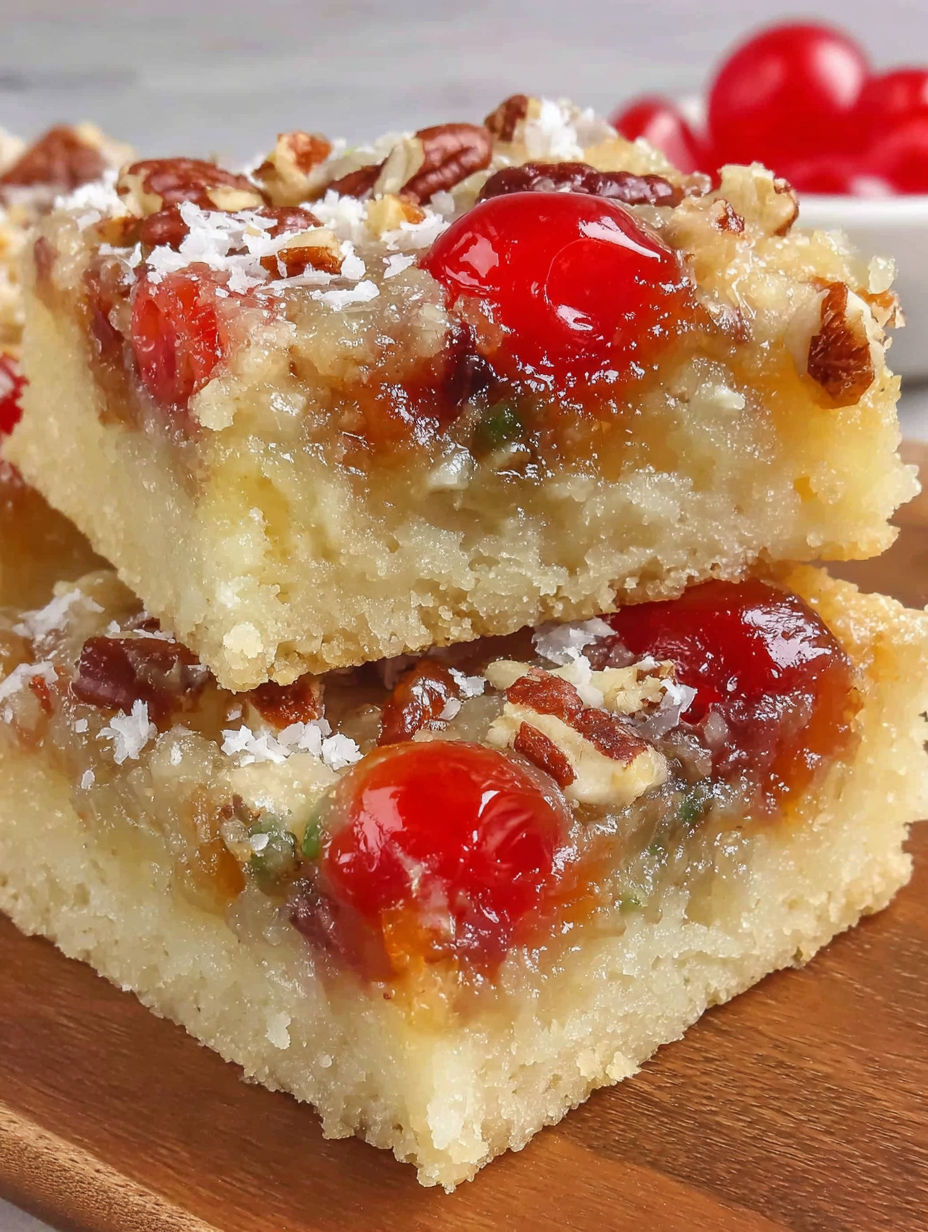
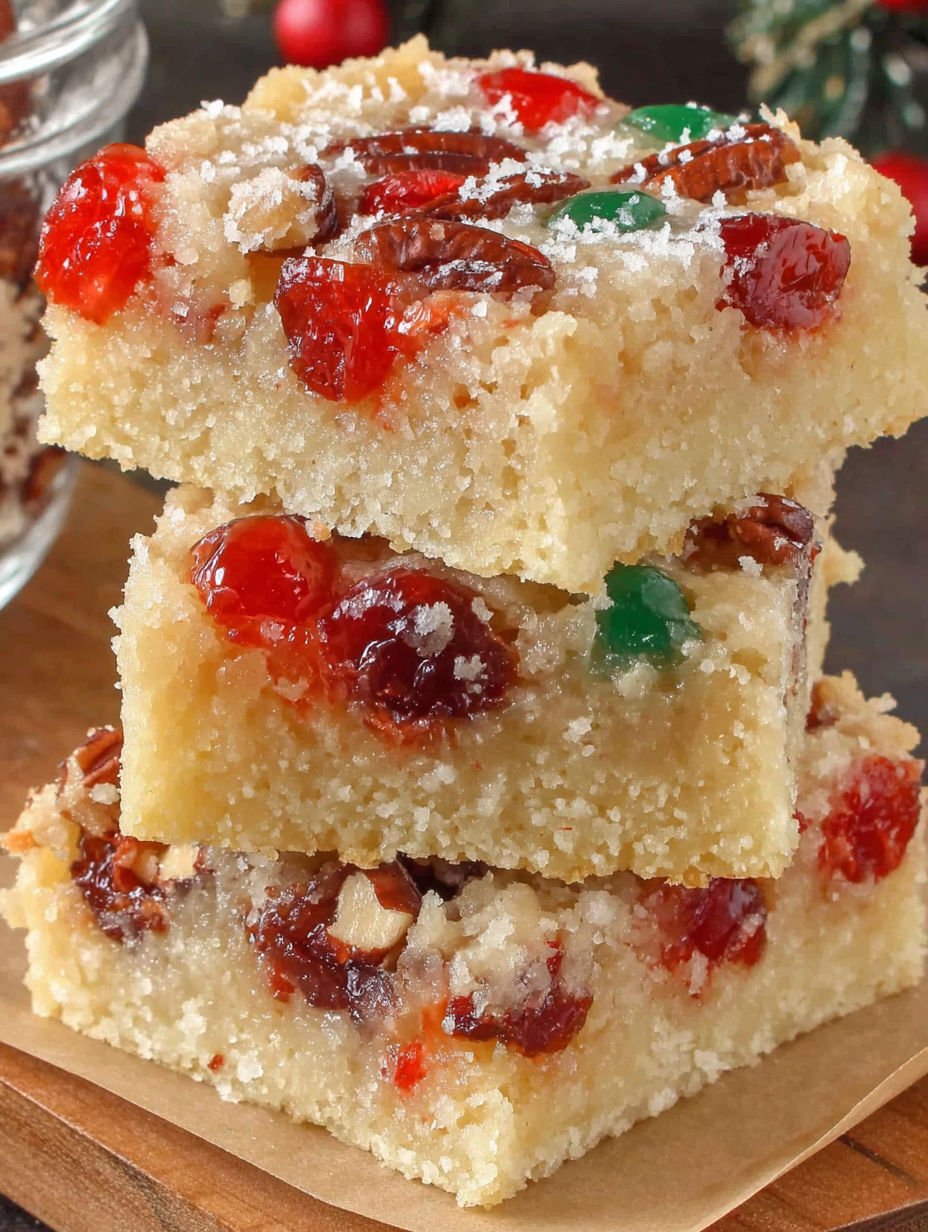
These Old Fashioned Cherry Bars are a beloved treat that has graced countless holiday tables in my family for years. The sweet tartness of glace cherries, paired with a buttery shortbread-like base and a chewy coconutty topping, create a bite that is equal parts comforting nostalgia and festive celebration. Whether you are baking for a cookie swap or want something cheerful with your afternoon tea, these bars never disappoint.
I first baked a batch of these cherry bars for my grandmother’s Christmas party—watching everyone reaching for seconds convinced me they belonged in my annual tradition lineup.
Ingredients
- All purpose flour: creates structure in the crust look for a fresh bag for best results
- Icing sugar: gives an ultra smooth crumb to the bottom layer sift to avoid clumping
- Butter: adds richness and keeps the base tender use cold unsalted for the right texture
- Brown sugar: deepens the flavor of the filling choose soft dark or golden for a caramel note
- Glace cherries: the star ingredient look for plump not shriveled fruit and cut for even bites
- Eggs: bind everything together and add moisture use large grade A eggs if possible
- Dried coconut: brings chewy texture opt for fine cut unsweetened for a balanced taste
- Vanilla extract: smooths the flavor pick real vanilla if you can find it
- Pecans: add a nutty crunch and mild bitterness always toast first and chop freshly if including
Instructions
- Make the Crust:
- Combine flour icing sugar and cold butter in a large bowl Rub the butter through the flour mixture using your fingertips until it starts clumping and resembles coarse bread crumbs I find working quickly keeps the butter cold which is key for tenderness You can use a food processor for this step if you prefer
- Press and Prebake:
- Transfer the crumb mixture to a parchment lined nine by thirteen inch pan Spread it evenly and press down firmly especially into the corners so the crust bakes uniformly I like to use the bottom of a flat measuring cup to help The crust should bake in a preheated three hundred fifty degree oven for about twenty minutes It is done when the edges turn the palest gold
- Mix the Topping:
- In a medium bowl stir together brown sugar glace cherries eggs dried coconut vanilla and pecans if using Stir until the mixture looks thickly blended and the cherries and coconut are evenly coated
- Spread and Bake Again:
- Pour the topping over the hot prebaked crust and smooth to the edges with a spatula You want the filling to reach into every spot Bake for another twenty five to thirty minutes The top should be just set and show a little golden color Watch closely so it does not overbake
- Cool and Cut:
- Let the pan cool completely on a rack This step is important for neat slicing Once cool use the parchment to lift out the bars then cut into squares or classic thin fingers Use a sharp knife for clean edges
There is something about the flavor of pecans and cherries together that brings back so many fond memories of sitting around the kitchen table with my cousins during the holidays We would always try to sneak just one more bar before dinner while the grownups pretended not to notice
Storage Tips
Store cherry bars in an airtight container at room temperature for up to five days For longer storage freeze the cut bars between layers of parchment in a sturdy container or freezer bag They thaw quickly at room temp and hold their moist texture well
Ingredient Substitutions
If you prefer a nut free version simply leave out the pecans You can swap dried cranberries for some of the glace cherries for a tarter variation Sweetened shredded coconut works in a pinch but will make the bars a bit sweeter
Serving Suggestions
These bars are lovely with an afternoon cup of tea or coffee Arrange them with other classic cookies on a holiday platter or cut smaller squares for buffet style dessert spreads For a special touch dust lightly with powdered sugar before serving
Cultural and Historical Context
Old fashioned cherry bars like these were popular in mid century North American kitchens where they brightened winter gatherings and church bake sales The use of glacé cherries and coconut reflected the post war era’s interest in novel ingredients and home baker ingenuity Today they remain a nostalgic favorite especially at Christmastime
Seasonal Adaptations
Swirl in a handful of citrus zest for a fresh twist in spring Use red and green glace cherries for extra festive flair at Christmas Substitute toasted walnuts for pecans when they are in season
Success Stories
I have had neighbors request the recipe every holiday season They often remark that it tastes just like something their own mothers or grandmothers used to make The bars are also a hit at bake sales with kids and adults alike coming back for seconds
Freezer Meal Conversion
If you want to get ahead for busy seasons make a double batch Let cool slice and freeze tightly wrapped They keep for up to three months and are ready to layer into tins or lunchboxes whenever you need a sweet treat
Cherry bars are simple to make and packed with holiday cheer. Share them with friends or freeze for a sweet treat whenever you want a taste of nostalgia.
Common Recipe Questions
- → Can I use fresh or frozen cherries instead of glacé cherries?
Glacé cherries are recommended for their texture and sweetness, but you may try drained, chopped maraschino cherries. Fresh or frozen cherries can alter moisture and consistency, so adjust baking time accordingly.
- → Is it necessary to use pecans?
No, chopped pecans are optional and can be omitted or replaced with other nuts such as walnuts or almonds to suit preference or allergies.
- → How should I store cherry bars?
Store cooled bars in an airtight container at room temperature for up to three days, or refrigerate for longer freshness. They also freeze well for up to two months.
- → Can I prepare these bars ahead for holidays?
Yes, these bars hold up well when made in advance. Simply freeze and thaw them before serving to maintain their fresh flavor and texture.
- → What is the best way to cut the bars cleanly?
Allow bars to cool completely before slicing. Use a sharp knife, wiped clean between cuts, for neat squares or bars.