
 Save
Save
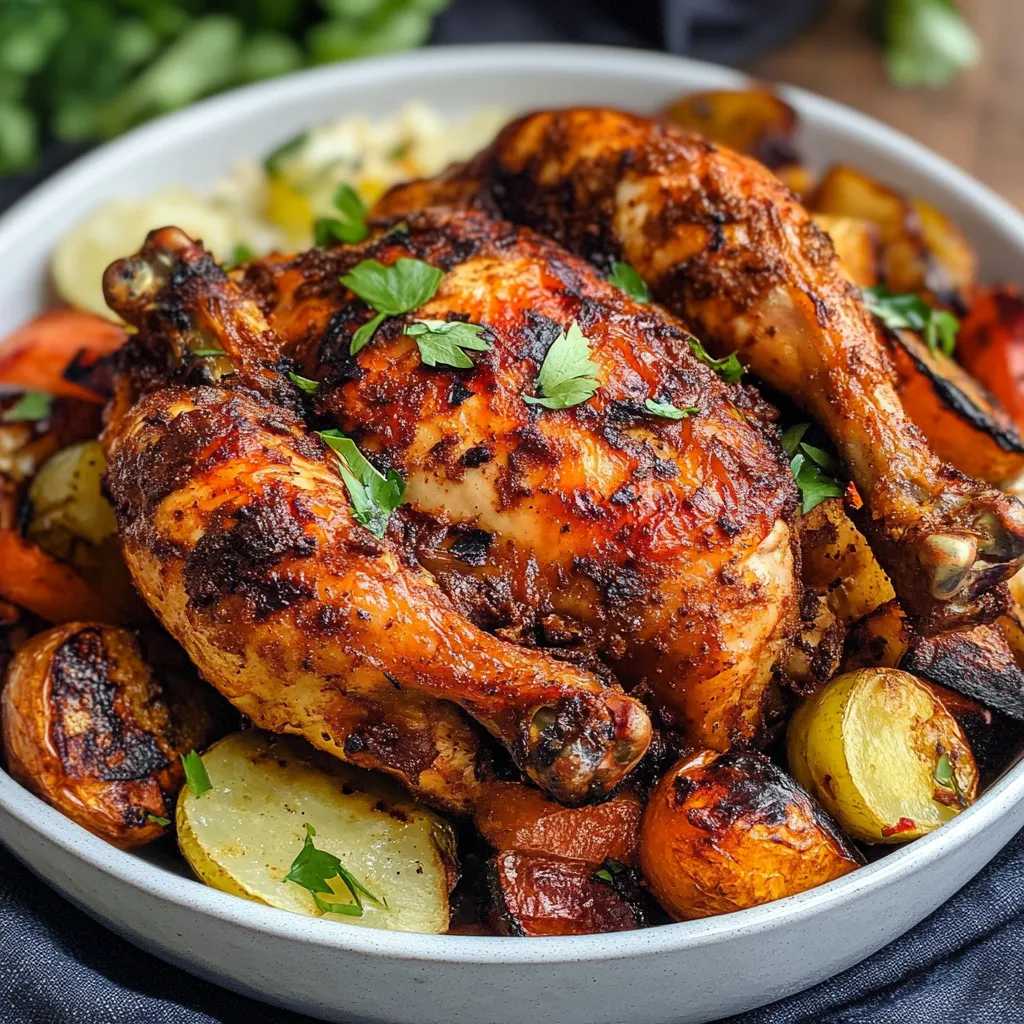
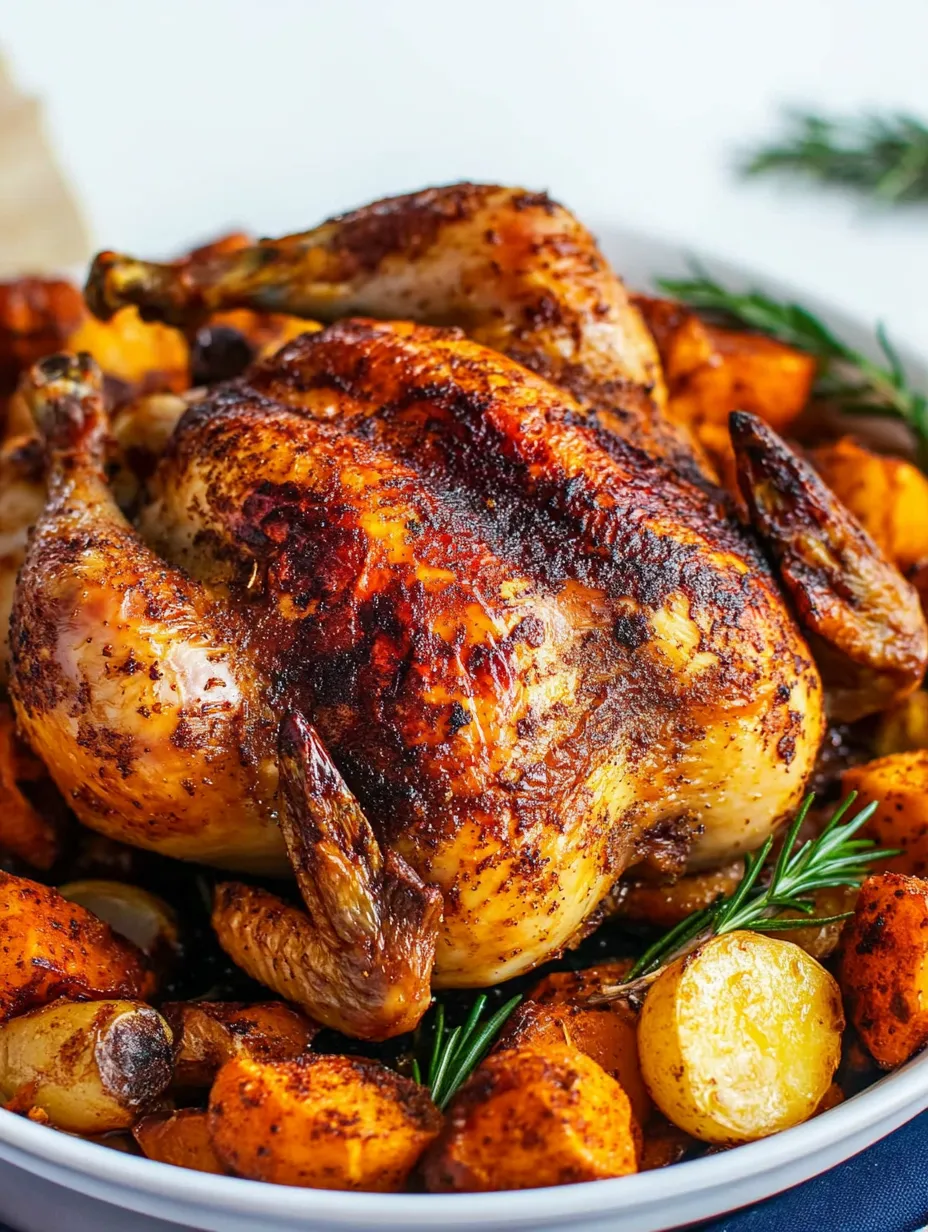
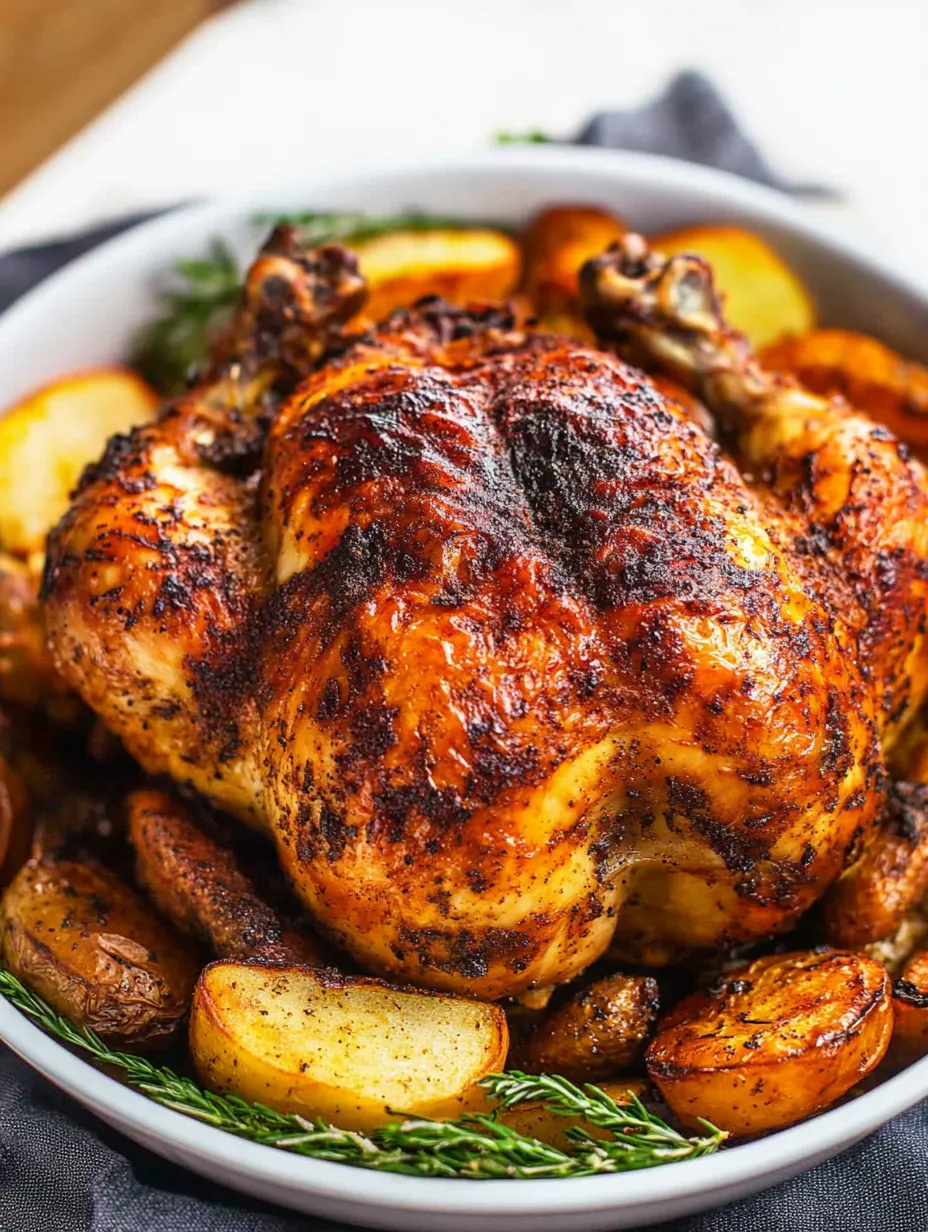
This golden, juicy whole chicken has become my signature Sunday dinner since purchasing an air fryer. The combination of herb-infused butter under the skin and that gloriously crispy exterior creates restaurant-quality results with minimal effort.
I discovered this technique during a power outage when our oven was unavailable. My family was so impressed they now request it weekly rather than my traditional roasted version.
Ingredients
- Small whole chicken: About 2 pounds perfect for feeding a family of four while ensuring even cooking throughout
- Unsalted butter: Creates that luxurious flavor under the skin and helps achieve golden crispiness
- Garlic powder: Infuses flavor throughout without burning like fresh garlic might on the exterior
- Dried rosemary: Provides aromatic herbal notes that complement chicken beautifully
- Smoked sweet paprika: Adds subtle smokiness and enhances the golden color
- Olive oil: Helps conduct heat evenly across the skin for maximum crispiness
- Fresh rosemary sprigs: For stuffing intensifies flavor from within as the heat releases the essential oils
- Whole garlic head: Inside the cavity perfumes the meat as it roasts
- Red onion halves: Add aromatic sweetness to the cavity
Step-by-Step Instructions
- Preheat and Prepare:
- Set your air fryer to 370°F for 45 minutes. While it heats make your seasoning mixtures. Combine the softened butter with garlic powder and dried rosemary in one bowl. In a separate small plate mix additional garlic powder with paprika for the exterior. This preparation ensures everything moves smoothly once you handle the raw chicken.
- Prepare the Chicken:
- Pat the chicken completely dry including the inside cavity. This critical step ensures crispy skin. Trim wing tips to prevent burning. Season the cavity generously with salt and pepper before stuffing with whole garlic head fresh rosemary sprigs and red onion halves. The aromatics will infuse the meat from the inside as it cooks.
- Truss Without Twine:
- Make small slits in the skin near each leg then cross the legs and tuck each one into the opposite slit. This clever technique keeps the chicken compact without requiring kitchen twine ensuring even cooking and a beautiful presentation.
- Season Thoroughly:
- Gently separate the skin from the breast meat using your fingers and spoon the herb butter mixture underneath. This creates a self basting effect as the butter melts. Massage olive oil all over the exterior then season with salt pepper and the garlic paprika mixture pressing gently to adhere.
- First Cooking Phase:
- Place the chicken breast side up on your air fryer tray. Cook for 20 minutes which allows the breast to develop color before flipping. The initial cooking at moderate temperature helps render fat without burning the skin.
- Flip and Continue:
- Carefully turn the chicken breast side down for the middle portion of cooking. This allows the dark meat to receive direct heat and prevents the breast from overcooking. Keep the door closed quickly to maintain temperature.
- Final Crisping Phase:
- For the last 10 minutes increase temperature to 390°F to develop extra crispiness. At the 5 minute mark flip chicken one final time to ensure the breast skin gets that beautiful golden finish. This temperature boost creates the perfect crispy exterior.
My absolute favorite part of this recipe is the moment you slice into the chicken and see the perfectly juicy meat. My daughter always requests the drumsticks which remind her of our summer picnics at the lake.
Make Ahead Options
This chicken reheats beautifully making it perfect for meal prep. After cooking let cool completely then store in airtight containers in the refrigerator for up to 3 days. For best results reheat individual portions in the air fryer at 350°F for 3 to 5 minutes which restores the crispy skin. The leftovers also make incredible chicken salad when shredded and mixed with mayo celery and grapes.
Perfect Pairings
This crispy chicken pairs beautifully with lighter sides that complement its richness. Try serving with a simple arugula salad dressed with lemon juice and olive oil. Roasted vegetables like carrots or Brussels sprouts can cook alongside the chicken during the last 25 minutes. For a complete meal add a starch like mashed potatoes or crusty bread to soak up the flavorful juices that collect in the drip pan.
Troubleshooting Tips
If your chicken skin isn't crisping properly check that you thoroughly patted it dry before cooking. Any excess moisture prevents browning. Your air fryer model may require temperature adjustments. Some models run hotter than others so keep a close eye during your first attempt. If the skin browns too quickly but the interior remains undercooked lower the temperature by 20 degrees and continue cooking until a meat thermometer inserted into the thickest part of the thigh registers 165°F.
Common Recipe Questions
- → How do I prevent the chicken skin from drying out?
Massage olive oil and butter under and over the skin to keep it moist. Increasing the temperature at the end ensures a crispy finish without drying.
- → Can I use a frozen whole chicken?
Yes, but ensure the chicken is fully thawed overnight in the refrigerator for even cooking.
- → What other ingredients can I add?
You can add root vegetables like carrots and potatoes around the chicken during the last 25 minutes for a complete meal.
- → How can I ensure even cooking?
Truss the chicken legs and flip the chicken halfway through cooking. Preheating the air fryer also helps cook evenly.
- → What air fryer settings should I use?
Cook at 370°F for 45 minutes, flipping halfway. Increase to 390°F in the final 10 minutes for crispy skin.