
 Save
Save
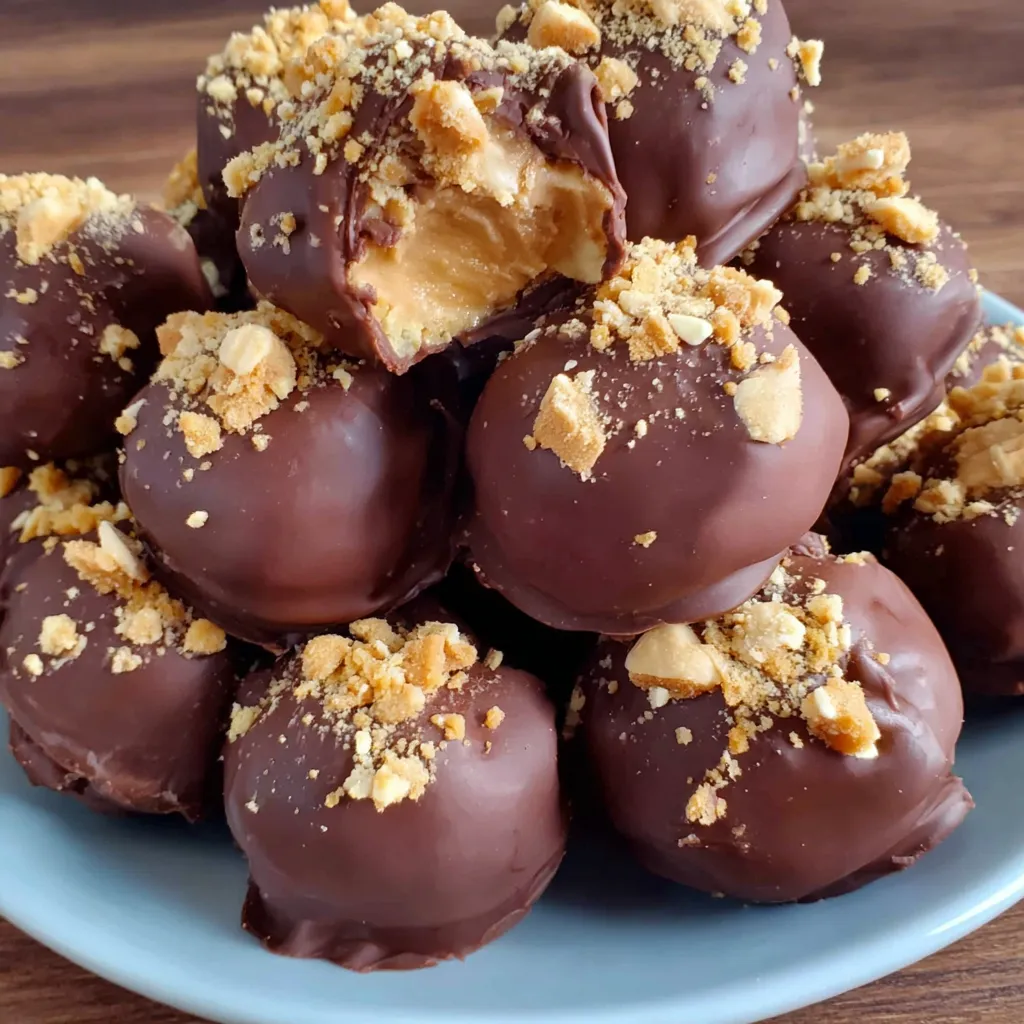
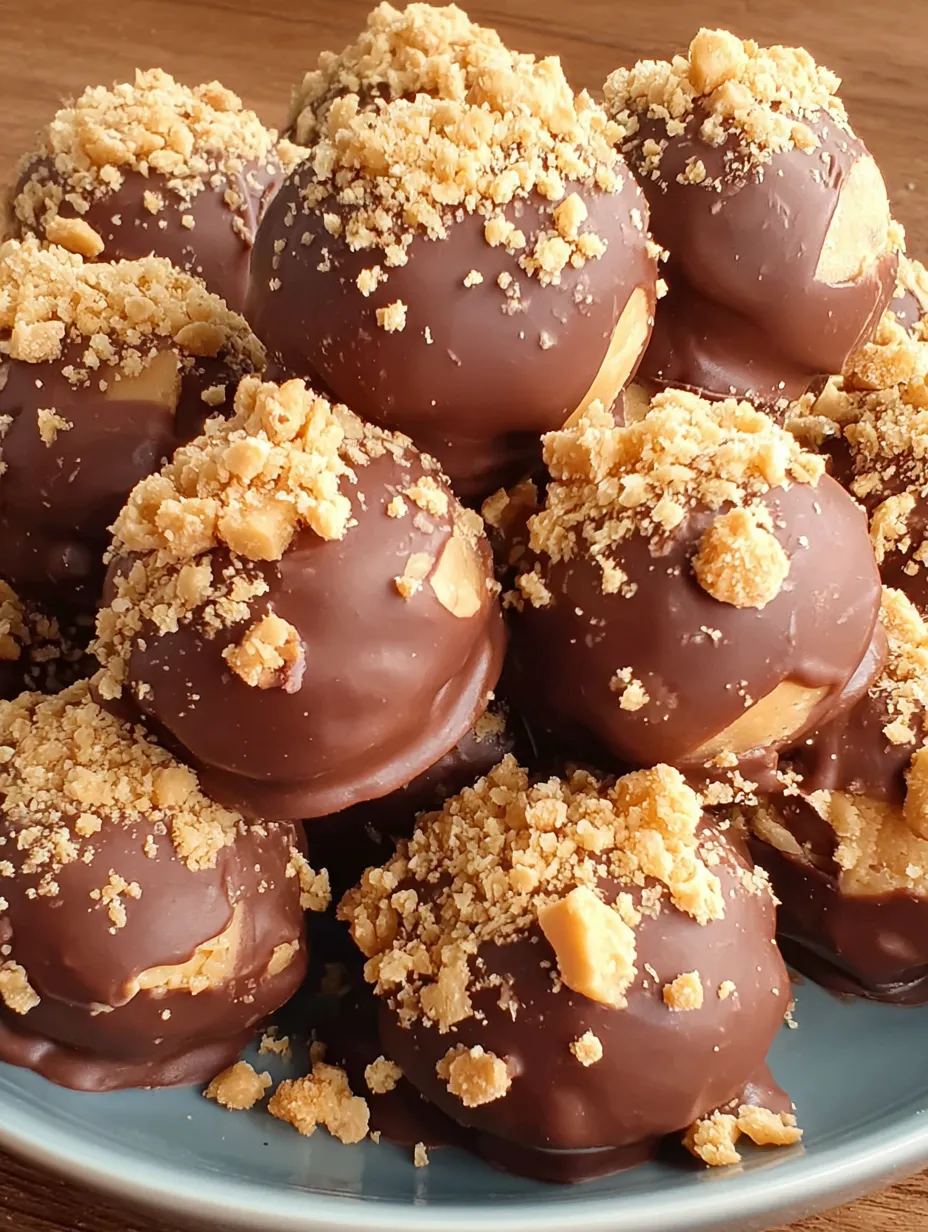
These Butterfinger Balls are my go-to treat when I need something festive and fun without turning on the oven. They have all the nostalgia of classic homemade candy with the perfect balance of creamy peanut butter, sweet candy crunch, and dreamy chocolate. Perfect for holiday trays, bake sales, or an afternoon pick-me-up, these no-bake gems never last long at my house.
The first time I made these, I was looking for a way to use up leftover Halloween candy. My sister ended up texting for the recipe right after her first bite because it had the perfect blend of salty, sweet, and crunchy.
Ingredients
- Butter: gives a rich, classic base flavor and soft texture. Use real unsalted butter for the best taste
- Vanilla extract: adds cozy depth and warmth. Opt for pure over imitation when possible
- Peanut butter: is the star. Creamy, shelf-stable types like Jif or Skippy work best for structure
- Powdered sugar: brings sweetness and helps everything stick together while staying tender
- Graham cracker crumbs: give crunch and help the balls hold their shape. Aim for fresh crumbs without a stale smell
- Crushed Butterfinger bars: offer that buttery toffee snap and a touch of nostalgia. Fresher bars have the best texture
- Chocolate bark or chips: make a smooth, sturdy chocolate shell. Look for high-quality chocolate without added waxiness for best results
- Optional toppings: like extra Butterfinger pieces, colorful sprinkles, or flaky sea salt give a festive finish and boost flavor. Use your favorites for fun decoration
Step-by-Step Instructions
- Mix the Base:
- Use a hand or stand mixer in a large bowl to thoroughly cream the peanut butter and softened butter until you have a completely smooth mixture. Beat in the vanilla extract for an even distribution of flavor throughout
- Add Sweetness and Crunch:
- On the lowest mixer setting, gradually incorporate the powdered sugar so it fully blends in without leaving lumps. Carefully fold in the graham cracker crumbs and the crushed Butterfinger bars until the mixture has no streaks and an even texture
- Form the Balls:
- Line a baking sheet with parchment paper to prevent sticking. Scoop dough portions about one tablespoon each and roll between your hands to create smooth balls. Place each ball on the sheet with small gaps so they do not touch
- Chill to Set:
- Transfer the tray to the freezer for at least thirty minutes. The balls should be completely firm all the way through—this step makes the chocolate dip smooth and prevents them from crumbling
- Melt the Chocolate:
- Place the chocolate in a microwave-safe bowl. Heat in thirty-second increments at half power. Stir thoroughly after each interval and continue until the chocolate is just melted and silky. Avoid overheating which can seize the chocolate
- Dip and Decorate:
- Using a fork or dipping tool, gently submerge each ball in the chocolate to fully coat or halfway for a two-toned look. Place back onto the parchment and top with your chosen sprinkles, extra Butterfinger, or flaky sea salt right away so they stick
- Let Them Set:
- Let the chocolate harden entirely at room temperature or in the fridge. Only pack or serve once the coating is firm and matte
You Must Know
My favorite part is the crunchy surprise from the Butterfinger pieces in every bite. During our last family gathering, my niece helped crush the candy bars—now it is her favorite kitchen job and part of our holiday tradition.
Storage Tips
Store finished Butterfinger Balls in an airtight container lined with parchment or wax paper between layers. They keep well in the refrigerator for up to one week or in the freezer for up to three months. For best results, let them come to room temperature for ten minutes before serving so the centers soften into that dreamy peanut butter texture.
Ingredient Substitutions
Creamy almond butter or sunflower seed butter can be used for a different nut flavor as long as they are not the natural type that separates. If you do not have Butterfinger bars, any crisp toffee or brittle-style chocolate candy works. Gluten-free graham crackers can swap in without changing the taste or structure.
Serving Suggestions
Arrange Butterfinger Balls on a pretty platter and sprinkle with festive toppings according to the season. I love to tuck them into cellophane bags as easy edible gifts or pile them into tins for a nostalgic dessert tray alongside fudge and cookies. They are also great crumbled over a scoop of vanilla ice cream for a decadent sundae.

A Sweet Slice of History
Butterfinger candies have been an American favorite since 1923 and their unmistakable crispiness makes them perfect for no-bake treats. Recipes like this one have become party staples since the rise of easy home candy in the 1960s—my grandma remembers making a similar version for school bake sales.
Common Recipe Questions
- → What peanut butter is best for these treats?
Use regular, shelf-stable peanut butter like Jif or Skippy. All-natural varieties can separate and affect texture.
- → How do I get a smooth chocolate coating?
Melt chocolate bark or chips slowly in the microwave at reduced power, stirring often until just smooth. Avoid overheating.
- → Can I make these treats in advance?
Yes, these balls freeze well and stay fresh in the refrigerator for up to two weeks. Store in an airtight container.
- → Are there ways to decorate them?
Top with extra crushed Butterfingers, festive sprinkles, or a pinch of sea salt while the chocolate is still wet for a decorative touch.
- → Do I need special tools to make these?
No special equipment is needed—just a bowl, mixer, baking sheet, and microwave-safe bowl for melting chocolate.