
 Save
Save
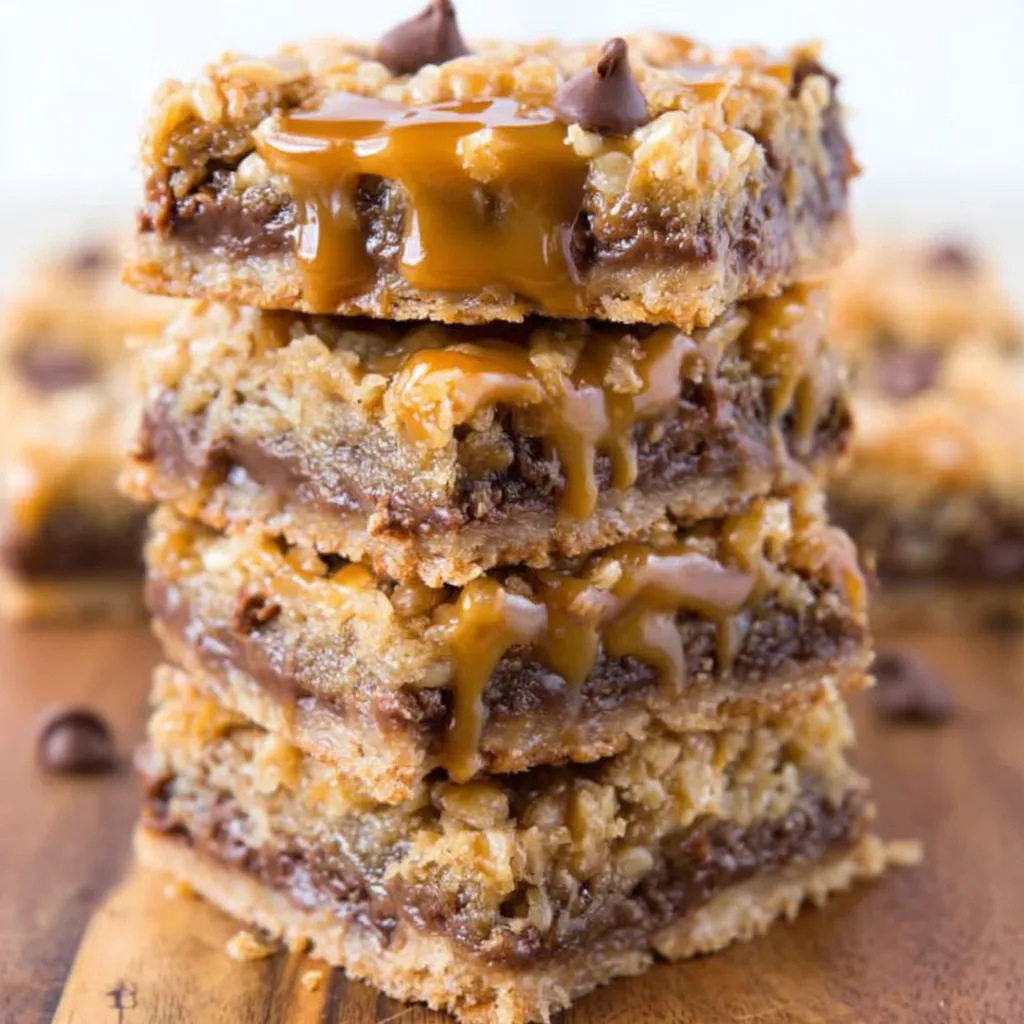
These caramelitas are a true dream for caramel and chocolate lovers with their oozing layers of creamy caramel and melty chocolate all nestled in a buttery oat crumb. I love that they come together effortlessly in one bowl no need for fancy mixers and the hardest step is waiting for them to cool enough to slice. Just the smell of these baking makes my kitchen the most popular spot in the house.
Ingredients
- Butter: supplies richness and helps the crust set use unsalted for more control over seasoning or salted for extra depth
- Light brown sugar: gives caramel notes and moisture look for soft fresh-packed sugar
- Vanilla extract: adds warmth and complexity real vanilla provides the most flavor
- All-purpose flour: creates structure sift first for best texture
- Whole-rolled old fashioned oats: form the chewy base avoid quick cook oats for a sturdier bite
- Baking soda: gives a gentle lift check it’s fresh so your bars rise just right
- Salt: balances sweetness use flaky sea salt if you have it for a hint on top
- Soft caramel squares: create that classic caramel layer look for quality brands like Werthers or Kraft and use fresh for best melting
- Heavy cream: makes the caramel pourable and creamy use full fat for ideal texture
- Semi-sweet chocolate chips or chunks: form luscious pockets of chocolate choose a good-quality chocolate for best flavor and melt
Step-by-Step Instructions
- Prep the Pan:
- Line an eight inch square baking pan with foil then coat well with nonstick spray. This keeps the caramel from sticking and makes cleanup so much easier.
- Melt the Butter:
- In a large microwave-safe bowl melt the butter in ninety second bursts until fully liquid. Allow it to cool slightly before adding other ingredients so you do not cook the eggs if making any substitutions.
- Mix the Base:
- Add brown sugar and vanilla to the butter and whisk until smooth. Add flour oats baking soda and salt mixing until a thick crumbly dough forms. Make sure everything is fully combined for even baking.
- Press the Crust:
- Scoop half of your oat mixture into the pan and press it evenly with the back of a spoon to form a flat base. Set the remaining mixture aside for the topping.
- Bake the Bottom:
- Bake the crust for about ten minutes or until just beginning to set. This ensures the bottom holds up against all that gooey caramel.
- Melt the Caramel:
- While the crust bakes place unwrapped caramels and heavy cream in a clean microwave-safe bowl. Heat in one minute bursts stirring each time until fully smooth. Alternatively use a saucepan over medium-low heat whisking continuously for creamy results.
- Layer on the Chocolate:
- Once the base is out of the oven sprinkle chocolate chips or chunks evenly over the warm crust so they soften slightly.
- Pour and Top:
- Carefully pour the warm melted caramel uniformly over the chocolate layer ensuring even coverage for every bite. Crumble the remaining oat mixture over the top in small clusters so some caramel peeks through.
- Final Bake:
- Return the pan to the oven and bake another fifteen to eighteen minutes until the edges are deeply golden and bubbling. You want the surface to look set but still a little soft in the center.
- Cool Completely:
- Let the bars cool fully most likely about four hours or overnight so the caramel has time to set. Trying to cut them early will result in a gooey mess but they are worth the wait.
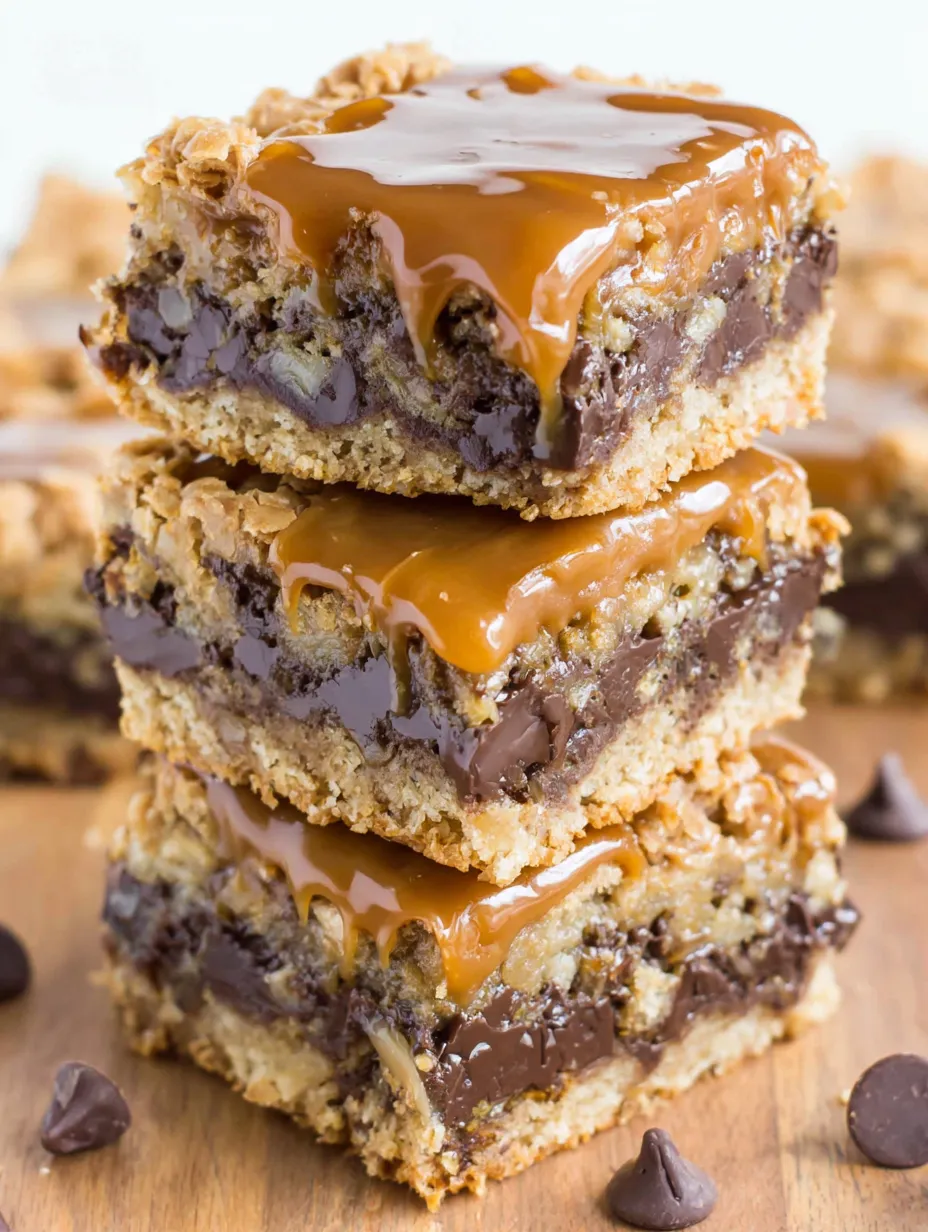
I absolutely love the combination of chewy oats and soft caramel in these bars. My family always crowds around waiting for the first piece and I have fond memories of sneaking little tastes of the warm, melty caramel when no one was looking.
Storage Tips
Store slices in an airtight container at room temperature for up to one week. For longer storage freeze individual bars separated by parchment for up to four months. Let them thaw at room temperature or enjoy straight from the freezer for an extra chewy treat.
Ingredient Substitutions
You can swap in dark chocolate chips for deeper chocolate flavor. Kraft soft caramels or caramel bits both work well if Werthers are not available. For a gluten-free version use a one-to-one gluten-free flour blend and be sure your oats are certified gluten free.
Serving Suggestions
Serve carmelitas with a scoop of vanilla or caramel ice cream for a showstopping dessert. They also work well as part of a cookie platter or cut into tiny squares for bite-size party treats. I sometimes sprinkle a little sea salt on top for extra contrast.
Cultural and Historical Context
Carmelitas have roots in American baking as a bar cookie favorite found at potlucks and bake sales across the Midwest. The combination of oats and caramel probably draws inspiration from both oat bars and southern caramel cakes making this recipe a nostalgic classic.
Common Recipe Questions
- → What type of oats work best for Carmelitas?
Whole-rolled old fashioned oats provide the ideal chewy texture and hold their shape during baking. Quick or instant oats may result in a softer, less structured bar.
- → Can I use a different caramel for the filling?
Feel free to use any soft, unwrapped caramels or caramel bits that melt well. Werther’s Soft Caramels or Kraft Soft Caramels both work beautifully for a smooth caramel filling.
- → What’s the best way to cut Carmelitas cleanly?
Let the bars cool completely, ideally for at least 4 hours or overnight. Chilling them in the refrigerator can help the caramel layer set, making slicing much easier and neater.
- → How should Carmelitas be stored?
Keep bars airtight at room temperature for up to one week. For longer storage, freeze for up to four months. Thaw at room temperature before serving.
- → Can I use salted butter instead of unsalted?
Either salted or unsalted butter works. If using salted butter, consider reducing or omitting added salt to control the flavor balance.
- → What chocolate works best in Carmelitas?
Semi-sweet chocolate chips or chunks create classic flavor. You can substitute milk or dark chocolate to match your preference.