
 Save
Save
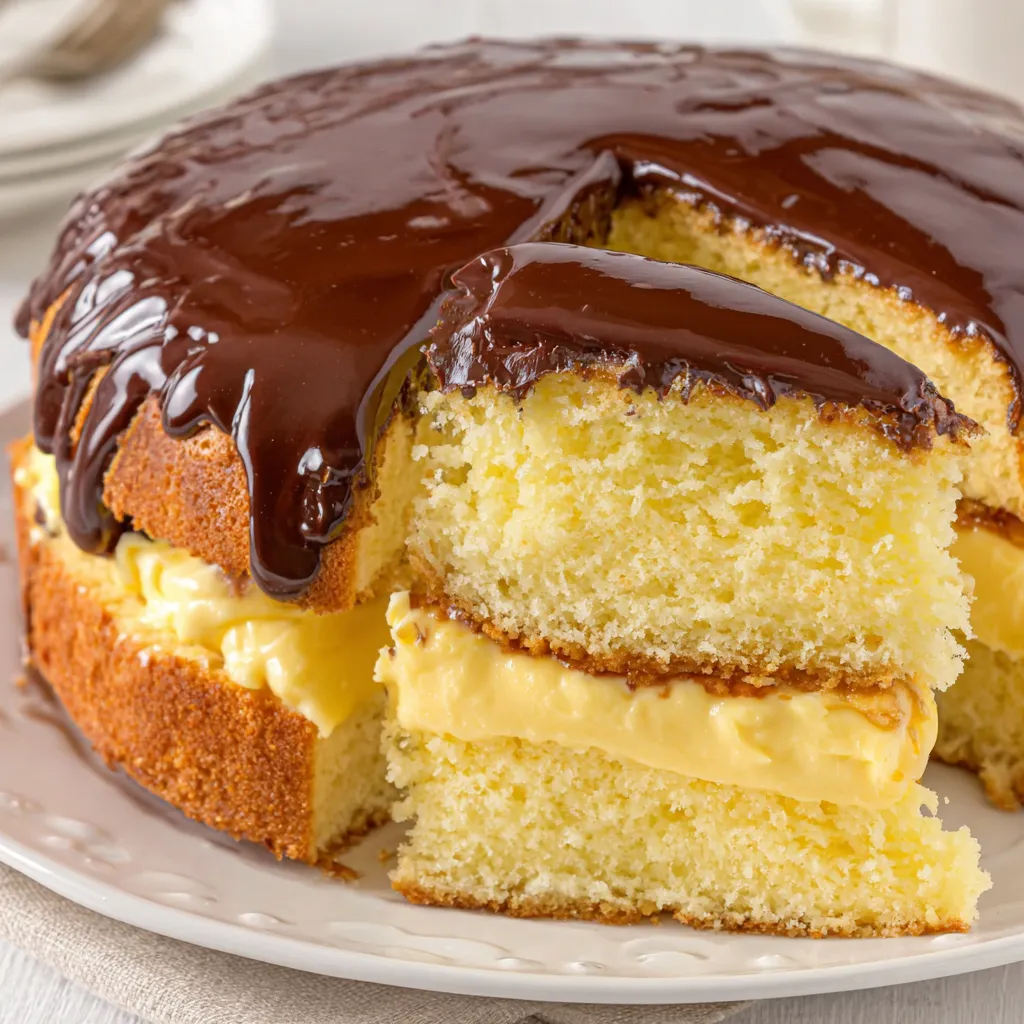
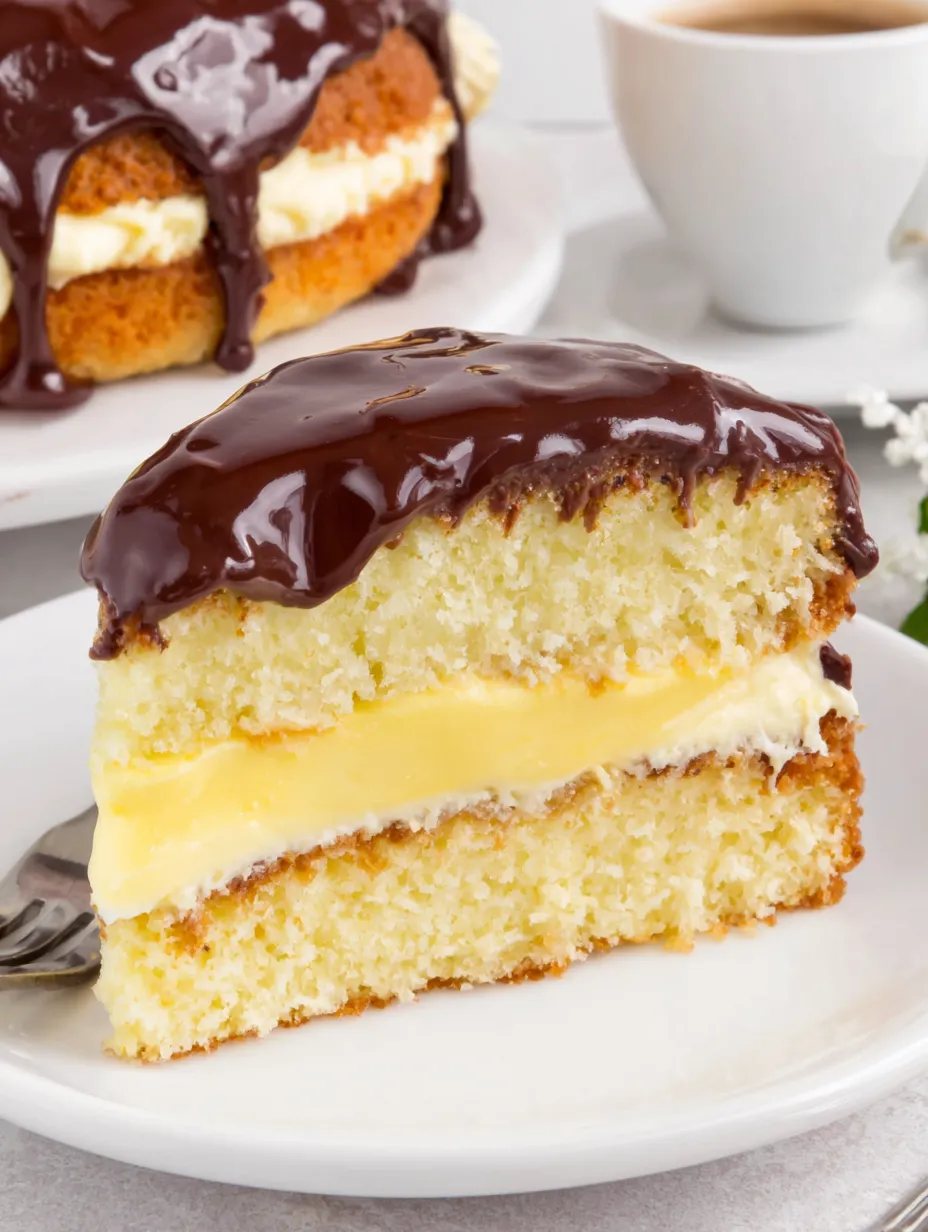
Boston Cream Pie totally wows folks with smooth pastry cream tucked between airy sponge layers, all slicked in deep chocolate on top. It’s a New England classic, just the right thing to make your get-together feel extra fancy. Whenever I make this for special days at my place, I love how that shiny glaze pulls everyone into the kitchen to check out what’s baking.
Every New Year’s Eve my people ask for Boston Cream Pie, and by messing up and tweaking little things I finally got it tasting just like one from a fancy shop except right at home. Slicing into it gives those all-time awesome moments—the filling sort of sneaks out just right.
Irresistible Ingredients
- Bittersweet chocolate: Brings that deep choc taste to the topping Grab a bar for best flavor and melting
- Corn syrup: Keeps the chocolate topping shiny and smooth Light syrup works great here
- Heavy cream: Makes for a glossy icing, richer is better for the sleekest drizzle
- Baking powder: Helps the sponge get fluffy Fresh powder means better rise every time
- All purpose flour: Gives body to the cake—sift it if you want extra lightness
- Vanilla extract: Warms up the flavor in both cake and filling Go for real extract not fake stuff
- Unsalted butter: Adds yummy moisture and taste Choose one with a sweet flavor if you can
- Whole milk: Keeps things rich and soft, go with decent milk for best results
- Egg yolks: Bring that golden color and smooth texture—big eggs are best for getting it right
- Cornstarch: Thickens the pastry cream to the perfect level, make sure it’s a lump-free fine powder
- Fine sea salt: Rounds out the flavors and avoids any weird aftertaste Skip regular table salt if you can
- Granulated sugar: Sweetens it all up Use fine sugar for the easiest mixing in
Step-by-Step Directions
- Finish the Cake:
- Pour all the chocolate glaze right over the cake so it flows to the edges Let it chill awhile before you cut so the topping sets up nice
- Make the Chocolate Glaze:
- Warm up the cream and corn syrup carefully until it just starts to steam, then pour over the chopped chocolate Let it sit a bit, then stir till smooth and glossy
- Assemble the Cake:
- Pull the chilled pastry cream out so it loosens a little Place one cake layer down and add the cream, almost to the edge Place the second layer on gently and press just a little
- Bake and Cool Cakes:
- Pop the pans in the oven and bake till tops bounce back and toothpicks come out clean Cool in pans for twenty minutes, flip out, then cool all the way
- Add Milk and Butter:
- Heat up milk and butter together until they’re hot Pour into the batter and mix until it’s all smooth, then divide into the pans
- Fold in Dry Ingredients:
- Sprinkle the dry mixture into the eggs carefully, folding just enough so it stays fluffy
- Ribbon Eggs and Sugar:
- Whisk eggs and sugar for about four minutes until it’s thick—when you pick up the mixer it should fall like a ribbon Let the vanilla join in next
- Bake the Sponge Cake:
- Turn on your oven and prep two pans with parchment and spray Mix flour, baking powder, and salt together in another bowl
- Finish and Chill Cream:
- Off the heat, mix in vanilla and butter Strain through a mesh if you have to, lay plastic directly on top to stop a skin, and chill for at least 2 hours
- Cook the Cream:
- Stir and stir on medium heat, using a wooden spoon, until thick and bubbling This takes around five minutes
- Temper the Eggs:
- Drizzle a bit of hot milk into the egg bowl, whisking hard, so they warm up but don’t scramble Pour all that back into the pan and keep going
- Heat the Milk:
- Warm the milk left in your saucepan until it just steams Don’t let it boil or burn
- Make the Pastry Cream:
- Blend sugar, salt, and cornstarch in a bowl first, then whisk in egg yolks and some of the milk Keep mixing till it’s all smooth, no dry stuff left anywhere
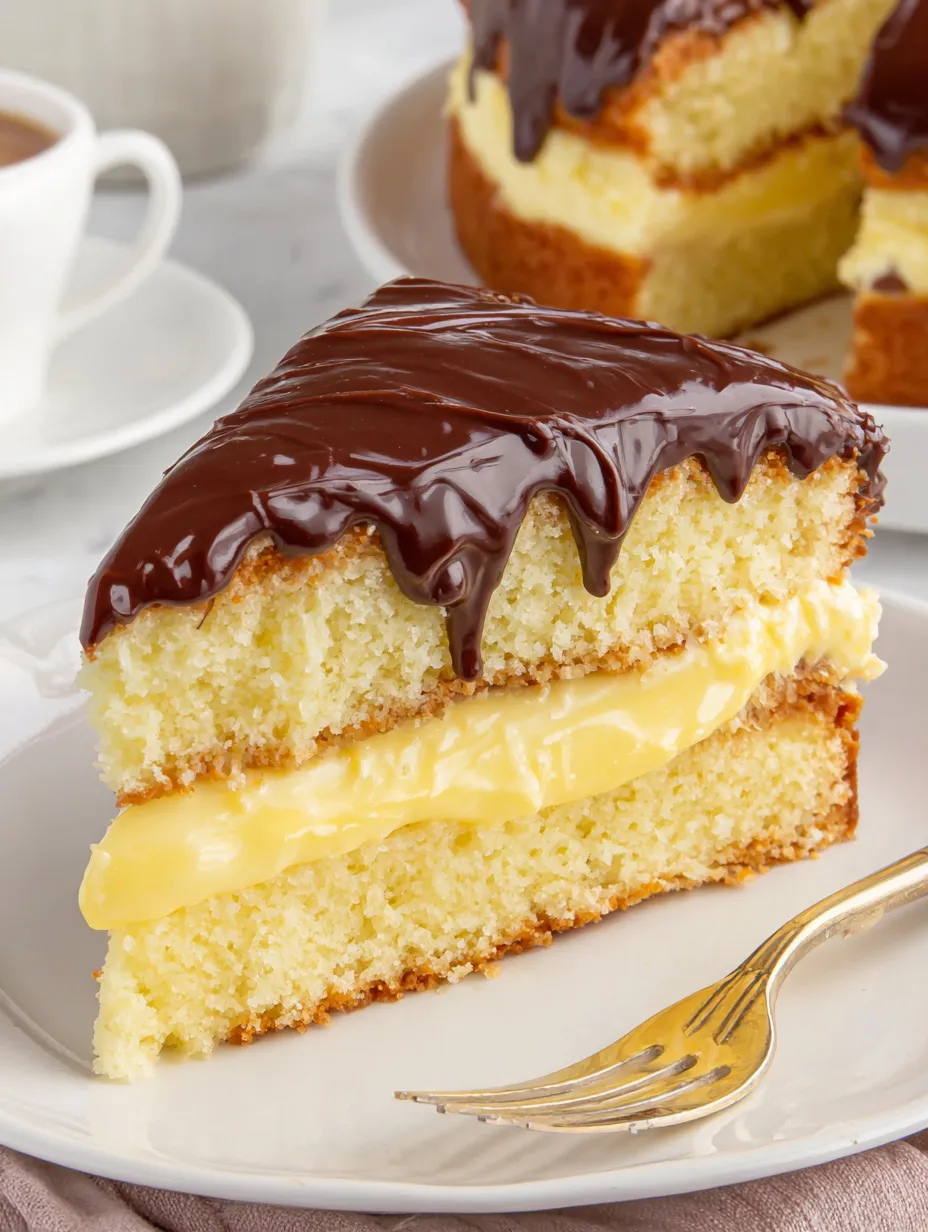
The first time I covered my pie with the thick chocolate glaze was plain awesome Watching that chocolate ooze down the cake sides just like ones in bakery displays always gets me grinning—that’s the best part to me.
Keeping It Fresh
Because the filling’s dairy-based, you gotta keep it in the fridge. Loosely wrap leftovers or use a cake dome and eat within three days for the tastiest result. Let it stand about thirty minutes out of the cold before you dig in for extra smooth, creamy texture.
Swaps and Alternatives
If you want a sweeter glaze, swap bittersweet chocolate out for semisweet. For a touch more vanilla, split a vanilla bean and soak it in the milk first. No corn syrup? Just add a bit more cream to your glaze; it’ll taste fine but be less shiny.
Best Ways to Serve
This is pretty awesome on its own, but you can jazz it up with some chopped roasted nuts over the top. I love adding tart berries alongside for a bit of kick. When there’s a crowd, cut it into squares instead of wedges so people can snack easy at parties.
Story and Traditions
Boston Cream Pie is actually a cake and was created at the Parker House hotel back in the 1800s up in Boston. It stood out so much that it got crowned the state dessert of Massachusetts and set off a whole bunch of copycat versions. The combo of fluffy cake, smooth cream, and chocolate was fresh territory back then.
Common Recipe Questions
- → Why is Boston Cream Pie special?
It’s loved for its soft cake, creamy filling, and chocolate glaze. Every bite has a mix of textures and tastes.
- → Can I prepare parts in advance?
Sure! Bake the cake a day before or freeze it for weeks. Make the custard and chocolate on assembling day.
- → What’s the best storage method?
Keep it cold due to the cream, but let it warm up a bit before slicing and serving for a better texture and flavor.
- → Why is it named a ‘pie’ but is a cake?
In the 1800s, pie and cake pans were similar, which led to some mix-ups in naming desserts.
- → How do I get smooth custard?
Whisk the mixture non-stop and strain it after cooking for a silky and lump-free finish.