
 Save
Save
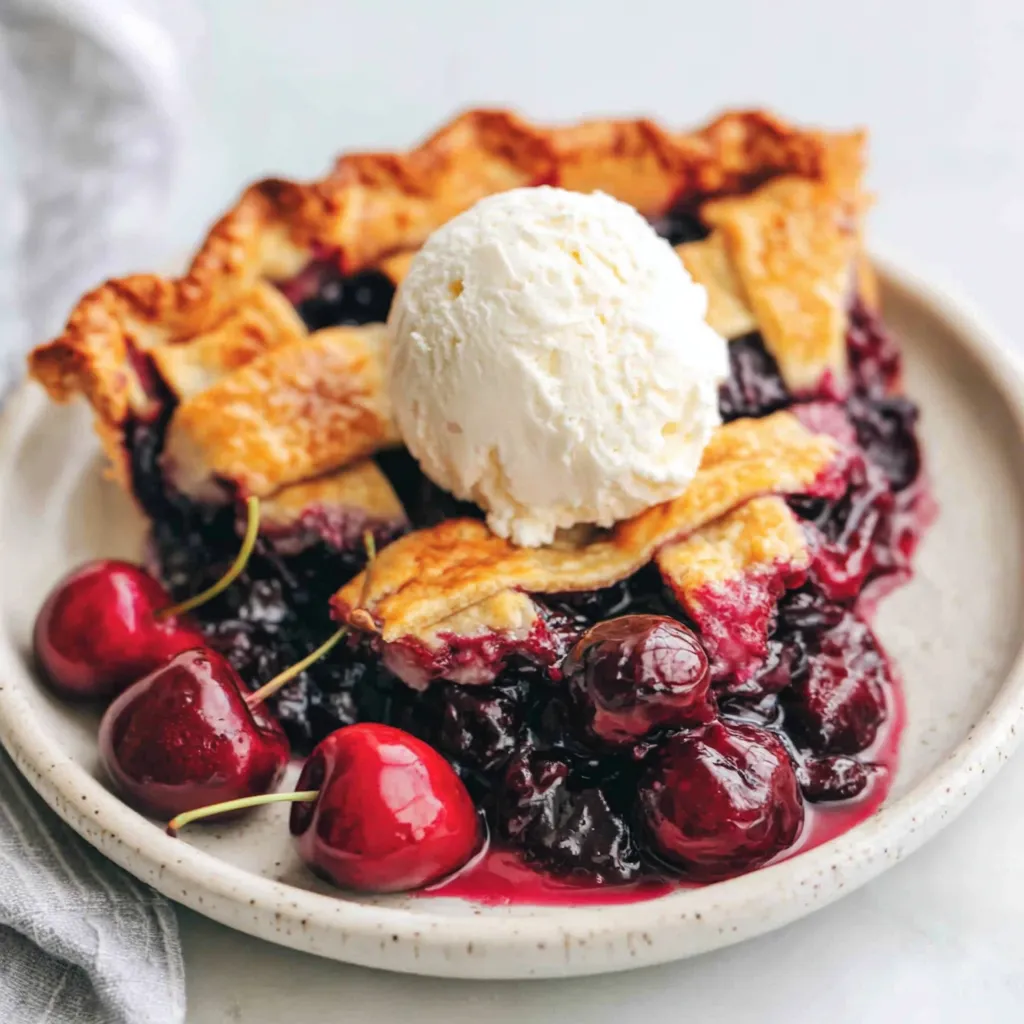
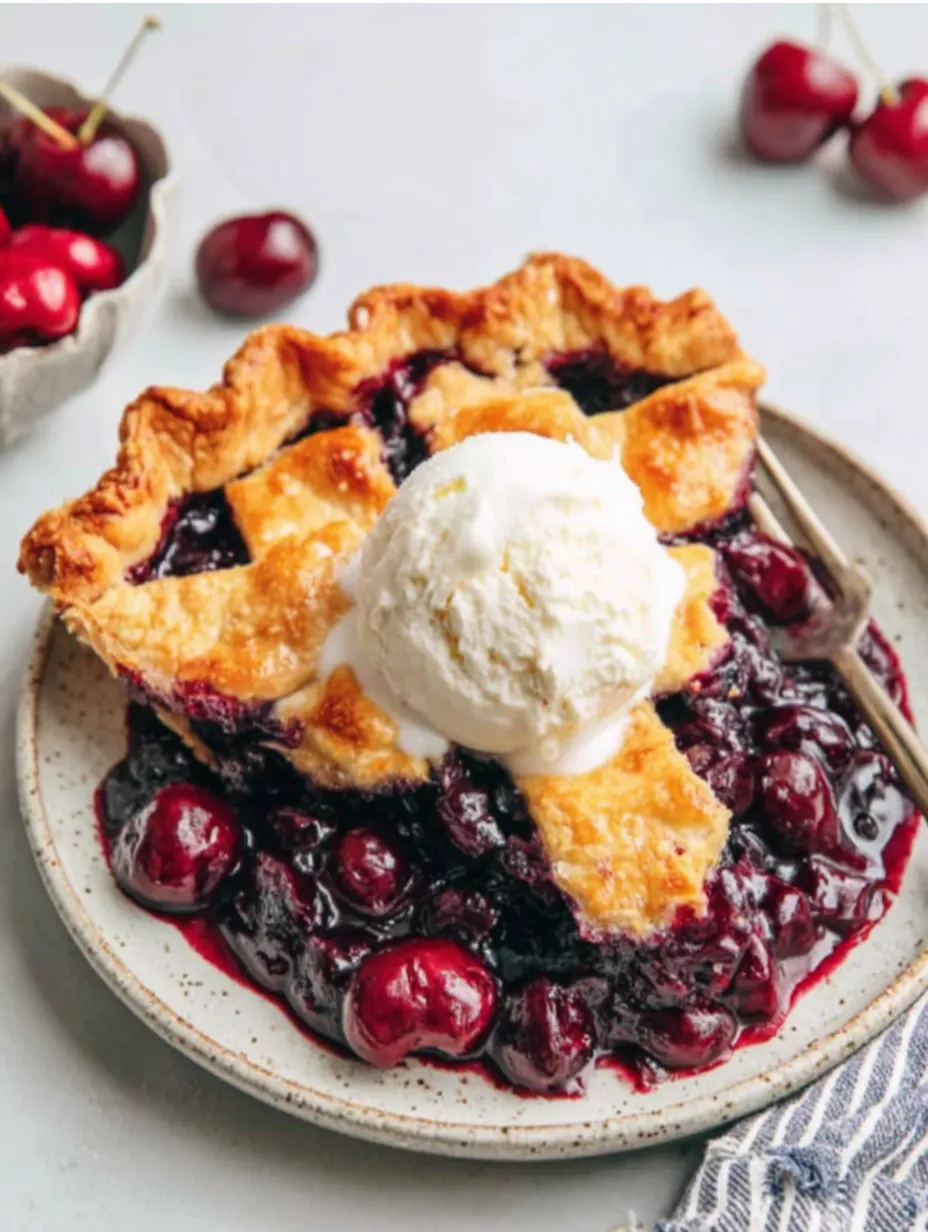
Nothing says summer like a freshly baked cherry pie with a golden lattice crust spilling over with sweet-tart cherry filling. This simple cherry pie bakes up fast and is the showstopper everyone wants at picnics and backyard BBQs. I make this nearly every June during cherry season and everyone dives in before it even has a chance to cool.
I remember the first time I made this pie with my grandma on a rainy afternoon. She let me weave the dough and it felt like a little work of art. Now I look forward to making this every summer with my own kids
Ingredients
- Fresh cherries: The heart of the pie The brighter and firmer the better Pick dark sweet varieties like Bing or Rainier for juicier flavor
- Granulated sugar: Brings out the cherry juices and gives perfect sweetness Always taste your cherries first to adjust the sugar as needed
- Cornstarch: The thickener for a luscious set filling Look for cornstarch with a fine powdery texture for best results
- Lemon juice: Perks up the fruit Use freshly squeezed for the best punch
- Kosher salt: Balances the sweetness Use a good flaky variety if you have it
- Refrigerated pie crusts: A time saver for busy days Choose ones with real butter listed in the ingredients if possible
- Heavy cream: Makes the lattice crust turn golden and glossy Any brand works as long as it is fresh
Step-by-Step Instructions
- Prepare the cherries and sugar:
- In a large saucepan over medium heat combine cherries and sugar Stir every couple of minutes for five minutes until the cherries give off their juices and start to soften
- Make the thickener:
- In a small bowl whisk together cornstarch lemon juice and salt until totally smooth This prevents lumps and helps the filling thicken evenly
- Finish the cherry filling:
- Add the cornstarch mixture to the warm cherries Stir well and cook for about three minutes until the filling becomes very thick and glossy Remove from heat
- Line the pie pan:
- Roll out one pie crust and press it firmly into a nine-inch pie pan working it into the edges so there are no air bubbles
- Fill the crust:
- Pour the cherry filling into the prepared crust and spread it evenly with a spatula
- Make the lattice:
- Unroll the second pie crust on a lightly floured surface Use a sharp knife to cut it into one-inch strips Lay half the strips horizontally across the pie leaving space between each strip Then lift every other strip and place a strip vertically Repeat weaving strips to make a crisscross pattern
- Seal and crimp:
- Trim any overhanging dough so it is even with the pie pan Press the lattice strips firmly onto the edge of the bottom crust Tuck the edges underneath and crimp with your fingers or a fork for a decorative seal
- Brush and bake:
- Brush the top of the crust with heavy cream for beautiful color Place the pie in the oven and bake for about twenty to twenty five minutes until the crust is deeply golden and the filling bubbles through the lattice
- Cool and serve:
- Let the pie cool for at least one hour to help the filling set Slice and serve as is or with a scoop of vanilla ice cream

My absolute favorite part of this pie is the gooey cherry filling with a hint of lemon I have vivid memories of pitting cherries at the kitchen table as a kid stained hands and all and it always felt like the official start of summer
Storage tips
Cherry pie is best enjoyed the same day but leftovers will keep covered at room temperature for up to twenty four hours After that transfer to the fridge where it will stay fresh for three days If you need to freeze wrap slices tightly in plastic and then foil to prevent freezer burn Thaw overnight in the fridge and warm gently before serving
Ingredient substitutions
If you do not have fresh cherries frozen cherries work well Just add a few extra minutes to the thickening step and make sure to drain any excess liquid before filling the crust If you like a hint of almond add a quarter teaspoon of almond extract to the filling For a homemade touch use your favorite from scratch pie dough instead of store bought
Serving suggestions
Classic cherry pie shines with a scoop of vanilla ice cream or a dollop of fresh whipped cream Some love a sprinkle of toasted sliced almonds for crunch A drizzle of cherry sauce over the top makes every bite extra juicy
Cultural and historical context
Cherry pie has roots in American baking stretching back to Colonial times when pies were made with whatever fruit was abundant The lattice top became a symbol of homestyle comfort and resourcefulness Whole cherry pies are a highlight of summer fairs and family reunions across the country
Common Recipe Questions
- → How do I prevent a soggy bottom crust?
Make sure to bake the pie on a lower oven rack and use a preheated baking sheet. This helps the bottom crust cook through and stay crisp.
- → Can I use frozen cherries instead of fresh?
Yes, frozen cherries can be used. Thaw and drain them first to avoid excess moisture in the filling.
- → What is the purpose of lemon juice in the filling?
Lemon juice adds brightness and enhances the natural tartness of the cherries, making the flavor more vibrant.
- → How do I create a successful lattice top?
Cut dough strips evenly and weave them by folding alternate strips back as you lay each vertical strip. Press and crimp the edges to seal.
- → Why should the pie cool before slicing?
Allowing the pie to cool helps set the filling, preventing it from running and ensuring clean, neat slices.
- → Can store-bought pie crusts work here?
Absolutely, refrigerated pie crusts save time and still create a delicious result with a flaky texture.