
 Save
Save
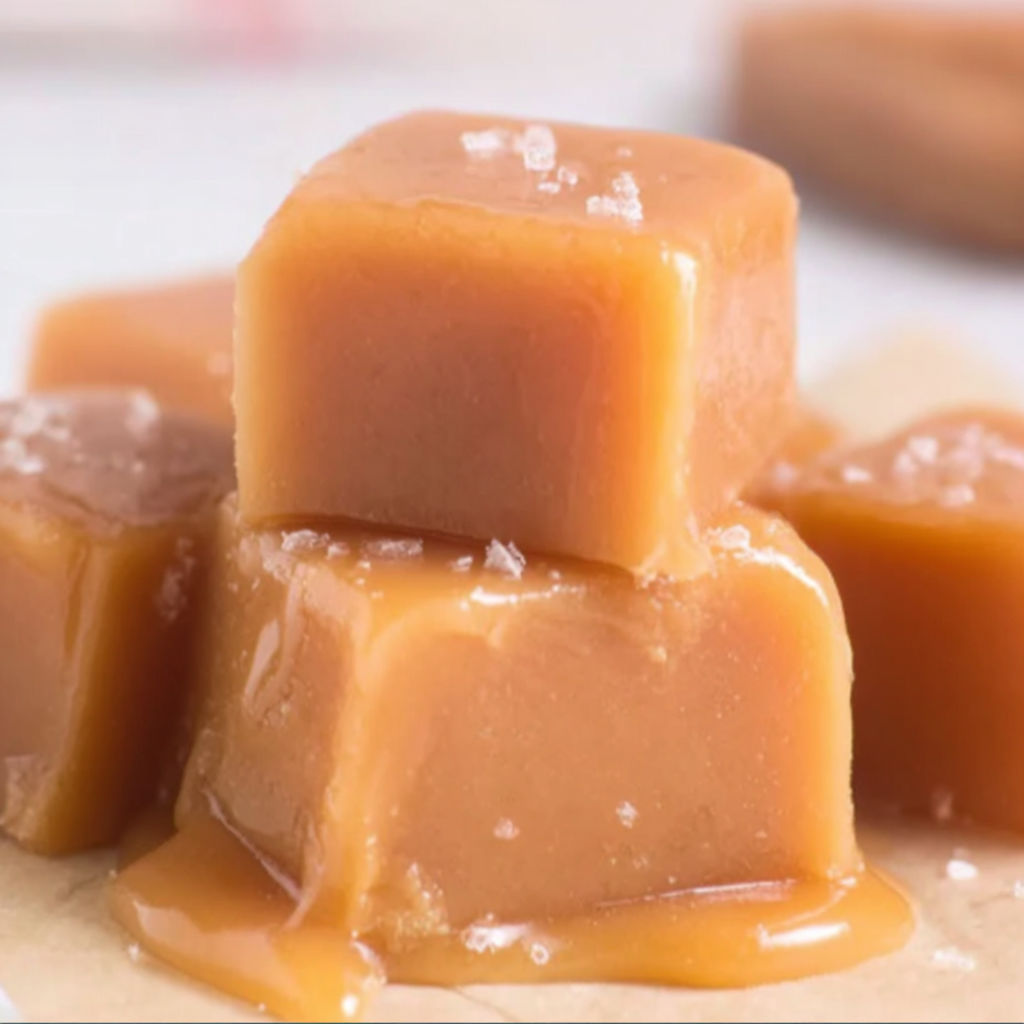
These delicious and creamy homemade caramels have always been a treasured treat in my family during holidays and special gatherings. Whether wrapped up for gifting or kept around for a sweet snack, these rich golden candies are beloved for their smooth melt-in-your-mouth texture and deep caramel flavor.
I remember making these caramels with my grandmother every December. The whole house would fill with their sweet aroma, and waiting for them to cool took all my patience. Now my own kids love to help cut and wrap them for friends.
Ingredients
- Granulated sugar: adds structure and sweetness for that classic caramel chew Choose pure white granulated sugar for a neutral base
- Brown sugar: deepens the flavor and adds a hint of molasses Opt for fresh brown sugar with moist texture for best results
- Unsalted butter: brings creamy texture and richness Use high quality European style or farm butter if you can
- Light corn syrup: helps prevent crystallization and keeps caramels smooth Go for a clear and fresh syrup
- Sea salt: balances the sweetness and brightens the flavor Use fine sea salt to blend smoothly in the mixture
- Evaporated milk: gives a creamy mouthfeel and helps the caramels set properly Always shake the can and use whole milk version for richness
Instructions
- Prepare the Pan:
- Line a nine by thirteen inch pan with parchment paper making sure the edges are well covered for easy removal later
- Mix and Heat the Base:
- Combine granulated sugar brown sugar unsalted butter light corn syrup and sea salt in a heavy bottomed saucepan Place over medium heat and bring the mixture to a steady boil stirring constantly to prevent scorching This is crucial for even texture
- Slowly Add the Milk:
- Pour in evaporated milk very very slowly while continuously whisking or stirring Keep the boil steady and do not let the temperature drop The slow addition takes about twenty minutes which results in a silky smooth caramel
- Cook to Temperature:
- Reduce the heat to medium low and attach a candy thermometer Stir frequently until the mixture reaches two hundred thirty eight degrees Fahrenheit Remove from the heat right as you hit the target temperature to avoid overcooking
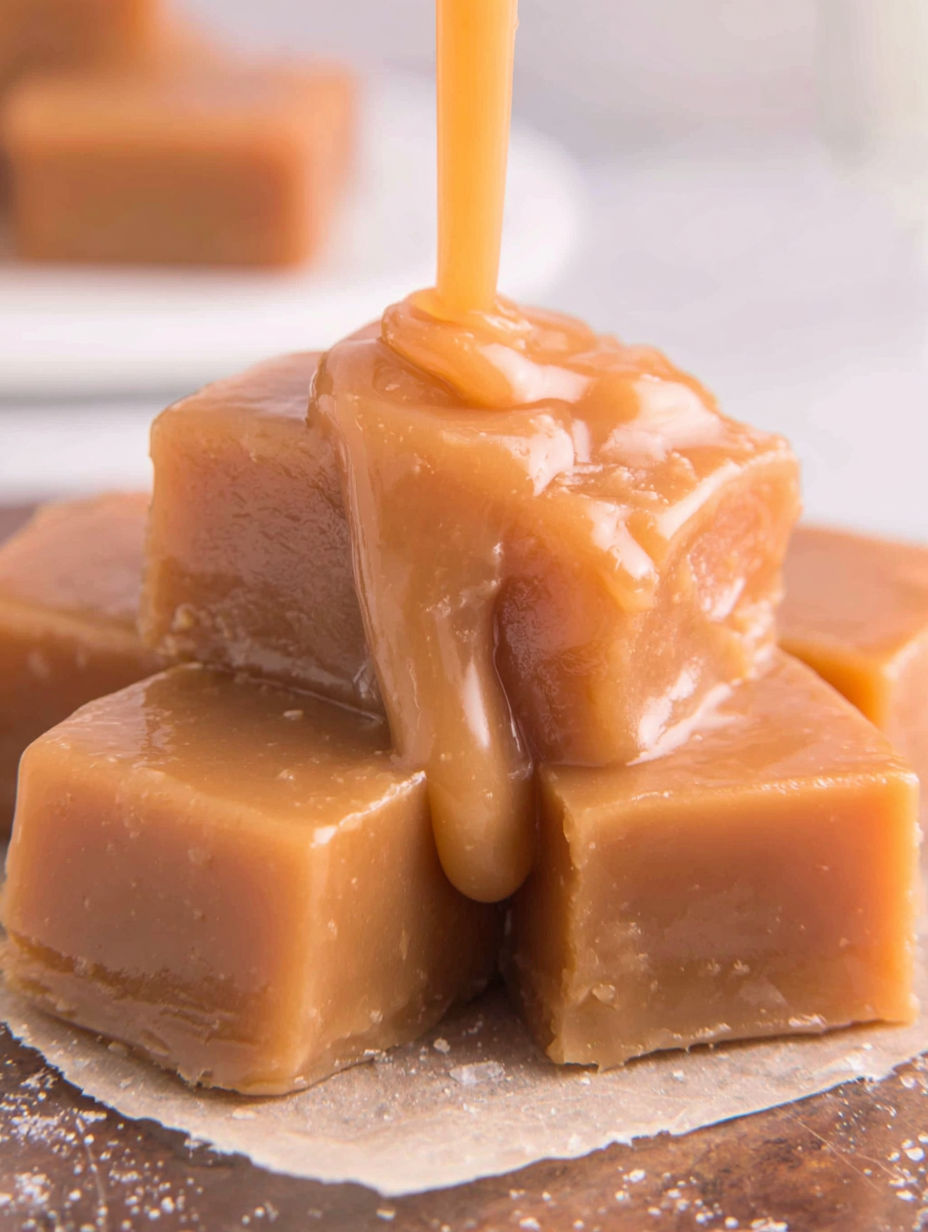
- Pour and Cool:
- Immediately pour the hot caramel into the prepared pan and smooth the top Let the caramels cool on the counter for four to five hours or until fully set
- Cut the Caramels:
- Use a sharp knife dipped in cold water for cleaner slices Cut the caramels into your desired size I usually make ten rows across and eight rows lengthwise
- Wrap for Storage:
- Wrap each caramel in wax paper or pre cut candy wrappers to maintain freshness and prevent sticking
I absolutely love the deep flavor the brown sugar gives these caramels. Every Christmas my family takes turns cutting the cooled slab into pieces and it has become a little friendly competition to see who gets the most perfect square.
Storage Tips
Always wrap caramels in wax paper This prevents them from drying out and keeps them from sticking to each other or becoming too soft at room temperature. Store wrapped caramels in an airtight tin or container in a cool place away from moisture or heat sources. You can refrigerate them for longer lasting freshness just let them sit at room temperature before serving for best texture. If you like firmer caramels the freezer is an excellent option just pull out what you need and thaw for a few minutes before enjoying.
Ingredient Substitutions
Regular corn syrup can be swapped for golden syrup which offers a light caramel note but keep in mind texture may be slightly chewier. Non dairy butter alternatives and coconut evaporated milk work for dairy free versions though the flavor will change. If you want salted caramels increase the salt or sprinkle sea salt flakes right after pouring for a finishing touch.
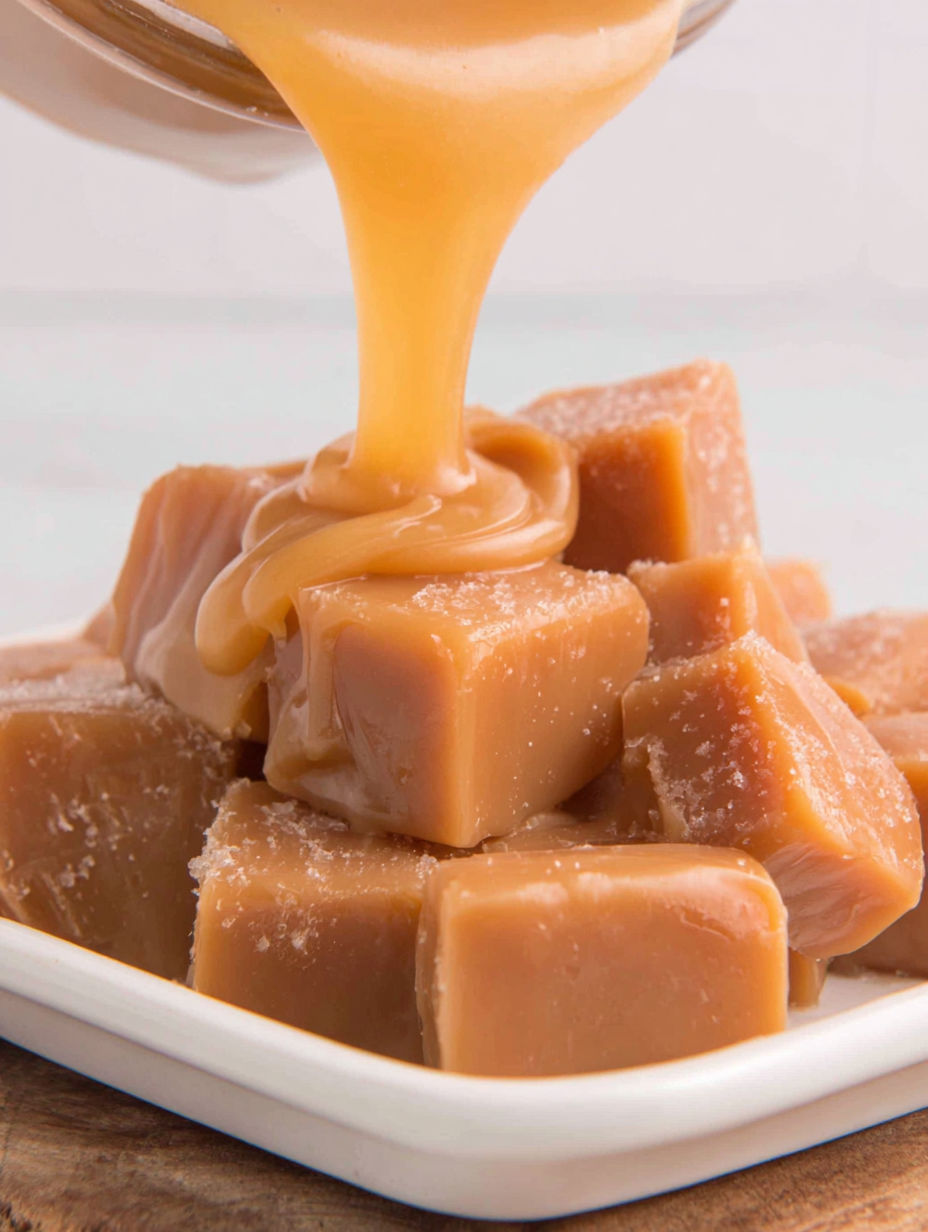
Serving Suggestions
These caramels are wonderful on their own but you can dip them partially in melted dark chocolate for a gourmet twist. Cut into tiny squares for a pretty topping on cupcakes brownies or ice cream. I love bundling a handful in clear bags with rustic ribbon for easy and thoughtful homemade gifts.
Cultural History
Handmade caramels have been a cherished American confection since the late nineteenth century both for their simplicity and their adaptability for local flavors. In my family homemade caramels became a holiday essential passed down from my grandmother who always joked that perfect caramels should stick just a little to your teeth.
Seasonal Adaptations
For autumn add a pinch of cinnamon or nutmeg for a spiced take For summer try lemon zest in the mixture for bright citrusy notes Swap brown sugar for maple sugar in winter for a richer flavor
A homemade caramel is always worth the time. These truly make the holidays extra special for my family and friends.
Common Recipe Questions
- → What ensures caramels turn out soft and chewy?
Reaching the precise temperature of 238°F when cooking the mixture is key. Using a candy thermometer helps maintain accuracy for a perfect soft, chewy texture.
- → Why is a heavy-bottomed pan recommended?
A heavy-bottomed pan distributes heat evenly, preventing the sugar from burning and ensuring a smooth consistency throughout the cooking process.
- → How should the caramels be stored after cutting?
Wrap individual pieces in wax paper or pre-cut candy wrappers, then keep in an airtight container at room temperature to retain freshness and texture.
- → Can caramels be made ahead for gifting?
Yes, caramels can be prepared several days in advance. Their stable texture and flavor make them excellent for sharing or holiday gifting.
- → How to slice caramels cleanly?
Use a sharp knife dampened with cold water to prevent sticking, or briefly freeze the slab for easier, tidier cutting.
- → What variations can be made?
Try adding vanilla, sea salt flakes, or dipping finished caramels in chocolate for different flavors and textures.