
 Save
Save
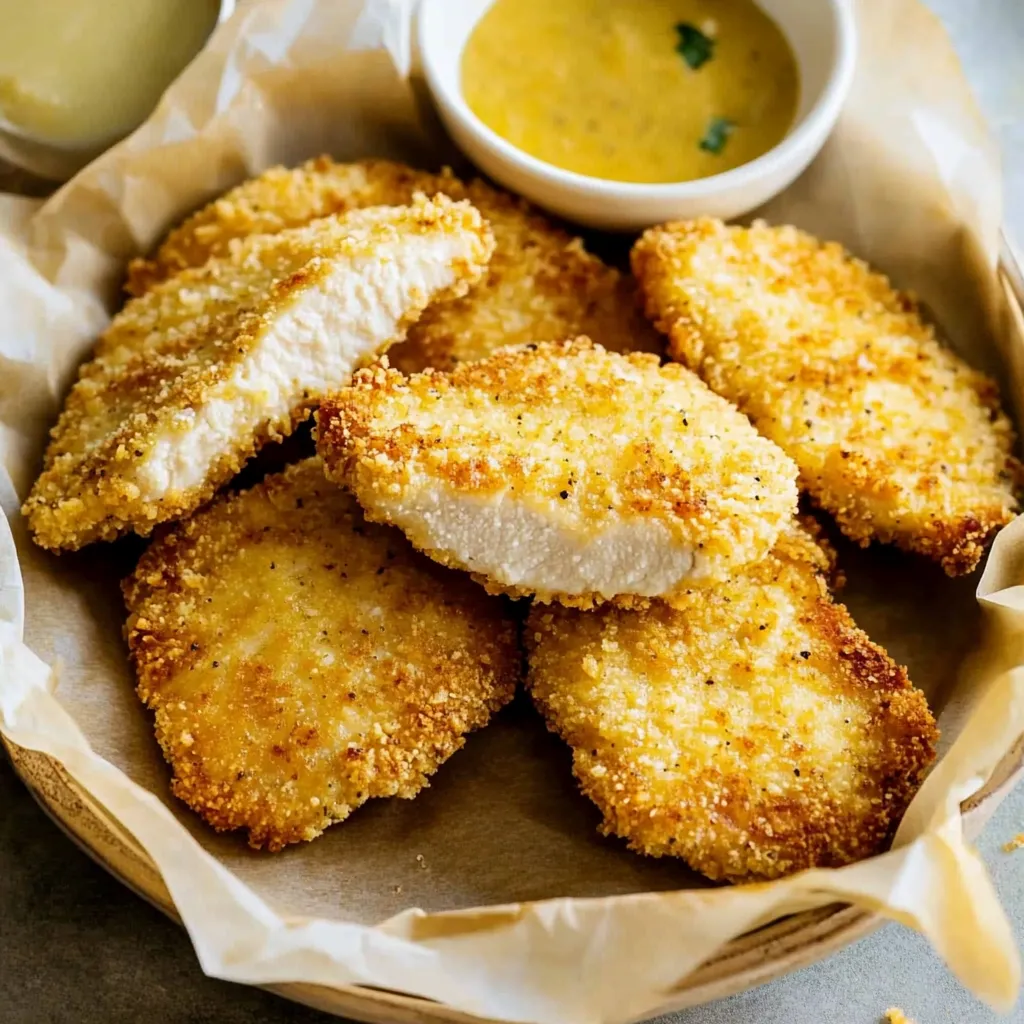
This crispy baked chicken cutlet recipe has completely transformed my weeknight dinner routine. With just 4 simple ingredients and 30 minutes of your time, you can create golden-brown, perfectly crisp chicken that rivals any restaurant version without the mess or hassle of frying.
I discovered this technique during a particularly hectic week when I needed something quick but satisfying. My children now request these cutlets weekly, and I love that I can prep them ahead and have dinner on the table in no time.
Ingredients
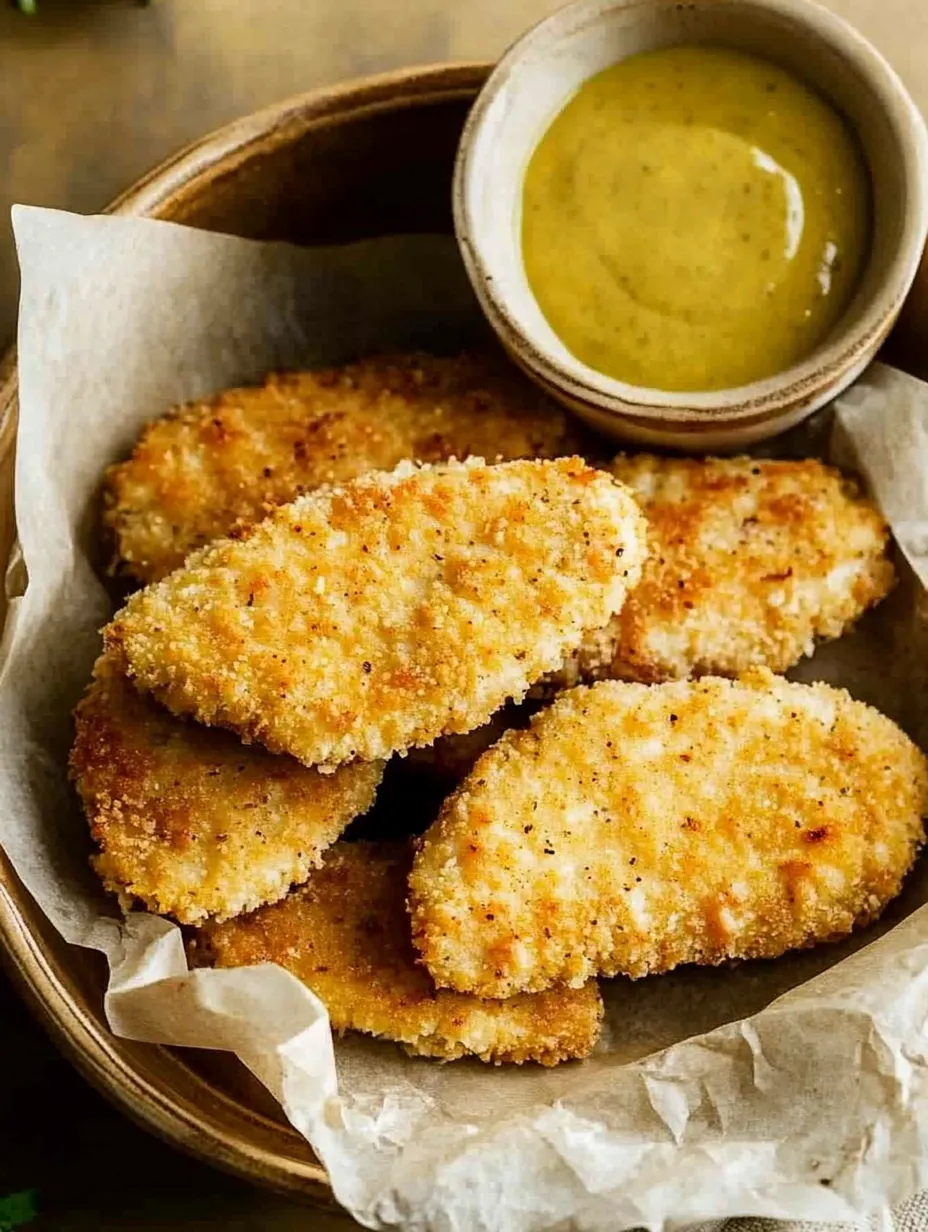
- Panko breadcrumbs: Provide the signature crunch that makes these cutlets irresistible. Choose whole wheat for extra nutrition or regular for a more traditional flavor.
- Parmesan cheese: Adds rich umami flavor and helps create that golden crust. Always use freshly grated for best results.
- Olive oil: Helps the coating crisp up beautifully in the oven. Use extra virgin for maximum flavor.
- Boneless skinless chicken breasts: Are the perfect blank canvas. Look for medium sized breasts that are similar in size for even cooking.
- Egg: Acts as the perfect binder for the breadcrumb mixture. One large egg is typically enough for four cutlets.
- Kosher salt and pepper: Enhance all the flavors. Be generous here.
Step-by-Step Instructions
- Preheat and Prepare:
- Heat your oven to 450°F with racks positioned in the top and bottom thirds. Place a baking sheet on the bottom rack while preheating. This hot sheet will immediately start crisping the bottom of your chicken when you add it.
- Create Your Coating:
- Mix the Panko breadcrumbs, grated Parmesan, olive oil, salt, and pepper in a shallow dish. The oil helps the coating brown beautifully. In a separate dish, lightly beat the egg until uniform in color.
- Prepare the Chicken:
- Halve each chicken breast horizontally to create thinner pieces, then pound them to an even quarter inch thickness. This ensures quick, even cooking and maximum tenderness. Always pat the chicken dry thoroughly before breading.
- Bread the Cutlets:
- Dip each piece of chicken in the beaten egg, allowing excess to drip off, then press firmly into the Panko mixture. Make sure to coat all sides and press the crumbs onto the chicken for complete coverage.
- Initial Baking:
- Working quickly, remove the hot baking sheet from the oven, spray with nonstick spray, and arrange the chicken pieces without crowding. Return to the bottom rack and bake for 6 minutes until the bottom side begins to turn golden.
- Flip and Finish Baking:
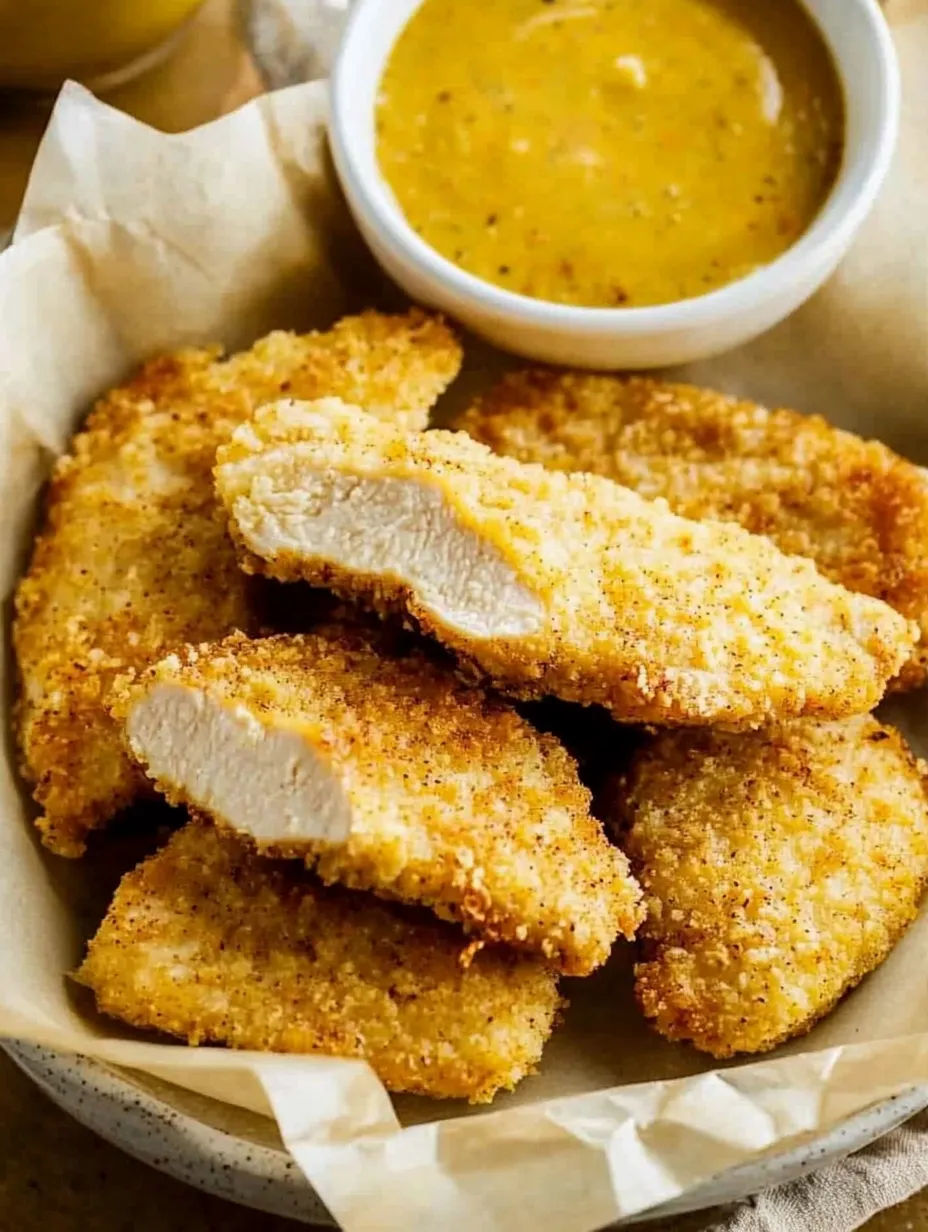
- Carefully flip each piece and continue baking for about 5 more minutes until the internal temperature reaches 160°F. The preheated pan ensures both sides get crispy without the need for excess oil.
- Broil for Perfect Crispness:
- For that restaurant quality finish, move the baking sheet to the top rack and broil for 1 to 2 minutes until the coating turns deeply golden and irresistibly crispy. Watch carefully to prevent burning.
When I first served these to my Italian grandmother, she was stunned they weren't fried. The combination of Parmesan and olive oil in the breading creates such authentic flavor that even traditionalists approve. The moment she asked for my recipe was one of my proudest cooking achievements.
Make Ahead Options
You can bread these cutlets up to 8 hours ahead of time and refrigerate them uncovered on a wire rack. This actually helps the coating adhere better and creates an even crispier result. Simply place the prepped cutlets directly on the hot baking sheet when ready to cook. The cold chicken may require an extra minute or two of cooking time.
Serving Suggestions
These versatile cutlets shine in countless ways. Serve them simply with a squeeze of lemon and a side salad for a light dinner. Or transform them into chicken Parmesan by topping with marinara and mozzarella during the last few minutes of cooking. They make incredible sandwiches on ciabatta with arugula and garlic aioli. For a family style meal, slice them and serve with various dipping sauces allowing everyone to customize their plate.
Storage and Reheating
Store any leftover cutlets in an airtight container in the refrigerator for up to 3 days. To reheat while maintaining crispness, place them on a wire rack over a baking sheet in a 375°F oven for 10 minutes. Avoid microwaving as this will make the coating soggy. These cutlets also freeze beautifully after cooking. Freeze them individually on a baking sheet before transferring to a freezer bag for up to 2 months.
Common Recipe Questions
- → Can I make these chicken cutlets gluten-free?
Yes, substitute regular or whole-wheat Panko with gluten-free Panko for a gluten-free option.
- → How do I ensure the chicken stays crispy?
Preheat the baking sheet in the oven and broil the chicken briefly after baking for extra crispness.
- → What can I serve with these chicken cutlets?
These chicken cutlets pair well with salads, pasta, sandwiches, tacos, or even as a main dish with your favorite sides.
- → How do I store leftovers?
Let the chicken cool completely, then store in an airtight container in the refrigerator for up to 3 days. Reheat in the oven for best results.
- → What is the ideal internal temperature for the chicken?
Ensure the thickest parts of the chicken reach an internal temperature of 160°F for safe consumption.