 Save
Save
I stumbled across this recipe three years ago when I needed a last-minute Easter treat for my kids' school party. We were sick of the usual chocolate bunnies, and I wanted something homemade but simple. This fudge was such a hit with the kids and teachers that it's now become our annual Easter tradition. My daughter even asks to make it for other holidays, just switching up the colors and candy toppings.
Last spring, my neighbor's 8-year-old helped me make a batch, and she was so proud of herself for creating something "fancy" without needing any help with the oven. The joy on her face when we cut it into squares was worth the sticky kitchen cleanup.
Simple Ingredients
- White chocolate chips - The smooth, creamy base of the fudge
- Sweetened condensed milk - Creates that perfect fudge texture
- Butter - Adds richness and helps with the melt-in-your-mouth quality
- Vanilla extract - Balances the sweetness with warm flavor
- Easter sprinkles - For color and festive flair
- Candy eggs - Mini eggs or M&M eggs add fun pops of chocolate
- Salt - Just a pinch to enhance all the flavors

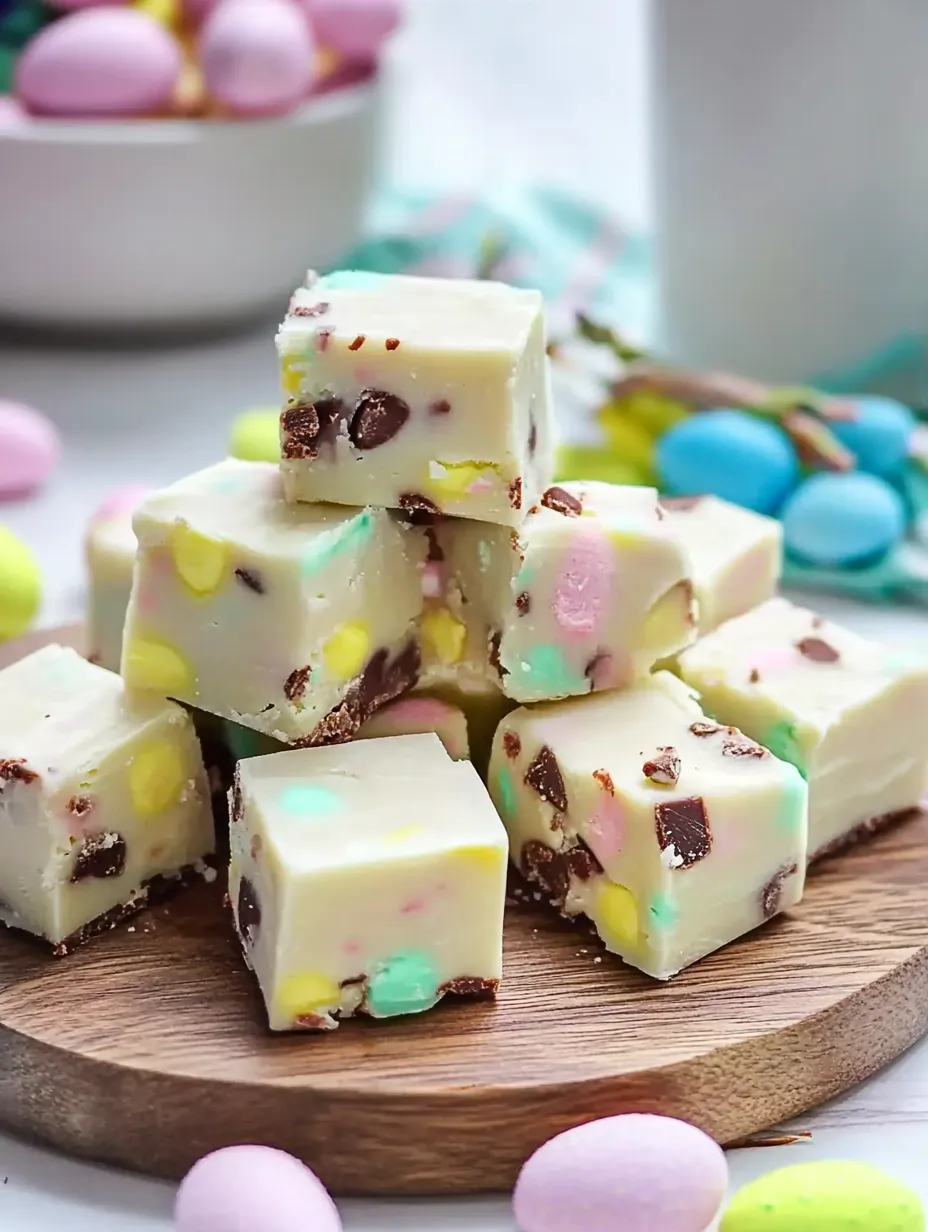
I tried making this once with regular chocolate chips instead of white chocolate. It tasted good but didn't show off the colorful Easter candy as well. The white background really lets the pastel colors pop for that Easter basket look.
Easy Process
- Simple Melting
- Start by melting the white chocolate, condensed milk, and butter in a saucepan over medium-low heat. The key is stirring constantly and being patient - rushing with high heat can scorch chocolate faster than you'd believe. You'll know it's ready when everything is completely smooth with no lumps.
- Quick Additions
- Once your base is melted, remove from heat and quickly stir in the vanilla and a pinch of salt. This is where the magic happens - vanilla adds depth to the sweet white chocolate, while salt balances the sweetness.
- Festive Mix-ins
- Let the mixture cool for just a minute or two, then fold in most of your sprinkles and candy, saving some for the top. Work quickly but gently - the fudge starts setting up fast, and you want to distribute the goodies before it becomes too firm to stir.
- Easy Setting
- Pour the mixture into a lined pan (I use parchment paper for easy removal), smooth the top, and sprinkle with the reserved candy and sprinkles. Press them gently into the surface so they stick but don't sink completely. No baking needed - just pop it in the refrigerator to set!
- Perfect Cutting
- For clean cuts, chill the fudge thoroughly - at least 3 hours, but overnight is even better. Use a sharp knife dipped in hot water and wiped dry between cuts for professional-looking squares.
My first attempt at this fudge was nearly ruined when I stepped away from the stove for just a minute. I came back to a scorched, separated mess. Now I never leave the pot unattended - constant stirring is the secret to smooth, creamy success.
Creative Variations
While the Easter version with pastel sprinkles and candy eggs is perfect for spring, this basic recipe works for any holiday. For Christmas, I use red and green sprinkles with mini chocolate Santa hats. Halloween gets orange and black sprinkles with candy corn pressed on top.
For a more grown-up version, I sometimes add chopped dried cranberries and pistachios instead of candy. The tart cranberries balance the sweetness beautifully, and the green pistachios still give that spring feel.
My kids' favorite twist is adding a layer of crushed Oreos to the bottom of the pan before pouring in the fudge mixture. It creates a cookies-and-cream effect that's absolutely addictive.
Gift-Giving Ideas
This fudge makes perfect Easter basket additions. I cut it into small squares, wrap in wax paper, and tuck a few pieces into each basket. For teachers and neighbors, I layer pieces in a small jar with parchment between layers, add a ribbon, and attach a handwritten tag.
For a unique presentation, use Easter-themed cookie cutters to create shapes instead of the traditional squares. Bunnies, eggs, and chicks cut from the fudge make adorable treats that stand out from the usual Easter candy.

Common Recipe Questions
- → Can I use milk or dark chocolate instead of white chocolate?
- Absolutely! You can substitute milk or dark chocolate chips for the white chocolate chips in equal amounts. The process remains the same, though the appearance will be different.
- → Why isn't my fudge setting properly?
- Make sure you used the correct ratio of chocolate to condensed milk. If it's still too soft after overnight setting, you can place it in the refrigerator for 1-2 hours to firm up.
- → What other candies can I use instead of the ones listed?
- You can use almost any candy that doesn't melt easily - mini chocolate eggs, jelly beans, crushed Easter cookies, pastel-colored chocolate chips, or even chopped up chocolate bunnies would work great.
- → Can I freeze this fudge?
- Yes! Cut the fudge into pieces, place in an airtight container with parchment paper between layers, and freeze for up to 3 months. Thaw at room temperature for about 30 minutes before serving.
- → Why do you recommend letting it set at room temperature instead of in the fridge?
- Setting fudge at room temperature allows it to develop the proper crystalline structure for that classic fudge texture. Refrigerating can sometimes make it too hard or cause condensation when removed from the cold.
