
 Save
Save
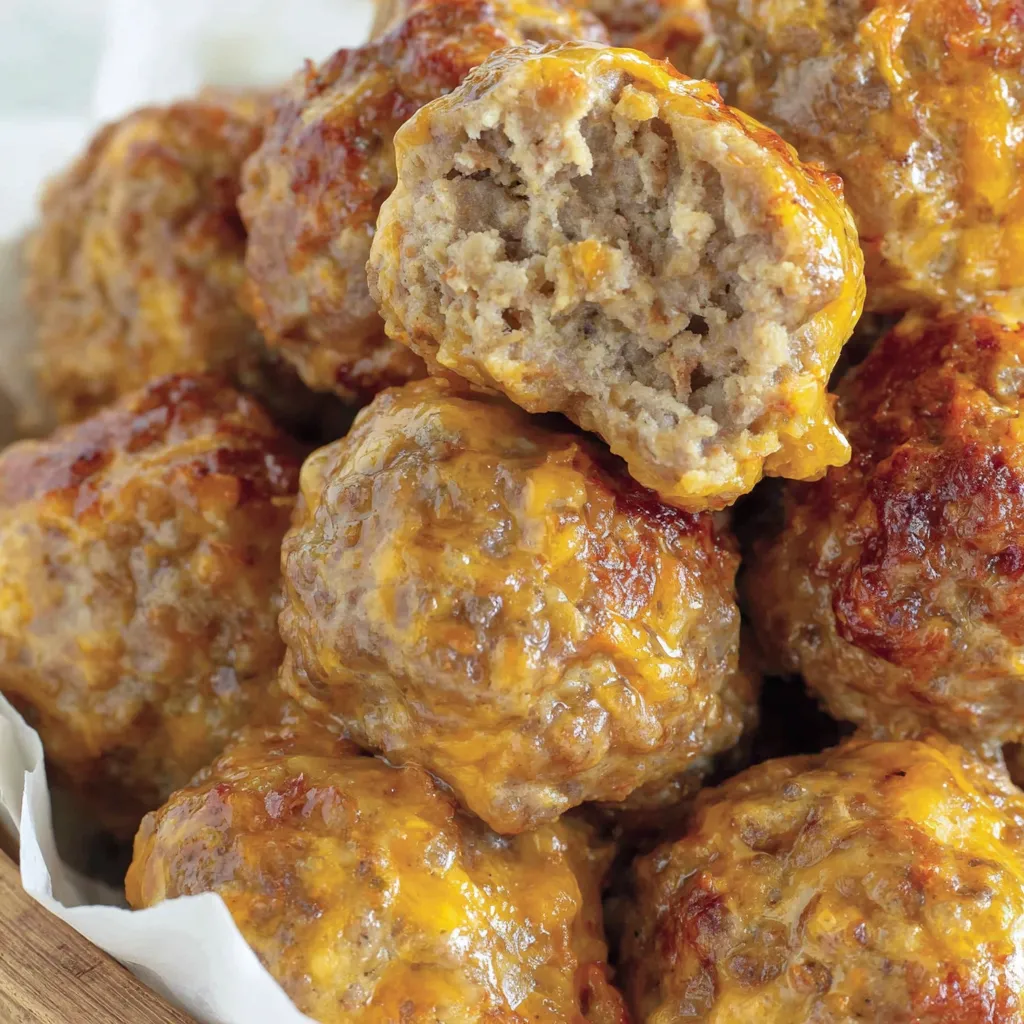
Whenever I need something that’ll please a crowd, I throw together sausage cheese balls. Whether it’s for game night, Christmas, or even sneaking them onto the morning menu, they’re always a hit. The best part? You probably already have the few easy ingredients on hand, so you can whip 'em up quickly or prep ahead if you’re planning things out.
The very first time I made a batch was for a big family brunch on Thanksgiving. They disappeared before I could even set out a platter. Ever since, it’s the one thing that’s always gone before anything else at get togethers.
Tasty Ingredients
- Eggs: They keep your sausage balls from falling apart and hold all the good stuff together
- Shredded cheddar cheese: Brings gooey little melty spots—use sharp cheddar for the most flavor, and if you can, shred your own
- Pick local eggs if you can: They usually make the mix rich and give a better bite
- Ground sausage: Makes these super juicy and bold so grab your favorite fresh sausage from the shop or local butcher
Simple How-To Steps
- Let Them Rest:
- Once baked, let the sausage cheese balls chill out for five minutes so they firm up and all the good flavors settle in.
- Bake Away:
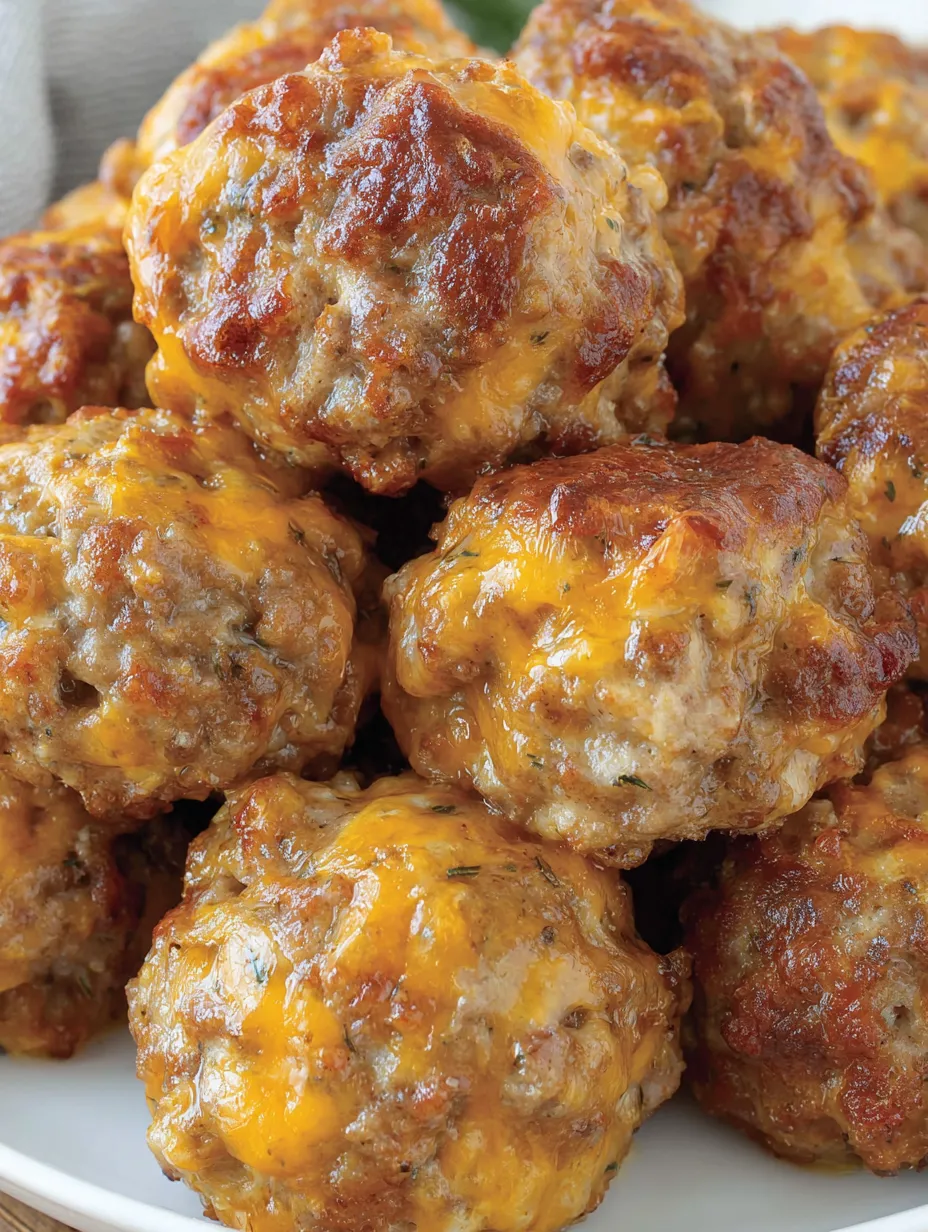
- Get your oven hot at 375. Minis need twenty minutes. Bigger ones need forty. They’re ready when they’re cooked through and gold all over.
- Set Them Up for Baking:
- Spread the sausage cheese balls out on parchment paper over a baking sheet so you don’t end up with a sticky mess and they brown nicely.
- Roll Them Out:
- Take a scoop—one tablespoon for minis, two for hefty ones—then roll between your hands until they’re round and even.
- Stir Everything Together:
- Dump sausage, cheese, and eggs in your biggest bowl. Use your hands to gently work it all together. Don’t overmix or they’ll get tough.
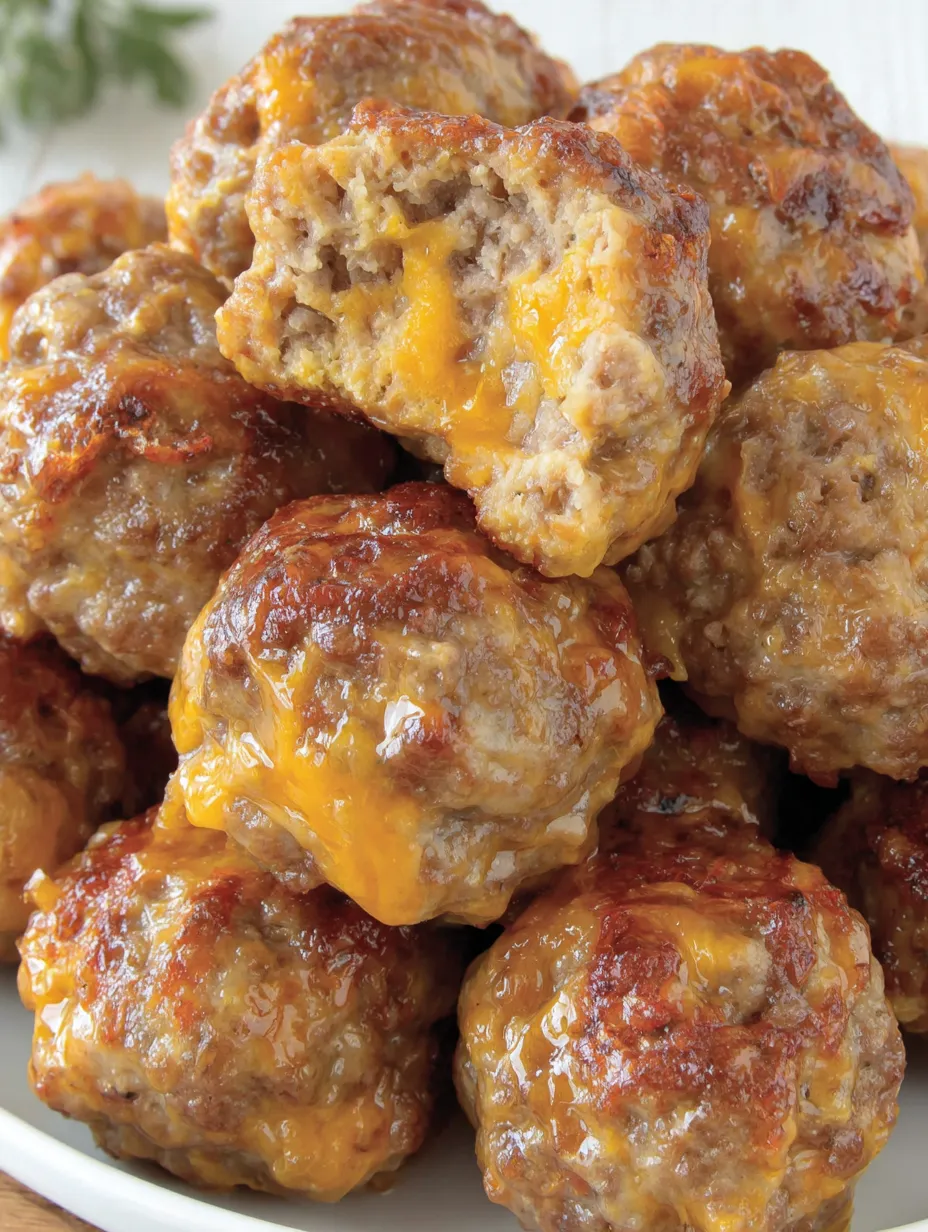
The cheese turns crispy at the edges and stays melty inside, while the sausage keeps everything juicy. I can’t help but snatch one or two fresh from the pan because the smell just takes me right back to big weekend breakfasts from when I was a kid.
Smart Storage
Just pop any leftovers in a tight container in the fridge—they’ll stay good for about four days. Warm them in the oven or a toaster oven if you want them like fresh again. Freeze a batch once cooled in a single layer, then move to a freezer bag. They’ll still taste awesome after two months.
Easy Swaps
Mix it up with your favorite sausage—hot, mild, or something in between. If you like, stir in a different cheese, but cheddar always melts best. Try tossing in a handful of chives or parsley for a herby kick. Not into pork? Chicken or turkey sausage does the trick too.
Serving Ideas
Dip these in ranch, honey mustard, or a tangy sour cream with chives for a tasty twist. If you’re doing brunch, a little drizzle of maple syrup is awesome. Want more? Set ‘em next to scrambled eggs or fresh fruit to turn breakfast into a spread.
Fun Background
They started popping up in Southern cooking back in the day—classic for church get-togethers and family potlucks. Everyone keeps making them ‘cause you can tweak the flavor or the size, and feeding a bunch of folks doesn’t have to be pricey. My family still makes them for the holidays every single year.
Common Recipe Questions
- → What’s the best sausage for these balls?
Ground pork sausage is classic, but feel free to use spicy or mild varieties depending on your taste. Just make sure it’s raw, not pre-cooked, for the right texture.
- → Could I try other cheeses?
Absolutely! Cheddar’s a go-to, but you could swap it for Monterey Jack, Colby, or even pepper jack to change things up.
- → Can I prep these ahead of time?
Definitely. Roll the mixture into balls and freeze on a tray. Once frozen, toss them into an airtight container. Keep frozen for up to two months, then bake when ready, adding a few extra minutes.
- → How should I serve these?
Offer them with dips like ranch dressing, sour cream with chives, or honey mustard. For a sweet twist, maple syrup works great—perfect for breakfast!
- → When are these balls cooked all the way?
They’re ready when golden on the outside and cooked through. Larger ones take about 40 minutes, while smaller ones need about 20 minutes. Use a thermometer to confirm they hit 160°F inside.