
 Save
Save
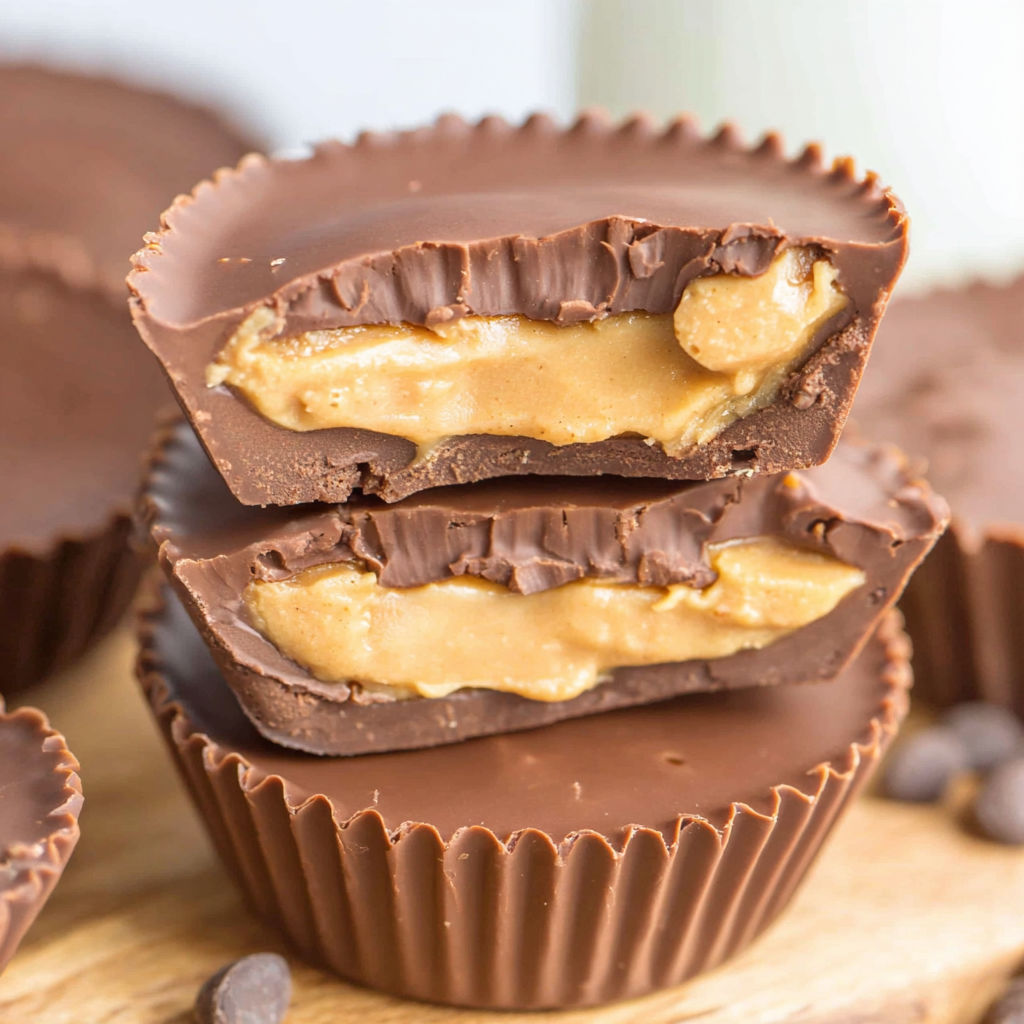
Craving that classic chocolate and peanut butter combo without leaving home Homemade Reese's Peanut Butter Cups deliver that familiar creamy and sweet treat with pantry staples and a hands-on process that makes them extra special for dessert night or gifting
I first made these peanut butter cups for a birthday party when I realized how much the homemade version lets you control the peanut butter to chocolate ratio—now it has become a fun annual tradition for us
Ingredients
- Milk chocolate chips: Use a high quality brand for a smooth and rich chocolate shell
- Vegetable oil: Ensures the chocolate melts silky and snaps nicely once set
- Creamy peanut butter: Go for processed smooth peanut butter for structure avoid natural types that separate easily
- Powdered sugar: Provides sweetness and thickens the peanut butter layer for stability
- Unsalted butter: Adds creaminess and a mellow richness to the center
- Vanilla extract: Rounds out the flavors with warmth and sweetness try to pick pure extract for best results
- Sea salt: A tiny pinch brightens the whole flavor profile and balances the sweetness
Instructions
- Mix the Peanut Butter Filling:
- Combine peanut butter powdered sugar unsalted butter vanilla extract and a small pinch of sea salt in a medium bowl Use a hand mixer or stand mixer to beat until the mixture is smooth thick and spreadable It should hold its shape when you scoop it out This step guarantees a creamy yet sturdy peanut butter center
- Melt the Chocolate:
- Pour the chocolate chips into a microwave safe bowl Microwave on fifty percent power for one minute Stir well Add vegetable oil and microwave in thirty second bursts on low power stirring each time until the chocolate melts smoothly and looks glossy Proper melting and stirring make sure your shells will not have any graininess
- Fill the Molds First Chocolate Layer:
- Spoon about a teaspoon of melted chocolate into the bottom of each silicone mold or lined mini muffin tin Aim to fill them a third of the way Use a spoon to ensure a smooth even layer The thickness here sets the stage for a pleasing snap
- Add the Peanut Butter Center:
- Place an equal amount of the peanut butter mixture into each cup You will likely need to press or shape the filling with your fingers so it settles neatly on top of the chocolate Try not to push too hard just gently tuck it in to keep layers distinct
- Finish with Chocolate and Chill:
- Spoon on more melted chocolate to cover the peanut butter filling and fill each mold to the top Gently tap the tray to remove any air bubbles Place the entire tray in the fridge for at least four hours or overnight so the cups can set completely A slow chill ensures shiny and solid treats
- Release and Enjoy:
- Once fully set pop each peanut butter cup carefully from the mold Enjoy immediately or store as directed below For the neatest edges let them sit a minute at room temperature before unmolding
Peanut butter is my favorite ingredient here because it brings both comfort and nostalgia My children always ask to help smooth the filling with their fingers and it never fails to fill our kitchen with laughter
Storage Tips
Store finished peanut butter cups in an airtight container in the fridge for up to two weeks For the best texture layer parchment or wax paper between them so they do not stick together Freezing works perfectly too just thaw in the fridge before eating for best flavor
Ingredient Substitutions
Swap milk chocolate chips for dark chocolate chips if you love less sweetness Use sunflower butter for a peanut free version Choose coconut oil in place of vegetable oil for a subtle extra richness
Serving Suggestions
Serve peanut butter cups individually for dessert or nestle several on party platters They are also charming tucked into gift bags or paired with coffee on a weekend afternoon Try crumbling one over a bowl of vanilla ice cream for a decadent twist
Cultural and Historical Context
The combination of chocolate and peanut butter is a classic in American dessert history Reese's debuted in the nineteen twenties and became wildly popular for school lunches and holidays Today homemade versions have become a fun project to bring families together in the kitchen
Seasonal Adaptations
Add a sprinkle of colored sugar or mini sprinkles for festive holiday treats Shape them into eggs for spring or trees for winter Try a hint of cinnamon in the filling for fall Swap dark chocolate for a richer winter experience
Homemade peanut butter cups can be enjoyed straight from the fridge or at room temperature for a softer bite Either way these treats are sure to become a family favorite
Common Recipe Questions
- → How do I ensure peanut butter cups come out of the molds cleanly?
Allow the cups to chill thoroughly so the chocolate fully sets. Silicone molds work best for easy removal without breakage.
- → Can dark chocolate be used instead of milk chocolate?
Absolutely! Dark chocolate adds a richer flavor and complements the creamy peanut butter beautifully.
- → Is crunchy peanut butter suitable for these treats?
You can use crunchy peanut butter for added texture, though creamy creates a smoother center.
- → How should these peanut butter cups be stored?
Keep them refrigerated in an airtight container for best texture and freshness up to one week.
- → Can powdered sugar be substituted?
Fine confectioners’ sugar is best for a smooth consistency. Coarser sugars might result in a gritty texture.