
 Save
Save
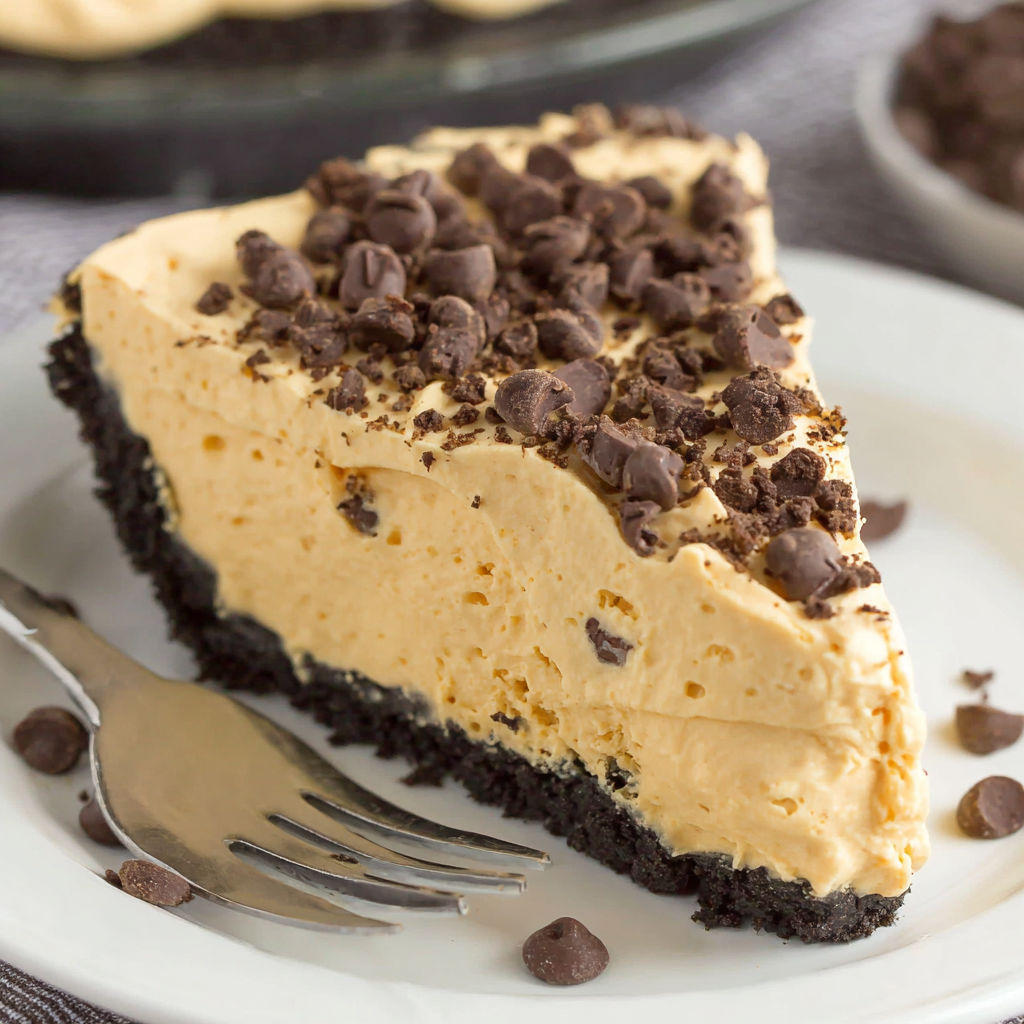
This no bake peanut butter pie is the ultimate crowd pleaser on game nights and holiday potlucks. Every bite is silky smooth peanut butter cream loaded into an old school Oreo cookie crust. Best part You skip the oven and chill your way to dessert glory.
I first made this pie for a summer barbecue and people could not stop asking for the recipe. Now it is one of my most requested party desserts.
Ingredients
- Oreo cookies without the icing: Crushed cookies give the crust a deep chocolatey flavor. Choose fresh cookies for the best texture.
- Light brown sugar: Brings extra sweetness and a touch of caramel notes.
- Ground nutmeg: Just a pinch for warmth and depth that complements chocolate.
- Salted butter: Adds richness and helps bind the crust together. Make sure to use salted for that sweet and salty contrast.
- Unsweetened chocolate: Melted chocolate deepens the overall chocolate profile and keeps the crust from being bland. Go for high quality baking bars.
- Cream cheese: Make sure it is really soft so your filling whips up smooth and lump free.
- Powdered sugar: Sweetens the pie filling. Sift before using for the best texture.
- Creamy peanut butter: I always use classic smooth peanut butter for the most luxurious filling. Avoid natural peanut butters.
- Sea salt: Balances the sweet flavors and enhances the peanut butter taste. Use a fine grain salt.
- Vanilla extract: Rounds out the flavors in the filling. Use pure vanilla if possible.
- Cool Whip or whipped topping: Creates a cloudlike creamy texture that is almost mousse like.
- Mini chocolate chips: Adds pops of texture and extra chocolate on top. Select mini chips for easy slicing.
Instructions
- Prepare the Cookie Crumbs:
- Place Oreo cookies without the cream filling into a large zip top bag. Crush them thoroughly with a rolling pin until you have fine crumbs. This step ensures your crust holds together and is not gritty.
- Mix and Press the Crust:
- Combine the cookie crumbs light brown sugar nutmeg melted butter and melted unsweetened chocolate in a large mixing bowl. Mix until the crumbs are evenly coated with butter and chocolate. The mixture should resemble wet sand. Firmly press this mixture into an ungreased nine inch pie plate pushing it up the sides as well. Pressing firmly is key for a sturdy sliceable crust.
- Chill the Crust:
- Cover the pie plate and chill the crust for forty five minutes to an hour. Chilling allows the butter and chocolate to harden and set the crust.
- Make the Filling Base:
- In a large bowl whisk cream cheese until smooth and creamy. Add in powdered sugar and mix until no lumps remain. The smoother this base is the silkier your pie will be.
- Add Peanut Butter and Flavor:
- Mix in peanut butter sea salt and vanilla extract. Stir until fully combined and smooth. The mixture should look light and creamy.
- Fold in Whipped Topping:
- Use a rubber spatula to gently fold in the Cool Whip or whipped topping. Do this by hand to keep the mixture airy and thick.
- Fill and Decorate the Pie:
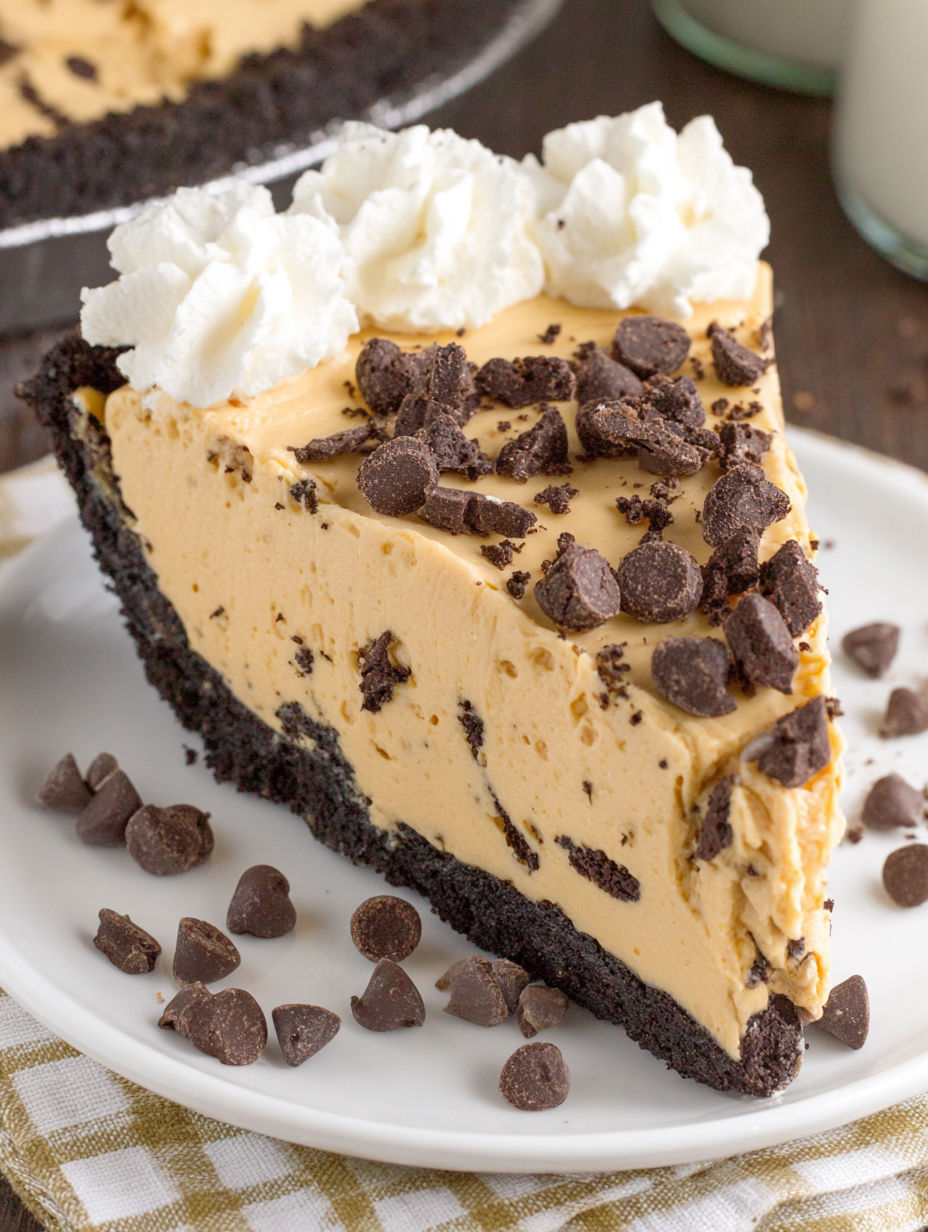
- Spread the peanut butter filling into the chilled Oreo crust. Even the top out with your spatula for a smooth finish. Sprinkle mini chocolate chips over the center top for crunch and color.
- Chill and Serve:
- Cover the pie and refrigerate for at least six hours or overnight. This chill time helps the filling set up so the pie slices cleanly. Remove from the fridge just before serving and use a sharp knife to cut clean slices.
My favorite ingredient is the Oreo crumb crust. As a kid I used to eat the crust leftovers with a spoon straight out of the bowl while helping my grandma make creamy desserts like this. The smell of that chocolate and butter mixture brings back the best kitchen memories.
Storage Tips
Store the pie tightly covered in the refrigerator. It will stay fresh for up to four days though the crust will start to soften after two days. You can slice and freeze leftover pie portions individually by wrapping them with plastic wrap and storing in an airtight container. When ready to eat thaw each slice in the fridge before serving.
Ingredient Substitutions
If you cannot find Oreo cookies use chocolate graham crackers instead. Whipped topping can be swapped with freshly whipped cream just beat one cup cold heavy whipping cream with a few spoons of powdered sugar until it holds soft peaks. For a nut free option try sunflower butter in place of peanut butter but the taste will change a bit.
Serving Suggestions
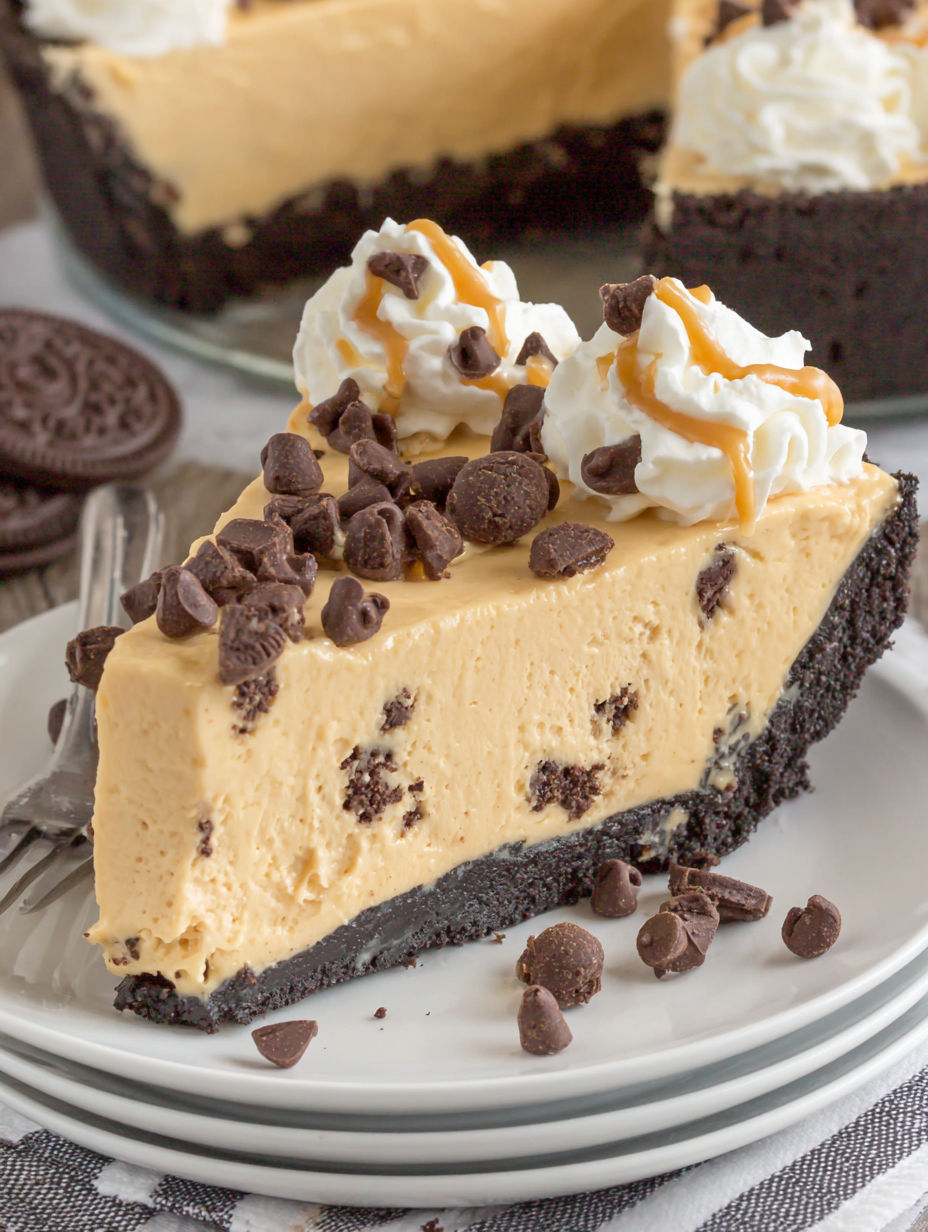
This pie loves to be topped with extra chocolate chips or a drizzle of melted peanut butter. For a fancy moment sprinkle with chopped roasted peanuts or a swirl of chocolate syrup. Cut into squares for a potluck or neat wedges for a special dessert plate.
Cultural History
Peanut butter pie has roots in classic American comfort food but the no bake version became beloved in the 1970s when convenience was king. Cool Whip and packaged cookies made these pies a fast favorite for busy home cooks and they remain a nostalgic dessert today.
Seasonal Adaptations
Use different toppings to match the season. Switch to a graham cracker crust and top with raspberry sauce in spring. Scatter chopped peanut butter cups or holiday sprinkles during winter parties.
Success Stories
My neighbor once brought this pie to a Fourth of July barbecue and it disappeared before any of the fancy cakes. Kids love the creamy peanut butter flavor and adults sneak slices for breakfast the next day.
Freezer Meal Conversion
Prepare the crust and filling as described. Assemble the pie in a freezer safe dish. Once filled wrap tightly with several layers of plastic and foil. Freeze for up to two months. Thaw in the refrigerator overnight before serving. This is my secret trick for having a party ready dessert at a moments notice.
This is truly a party ready pie that never lets you down. Make it once and you will be hooked on its creamy peanut buttery goodness forever.
Common Recipe Questions
- → Can I use a different crust instead of Oreo cookies?
Yes, chocolate graham crackers can substitute for the cookie crumbs. Just crush them finely before mixing.
- → How long does the pie need to chill?
For best results, chill for at least 6 hours or overnight to allow the filling to set properly.
- → Is a hand mixer required for the filling?
No, mixing by hand works well, especially when folding in the whipped topping gently to keep the filling light.
- → Can this be made ahead for a party?
Absolutely. Prepare and chill the pie the day before serving for easy entertaining and perfect texture.
- → What can I use instead of Cool Whip?
Homemade whipped cream can replace store-bought whipped topping. Just beat heavy cream with a touch of sugar until stiff.
- → Is it possible to make it gluten-free?
Select gluten-free chocolate cookies or graham crackers to create a gluten-free version of the dessert base.