
 Save
Save
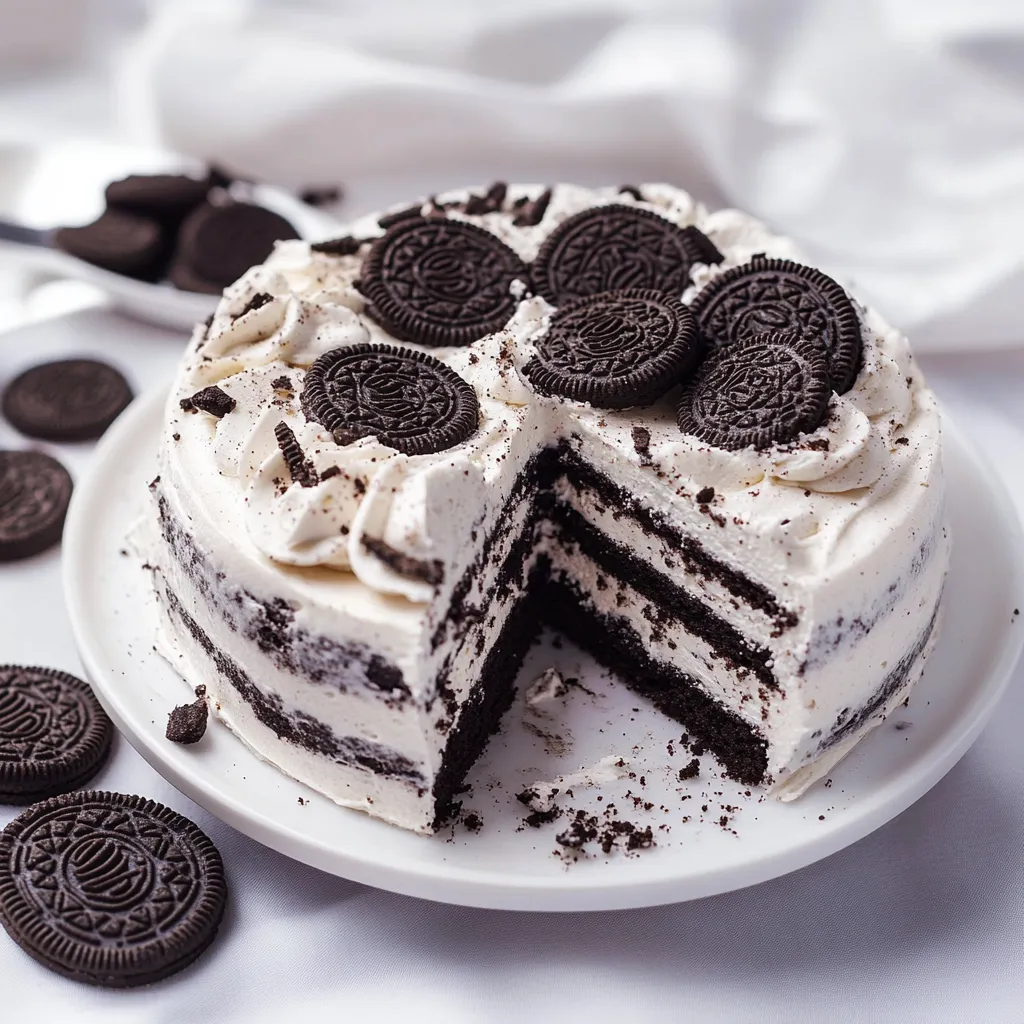
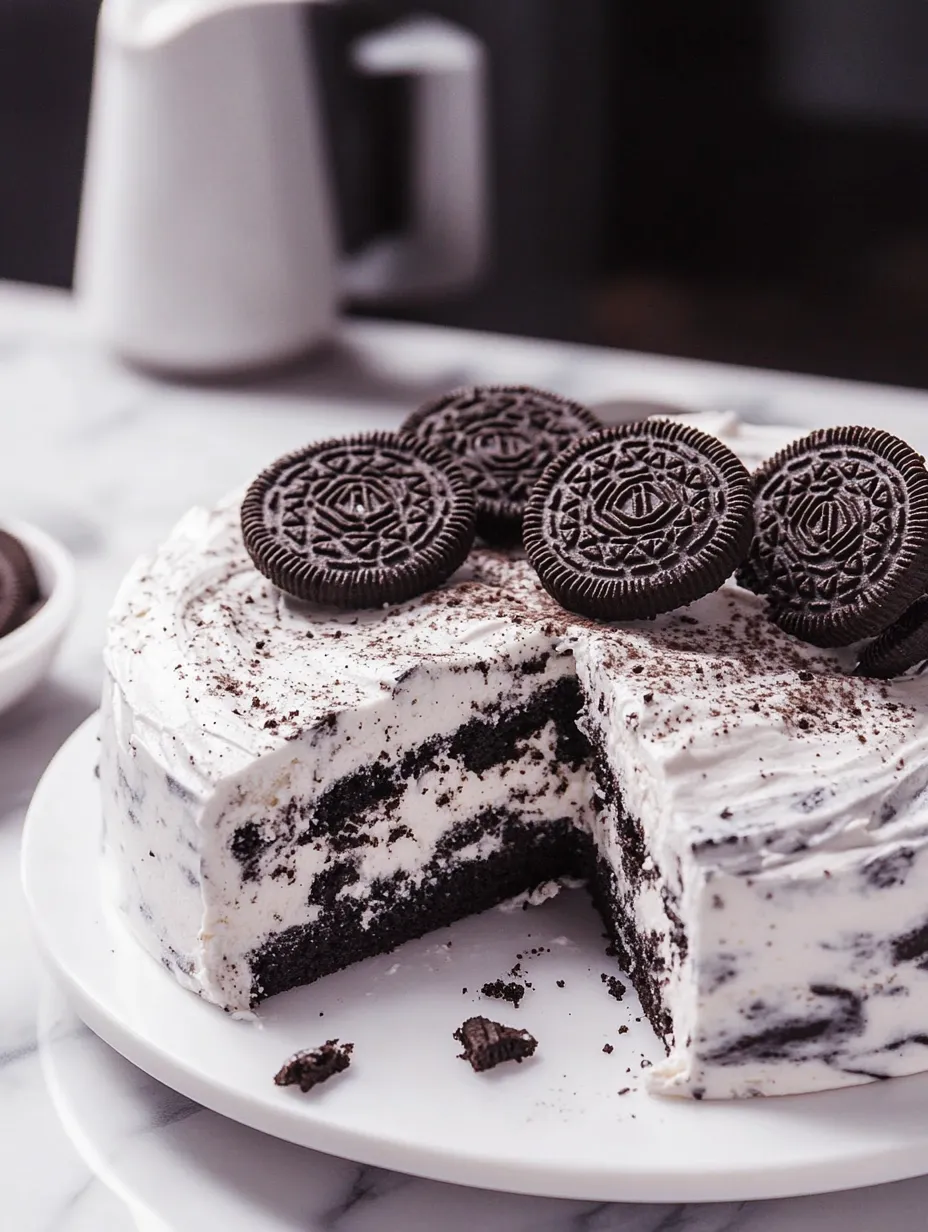
This Oreo mousse cake transforms simple sandwich cookies and creamy mousse into an indulgent dessert that never fails to impress guests without hours in the kitchen. The contrast between the crunchy cookies and silky mousse creates a textural masterpiece that tastes like it came from a high-end bakery.
I first made this Oreo mousse cake for my daughter's birthday when our oven unexpectedly died. What started as a kitchen emergency has become our most requested celebration dessert, with family members now specifically requesting "that amazing cookie cake thing" for their special occasions.
Ingredients
- Cookies and cream mousse: the foundation of this dessert providing the perfect creamy texture and flavor base
- Oreo cookies: the star ingredient with that distinctive chocolate and cream flavor that makes this dessert instantly recognizable
- Parchment paper: critical for ensuring your beautiful creation releases cleanly from the pan
- Optional garnishes: like extra whipped cream and cookie crumbs to elevate the presentation
Step-by-Step Instructions
- Prepare the pan:
- Line the bottom with parchment paper ensuring an easy release later. If using a springform pan consider using a cake collar around the inside edge to prevent sticking a step that will save frustration later.
- Create the base layer:
- Spread a thin layer of mousse across the bottom of your prepared pan. This initial layer helps the first cookies adhere properly and prevents a dry first bite.
- Add first cookie layer:
- Arrange half of your Oreo cookies in a single even layer across the mousse base. Place them close together but not overlapping for the best texture and appearance.
- Add middle mousse layer:
- Carefully spread half the remaining mousse over the cookie layer. Use an offset spatula for the smoothest application working from the center outward to avoid disturbing the cookies beneath.
- Repeat layers:
- Place your remaining cookies in another single layer and top with your final layer of mousse creating a smooth level surface on top.
- Chill until firm:
- Place in freezer until the mousse sets completely approximately 2 hours. This patience pays off with cleaner slices and better texture.
- Unmold and garnish:
- Once firm carefully remove from the pan by pushing up from the bottom. Transfer to a serving plate and add optional garnishes like piped whipped cream and cookie crumbs.
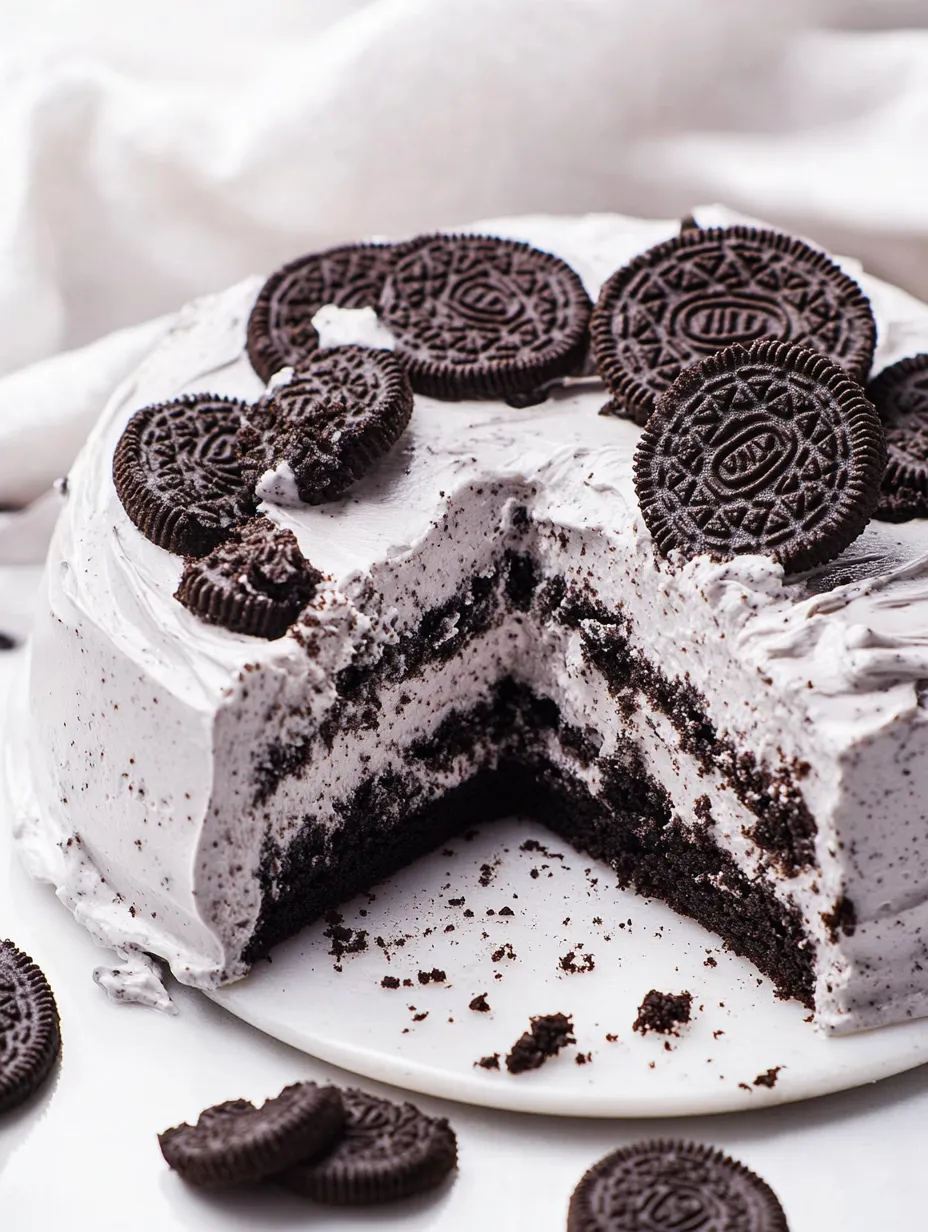
The secret to this dessert's appeal lies in the Oreo cookies themselves. The way they slowly soften between the mousse layers creates an almost cake-like texture while still maintaining that distinctive Oreo flavor. My nephew once declared it tasted like "cookies and ice cream had a perfect baby" which might be the most accurate description I've heard.
Storage Tips
This mousse cake can be refrigerated for up to 3 days in an airtight container. The texture actually improves after the first 24 hours as the cookies soften slightly more. For longer storage freeze for up to 1 month wrapped tightly in plastic wrap followed by foil. Thaw in the refrigerator overnight before serving.
Easy Variations
While classic Oreos create the traditional look and flavor this recipe works beautifully with any sandwich cookie. Try golden Oreos for a vanilla version mint Oreos for a refreshing twist or peanut butter cookies for a nutty variation. The mousse can also be customized with different extracts or even a tablespoon of liqueur for an adults-only version.
Serving Suggestions
For the ultimate presentation serve this mousse cake with a drizzle of chocolate sauce and fresh berries on the side. The bright acidity of strawberries or raspberries balances the richness perfectly. For special occasions add a sparkler or birthday candle to the center just before serving for a memorable moment.
Common Recipe Questions
- → Can I use another type of cookie?
Yes, you can substitute any sandwich cookie or even chocolate wafers for a unique twist.
- → How do I prevent the mousse cake from sticking to the pan?
Line the pan with parchment paper or use a cake collar to easily release the cake from the mold.
- → Can I make this dessert ahead of time?
Yes! The mousse cake can be stored in the freezer for up to 3 days before serving.
- → What is the best way to garnish this cake?
Top with whipped cream, cookie crumbs, or a sprinkle of black cocoa powder for an elegant finish.
- → Can I make this dessert vegetarian-friendly?
Ensure the cookies and mousse ingredients you select align with a vegetarian diet for a suitable option.