
 Save
Save
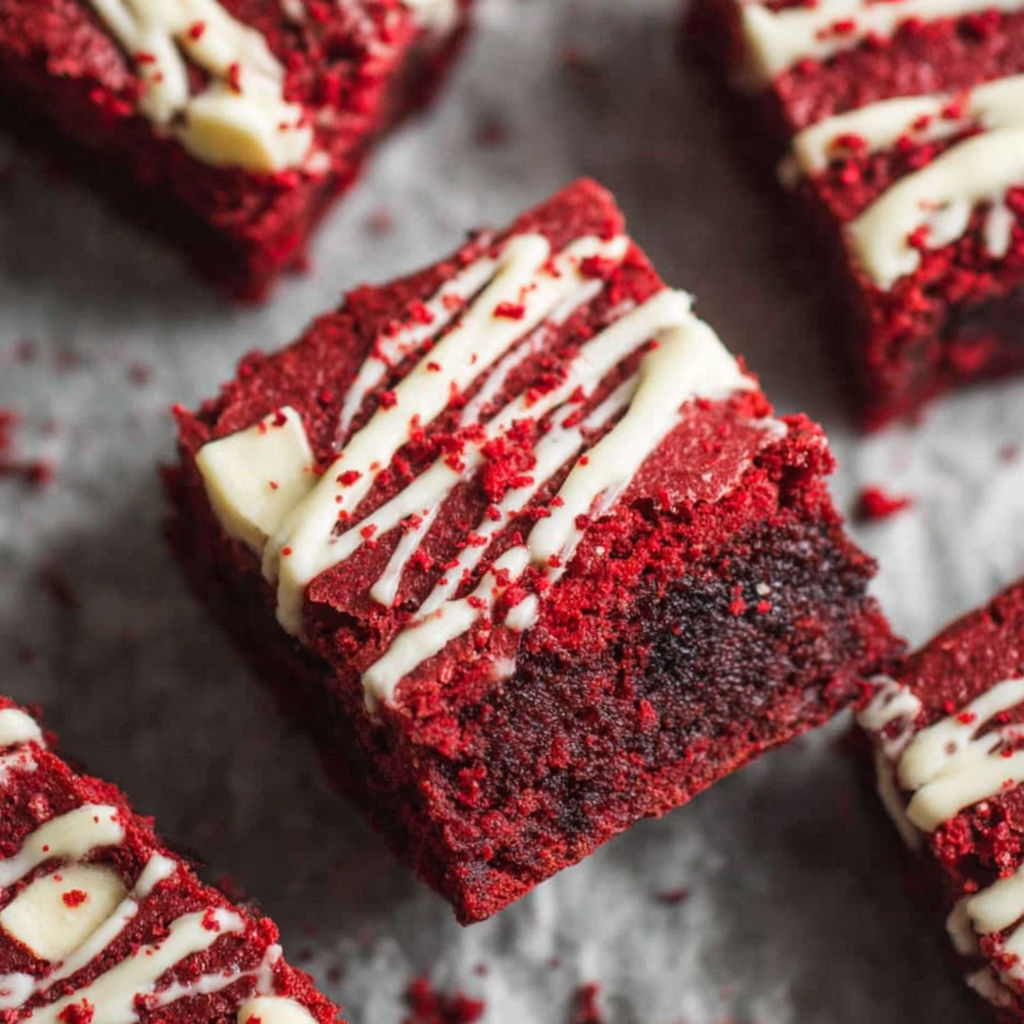
These rich red velvet brownies satisfy those chocolate cravings when you want something pretty and a little fancy. They pack a cocoa punch, are beautifully colored red, and topped with a smooth white chocolate drizzle for a delightful treat.
The first time I whipped these up was for Valentine’s Day, and people thought I got them from a bakery! Now, I get asked to make them for nearly every family gathering. The sweet tang and rich chocolate always win hearts over.
Ingredients
- Unsalted butter: melted for that rich, chewy texture. Go for high-quality butter for the best taste.
- Chopped semi sweet chocolate bar: delivers deep chocolate flavor and contributes to the fudgy texture. Skip chips and choose a good baking bar.
- Granulated sugar: gives that shiny crackled surface and sweetness. Superfine sugar works best for an ultra-smooth batter.
- Large eggs: key for binding and moisture. Fresh, room-temperature eggs are ideal.
- Vanilla extract: brings that lovely bakery smell. Pure vanilla is best over imitation.
- White vinegar: adds a slightly tangy flavor just like the classic red velvet cake and helps achieve that perfect crumb.
- Red gel food coloring: provides the eye-catching color. Gel types are better since they give vibrant color without adding too much liquid, keeping the batter nice and thick.
- Unsweetened cocoa powder: enhances the chocolate taste. Dutch processed is recommended for a smoother flavor.
- All purpose flour: helps bind everything together. Sift it for a fluffier texture.
- Salt: enhances all the flavors. Fine sea salt works wonders.
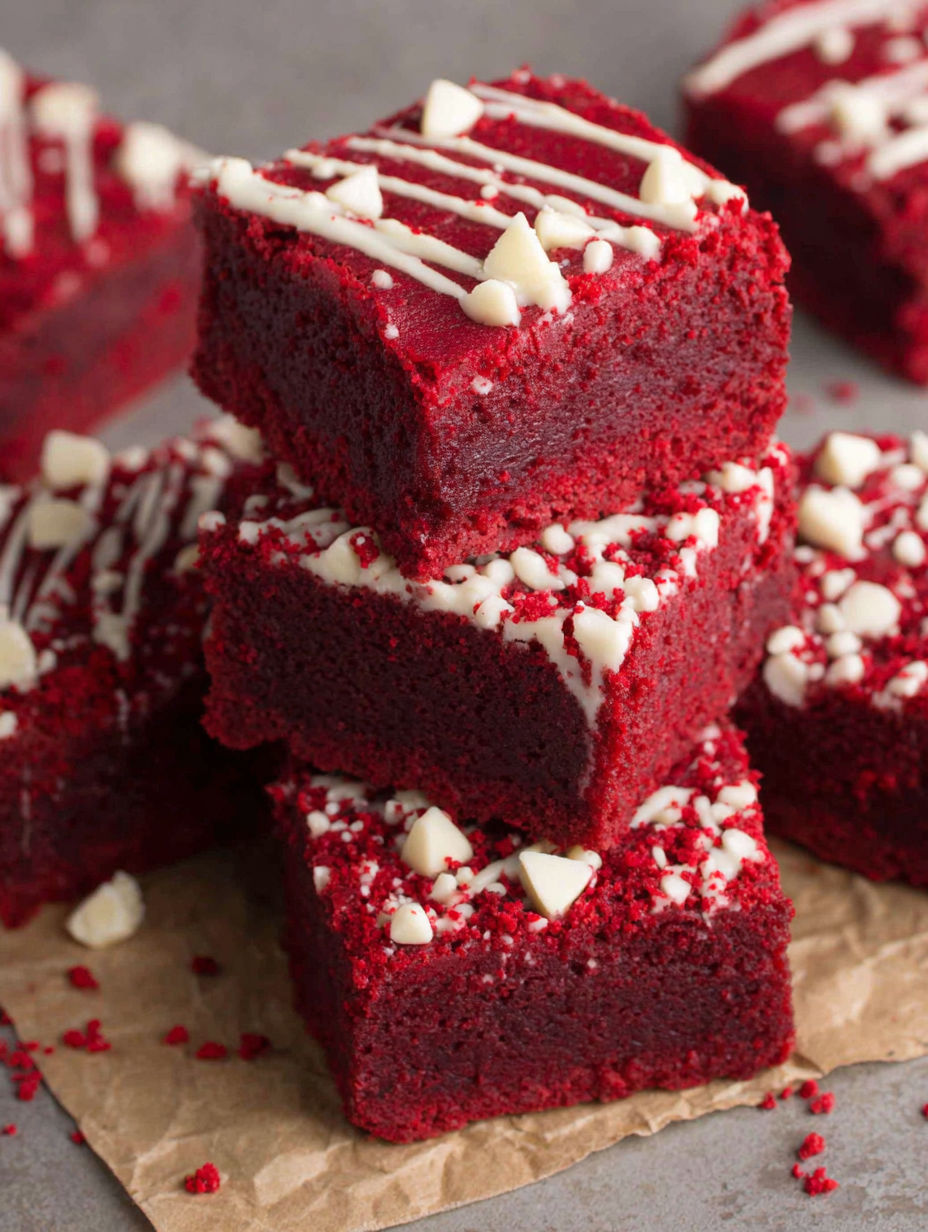
- White chocolate chips (optional): add creamy bursts or use melted on top for a pretty finishing touch.
Instructions
- Prep the pan:
- Line an 8-inch square baking dish with parchment paper, letting the edges hang over for easy removal later.
- Get your butter and chocolate melting:
- Put the chopped butter and semi sweet chocolate in a microwave-safe bowl. Heat in thirty-second intervals, stirring in between until it's completely melted and shiny. Watch it carefully so it doesn’t burn.
- Combine wet ingredients:
- Mix the sugar in well until the mixture is thick and shiny. Add the eggs one at a time, whisking until fully blended. Then stir in the vanilla extract, white vinegar, and red gel coloring until your batter looks beautifully mixed and smooth.
- Mix dry ingredients:
- In another bowl, sift together the cocoa powder, flour, and salt. Sifting keeps the brownies tender and helps eliminate lumps.
- Combine everything:
- Gently mix the dry ingredients into the wet mixture, stopping as soon as you don’t see any flour streaks. If you’re using white chocolate chips, fold them in now, being careful not to overmix.
- Time to bake:
- Pour the brownie batter into your prepared pan and smooth the top with a spatula. Pop it into your preheated 350°F oven and bake for 30 to 35 minutes. Check with a toothpick at around 30 minutes; you want a few moist crumbs, not raw batter.
- Cool and add the finish:
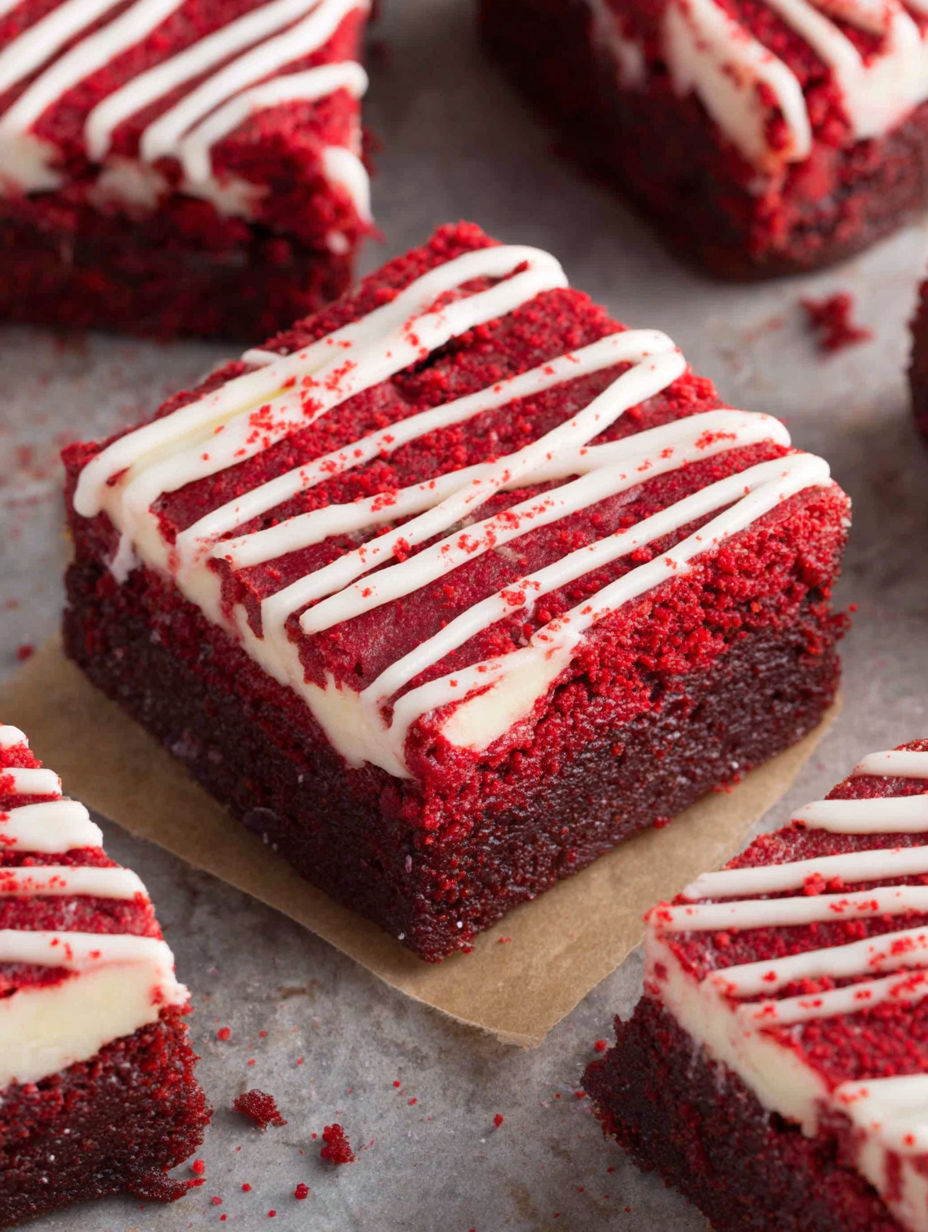
- Let the brownies cool completely in the pan so they set properly for cutting. If you want, melt some white chocolate and drizzle it on top for that extra touch. Once set, cut into squares and enjoy!
Once, my daughter and I baked these for her school bake sale, and they were gone in under ten minutes! These brownies have become a family tradition and remind me of fun times together.
Storage Tips
When they’re completely cool, put your brownies in an airtight container at room temperature for up to four days. If you want them to last longer, refrigerate them. Make sure to wrap them tightly to keep them moist. They’re also super yummy cold straight from the fridge.
Ingredient Swaps
If you don’t have semi sweet chocolate, bittersweet or high-quality dark chocolate will work great. Dutch processed cocoa powder is ideal, but natural cocoa can also be used for a lighter flavor. For a dairy-free version, swap in plant-based butter and allergy-friendly chocolate.
Serving Ideas
These brownies look amazing just cut and served, but for parties, I love to add extra white chocolate drizzle. Pair them with fresh strawberries and whipped cream for something special. Think about cutting them into heart shapes for Valentine’s Day or stacking them up for a stunning dessert display.
Cultural Background
Red velvet treats have roots in American baking history, gaining fame in the early 20th century, especially in the South, and have become loved worldwide. The signature color comes from the reaction between cocoa and vinegar, plus a little help from modern food coloring.
Seasonal Ideas
Swirl in some raspberry jam for a fresh spring twist. Scatter crushed peppermint on top for a festive winter treat. Add fresh berries or edible flowers to make them extra special for summer events.
Success Stories
Friends often tell me they make these brownies as gifts for birthdays, and they're always a hit. They’re especially popular at wedding showers, and I even won a baking contest with them at a school event. You might find everyone wanting your secret after tasting!
Freezing Tips
You can freeze these red velvet brownies really well. Cut them into squares, wrap each one in plastic followed by foil, and store them in a freezer bag for up to two months. When you’re ready to enjoy, let them thaw at room temperature, and they'll taste freshly baked.
Every bite of these red velvet brownies is a treat with a chewy fudgy center and stunning color. A white chocolate drizzle elevates them even more, making them perfect for sharing and celebrating special moments.
Common Recipe Questions
- → What gives these brownies their red color?
They get their signature red color from red gel food coloring and a dash of white vinegar for a slight tang.
- → Can I use cocoa powder instead of chocolate?
While using semi-sweet chocolate gives a fudgy texture, you can swap it for extra cocoa powder and a bit more butter if necessary.
- → What's the best type of pan to use?
A lined 8x8-inch baking pan works best for even baking and makes it easy to take the brownies out once they’re cool.
- → How can I tell when they're baked?
Check by inserting a toothpick into the center; it should come out with some moist crumbs, not wet batter, for perfect texture.
- → Can I mix in nuts or other ingredients?
Definitely! You can mix in chopped nuts or more chocolate chips before baking to add some crunch and flavor.