 Save
Save
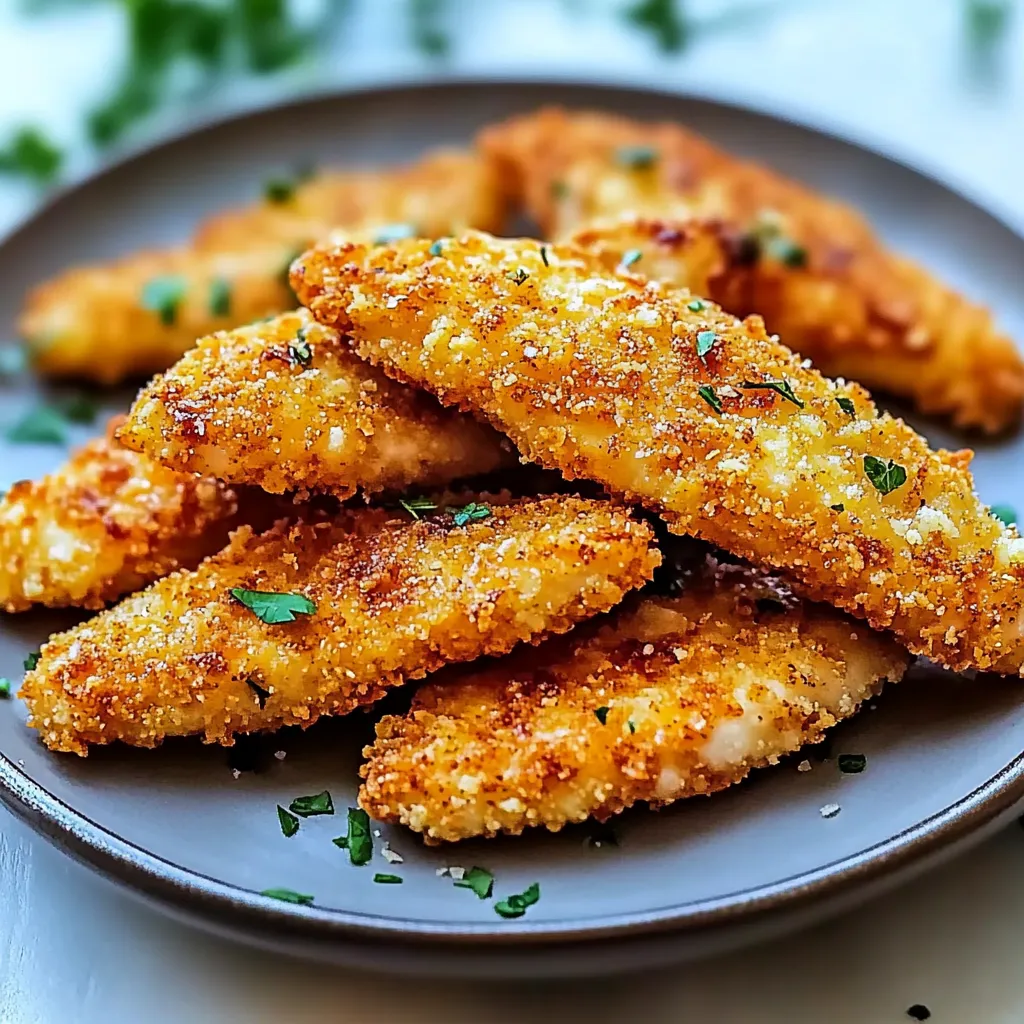
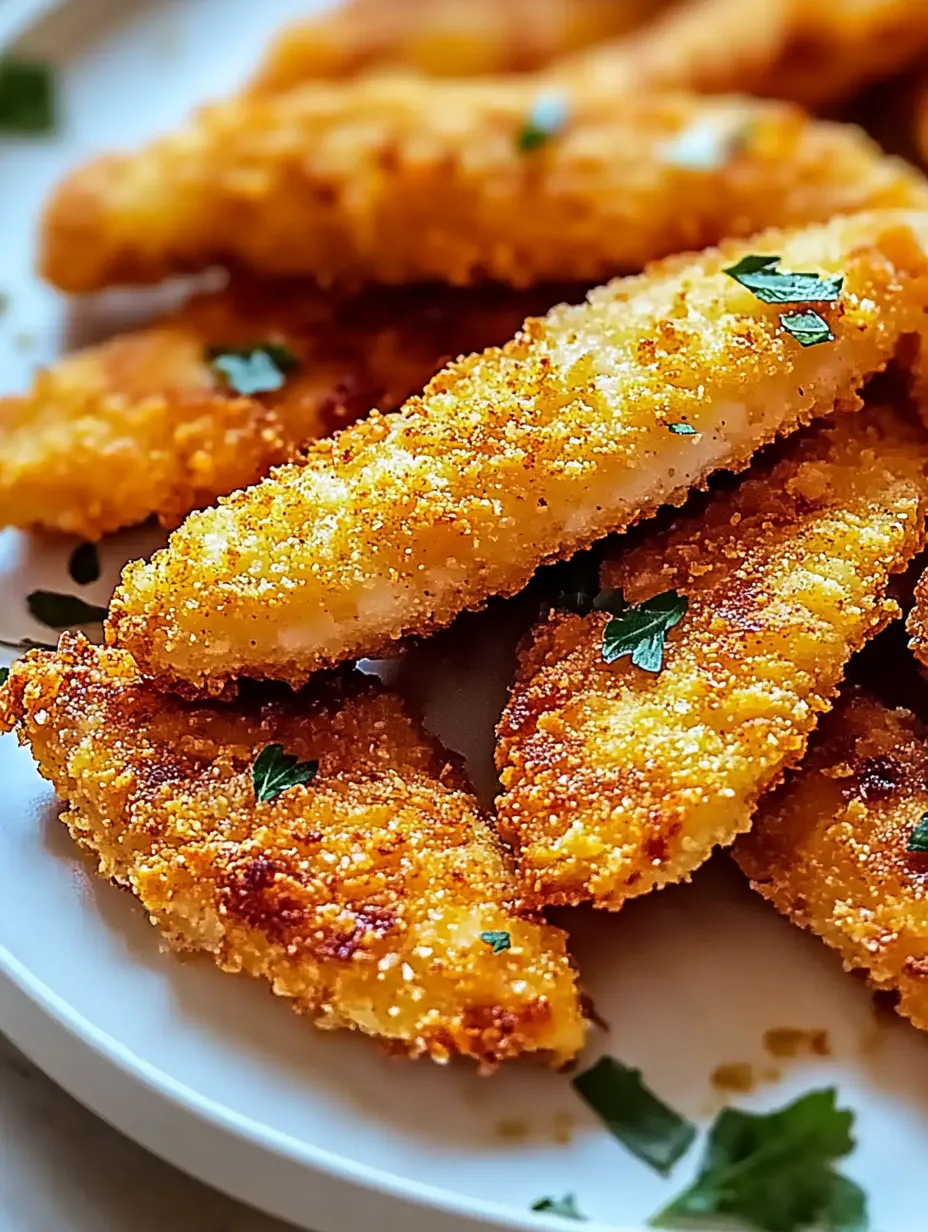
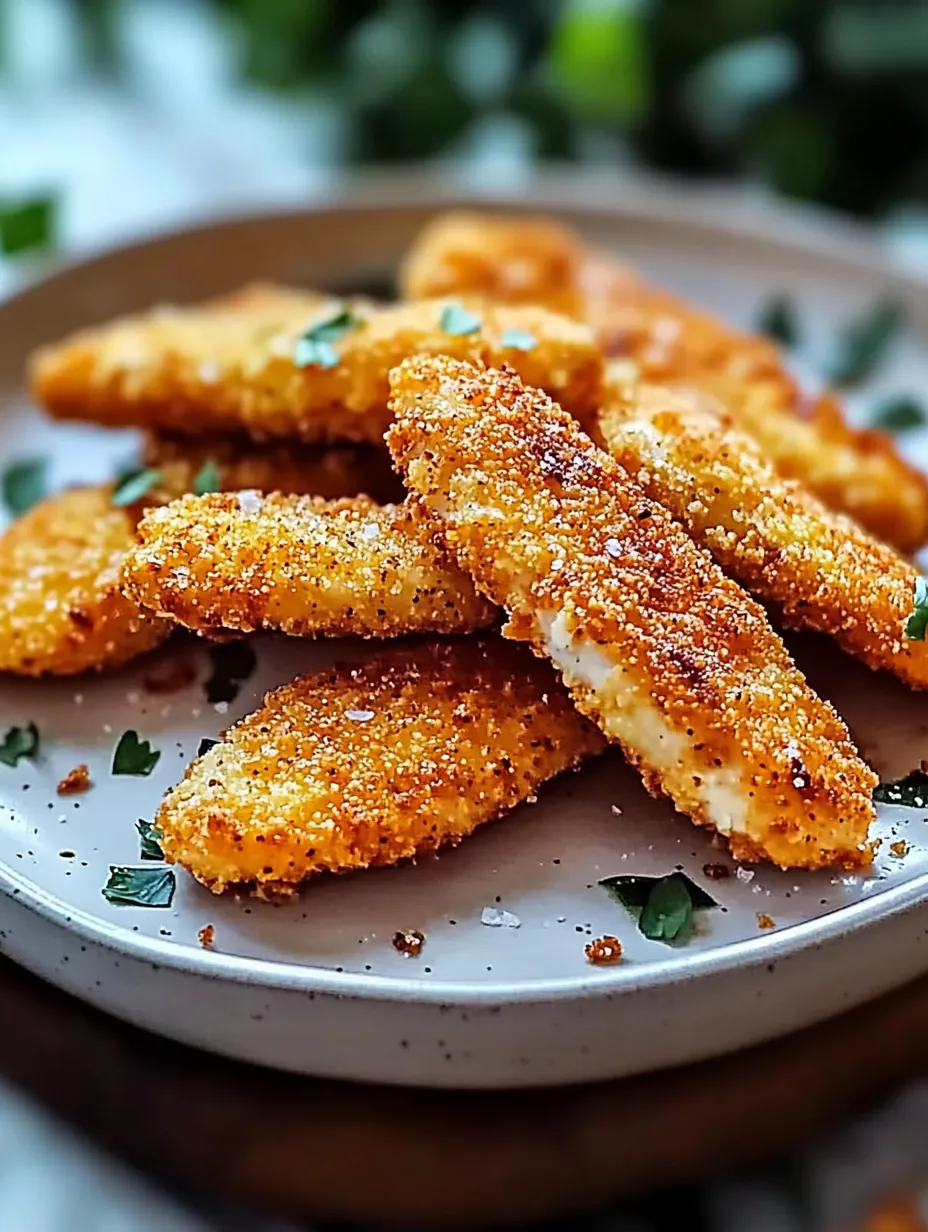
Transform your kitchen into the best kind of takeout joint with these crispy, golden chicken tenders that prove you don't need a deep fryer for perfection. After countless experiments to achieve that ideal crunch without frying, I discovered that a few simple tricks make all the difference. Now these baked tenders are my go-to when I'm craving that classic comfort food but want something a bit healthier.
Every time I make these for my family, there's a race to get the extra-crispy pieces. My picky nephew, who normally turns his nose up at homemade versions of takeout, actually asks for seconds of these.
Kitchen Essentials
- Chicken breasts: Fresh or thawed
- Panko breadcrumbs: For ultimate crunch
- Fresh eggs: Creates perfect coating
- Seasonings: Your favorite blend
- Parmesan: Adds savory depth
- Garlic powder: For flavor boost
- Paprika: Color and warmth
- Olive oil spray: For golden finish
- Wire rack: Secret to crispiness

Creating Crispy Magic
- Tender Prep:
- Start with chicken at room temperature, cutting breasts into even strips. Pat them dry - this is crucial for crispiness. Season with salt and pepper, letting them sit while you prepare your coating station.
- Coating Station:
- Set up your breading assembly line: seasoned flour, beaten eggs, and panko mixture. Keep one hand for wet ingredients, one for dry - this prevents the dreaded breaded fingers that we all hate.
- Breading Time:
- Dip each tender in flour, then egg, then panko. Press those breadcrumbs on gently but firmly. Place them on a wire rack over a baking sheet - this is key for all-around crispiness.
- Final Touch:
- Give each tender a light spray of olive oil. This helps achieve that golden-brown color we're after. Don't skip this step - it makes all the difference.
My first try at these, I skipped the wire rack and ended up with bottoms that were more soggy than crispy. Now I know proper air circulation is everything when you're baking instead of frying.
Perfect Pairings
These tenders are amazing right from the oven, but serving them right needs a little thought. I love setting up a dipping station with different sauces - honey mustard, ranch, and BBQ are our favorites. For dinner, I'll serve them alongside sweet potato fries or a crisp salad. For parties, I cut them smaller and arrange them on a platter with sauce cups tucked between - they disappear fast.
Creative Variations
Over time, I've played with different coatings. Sometimes I'll add ranch seasoning to the breadcrumbs, or spice things up with cayenne. My kids love when I use crushed cornflakes for extra crunch. During summer, I'll add Italian herbs and serve them over Caesar salad. For game day, I'll toss them in buffalo sauce right before serving.
Keeping Crispy
These are best fresh from the oven, but they do reheat well if you know the tricks. Store them in the fridge on paper towels to absorb any moisture. To reheat, put them on a wire rack in a hot oven for about 10 minutes - they'll crisp right back up. You can even freeze them before cooking, making them perfect for busy weeknights.

These tenders have become my backup plan for just about everything - rushed weeknight dinners, last-minute guests, or just when we need some comfort food that won't make us feel guilty. Remember, the key to perfect baked tenders isn't just in the ingredients, it's in the little details that make all the difference.
Common Recipe Questions
- → Can I use regular breadcrumbs instead of panko?
- Yes, though panko provides a crunchier texture.
- → How do I keep them from getting soggy?
- Use a wire rack while baking and don't stack them when serving.
- → Can I prep these ahead?
- Yes, bread them up to 24 hours ahead and refrigerate before baking.
- → What's the best way to reheat leftovers?
- Reheat in oven at 350°F for 10 minutes to maintain crispiness.
- → Can I freeze these?
- Yes, freeze after cooling completely. Reheat directly from frozen.
