
 Save
Save
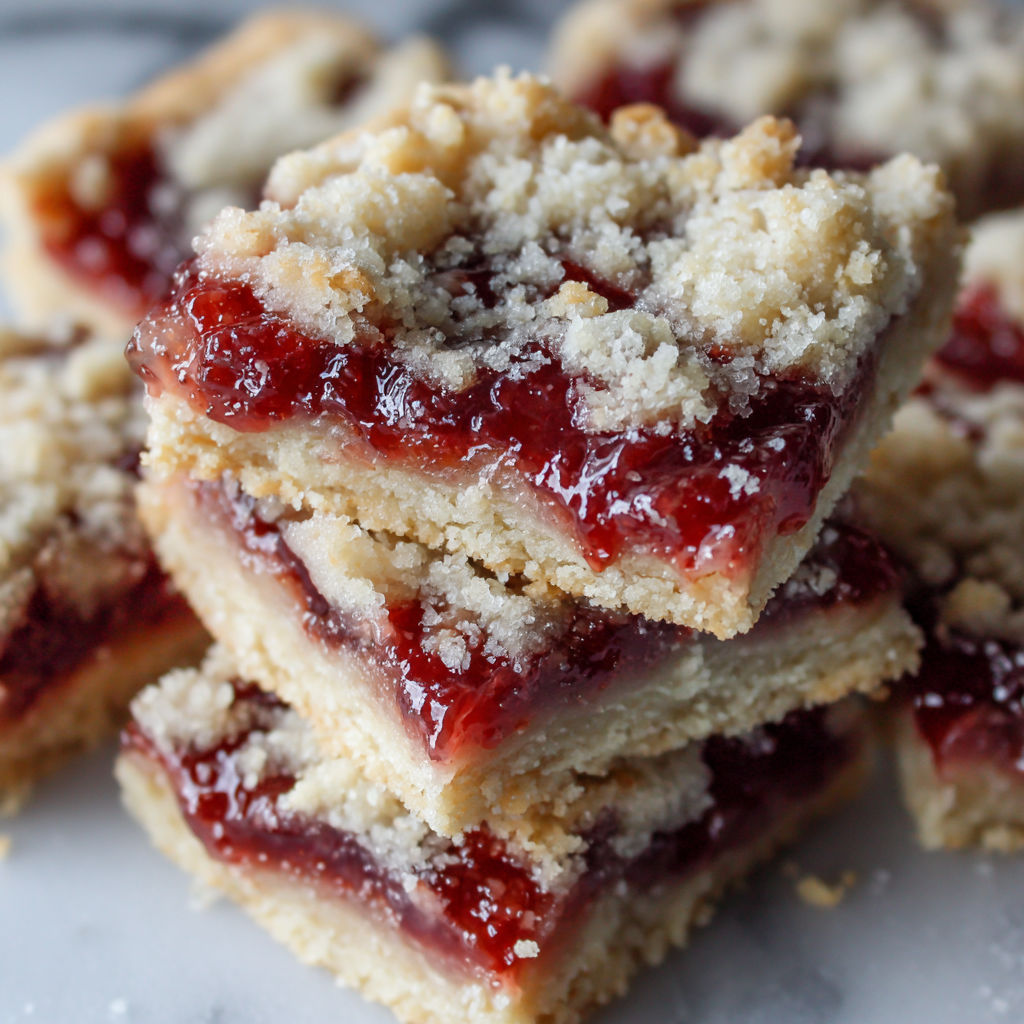
Cherry Pie Bars come together in one bowl with things you are likely to have on hand. You get the comfort and flavor of homemade cherry pie without wrestling with a pie crust. These bars are a lifesaver for last-minute guests and always look pretty on a plate.
I first served these after discovering an extra can of cherry pie filling hiding in the back of my cupboard. Now my kids ask if we can make cherry pie bars instead of birthday cake.
Ingredients
- Butter: Melted for extra rich flavor choose a high-fat European-style if you can
- Sugar: Gives the crust its signature sweetness grab pure cane sugar for best results
- Flour: All-purpose works perfectly sift it if yours looks clumpy
- Baking soda and baking powder: Together create just the right lift for a tender crumb
- Salt: Sharpens the flavors use fine sea salt for even distribution
- Cherry pie filling: Vibrant color and tangy sweetness opt for a quality brand or homemade if you are feeling ambitious
- Optional additions: Peach or blueberry filling are fantastic changes
Instructions
- Prepare the Pan:
- Spray an eight-inch square pan with nonstick spray making sure to get the corners so the bars release cleanly
- Mix the Butter and Sugar:
- Combine melted butter and sugar in a medium bowl until the mixture turns slightly pale and glossy This helps the crust bake up crisp but tender
- Form the Dough:
- Add flour baking soda baking powder and salt to the butter mixture Use a fork to stir until the mix looks like coarse crumbles Do not overmix or you will lose that dreamy shortbread texture
- Reserve the Topping:
- Scoop out three quarters of a cup of the crumb mixture and set it aside for that signature pie bar topping
- Press the Base:
- Gently press the rest of the mixture into the prepared pan Take care to press into corners and keep an even layer
- Add the Cherry Filling:
- Spoon cherry pie filling over the crust spreading it to the edges so every bite is bursting with flavor
- Crumble the Topping:
- Sprinkle reserved crust mixture evenly over the top for a rustic golden finish that holds the pie filling just right
- Bake:
- Place pan in the preheated oven and bake for twenty-three to twenty-five minutes until the top is golden brown and the cherry filling bubbles at the edges
- Cool and Serve:
- Allow bars to cool completely before cutting This helps them hold together and makes serving neat slices a breeze
The tender shortbread base is always my favorite part especially when it browns just at the edge I remember making these with my sister for her bake sale and watching the plate empty in under ten minutes. There is just something about the buttery crumb and bright cherry that keeps people coming back.
Storage Tips
Once cooled cut bars into squares and store in an airtight container at room temperature for up to three days For longer storage keep them in the fridge They also freeze beautifully Just layer between sheets of wax paper in a freezer-safe container and thaw before serving The bars hold up well and taste just as good even after freezing
Ingredient Substitutions
You can swap the cherry filling for blueberry apple or peach for new twists Want a nutty crunch Try tossing a handful of sliced almonds on top before baking If you prefer less sugar look for a low-sugar pie filling or make your own with fresh cherries and a bit of honey You can also try whole wheat flour for a rustic taste
Serving Suggestions
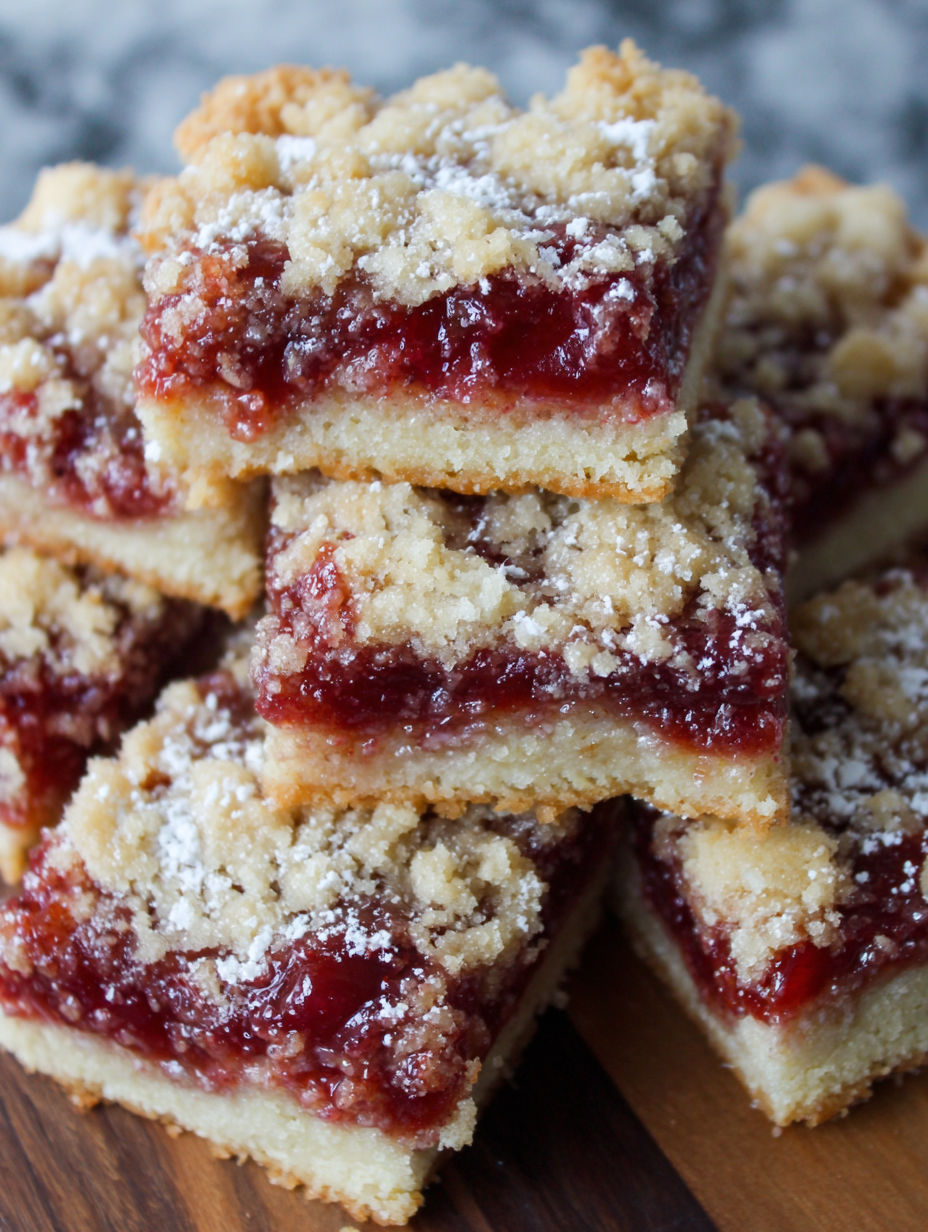
Cut into bars and dust with powdered sugar for a bakery finish Warm slices pair especially well with a scoop of vanilla ice cream or a dollop of whipped cream For dessert tables arrange on a platter with fresh fruit for a colorful spread I often serve them as bite-size minis for parties which disappear even faster than the regular size
Cultural and Seasonal Notes
Dessert bars have been a Midwestern potluck favorite for generations This recipe channels classic cherry pie vibes without the fuss You can make this treat any time of year since canned or homemade filling work equally well In summer these are especially fun with whatever fruit is in season For holiday gatherings swap in spiced apple or cranberry filling
Seasonal Adaptations
For summer use peach or raspberry filling In fall swap in apple or cranberry Winter holidays are the time for a spiced cherry or cranberry orange twist
Success Stories
Readers have shared these bars are always the first dessert to vanish at family reunions and work events One friend told me she tried strawberry rhubarb filling for spring and ended up baking a second batch that same night
Freezer Meal Conversion
Make the bars as directed allow them to cool completely cut then freeze portions in an airtight box These are perfect to thaw out for a sweet weekday treat Absolutely no sogginess even after a month in the freezer

I learned early not to rush the cooling time since the bars slice so much more neatly when fully cool I have yet to meet anyone who can resist having just one more
Common Recipe Questions
- → Can I use other fruit fillings?
Absolutely! You can substitute cherry with blueberry, apple, peach, or any preferred fruit filling for a different flavor.
- → Should the butter be melted or softened?
Melted butter is best for this crust, as it blends easily with sugar and creates the desired crumbly texture.
- → How do I know when the bars are done baking?
Look for a golden brown top and edges, and ensure the center is set before removing from the oven.
- → Can these bars be prepared ahead of time?
Yes, you can bake and store them in an airtight container for up to three days at room temperature.
- → Is it necessary to let the bars cool before cutting?
Allowing them to cool fully helps the bars firm up, making for cleaner, easier slices.