
 Save
Save
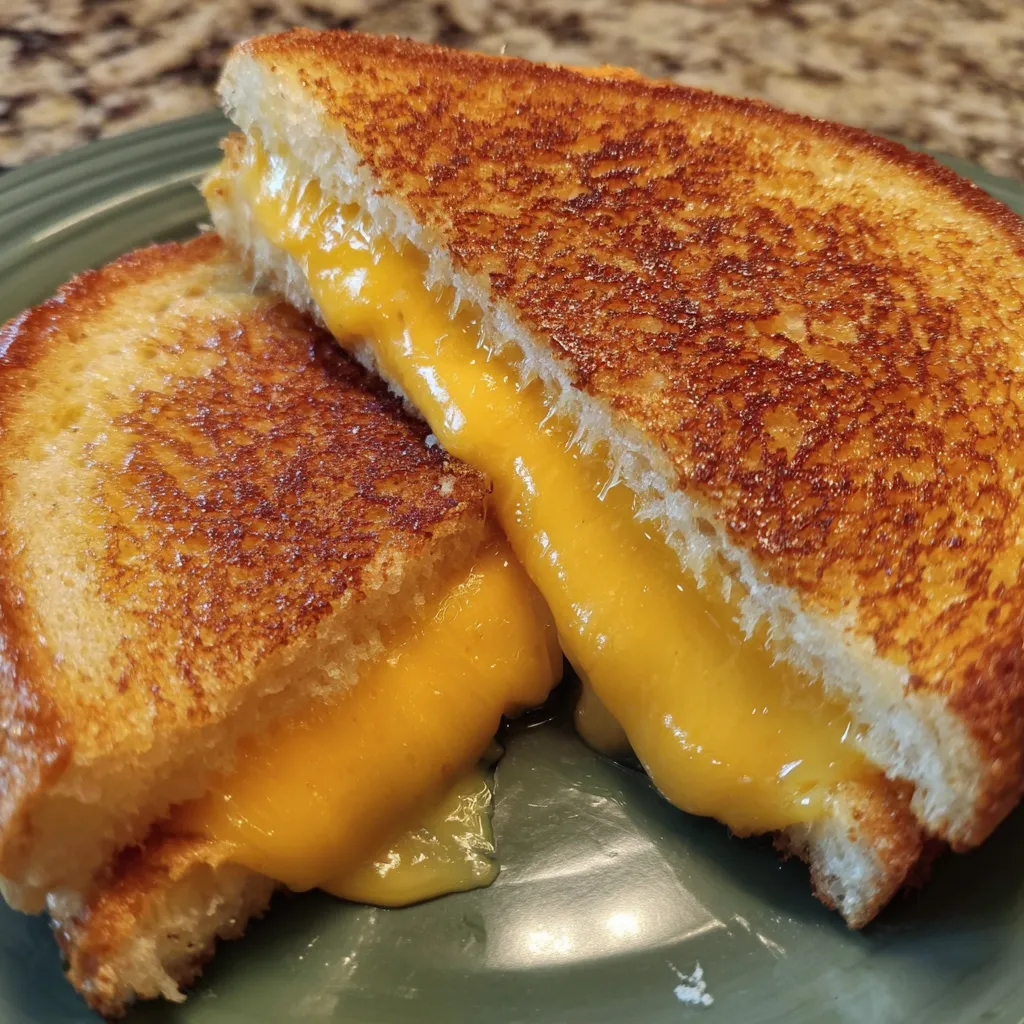
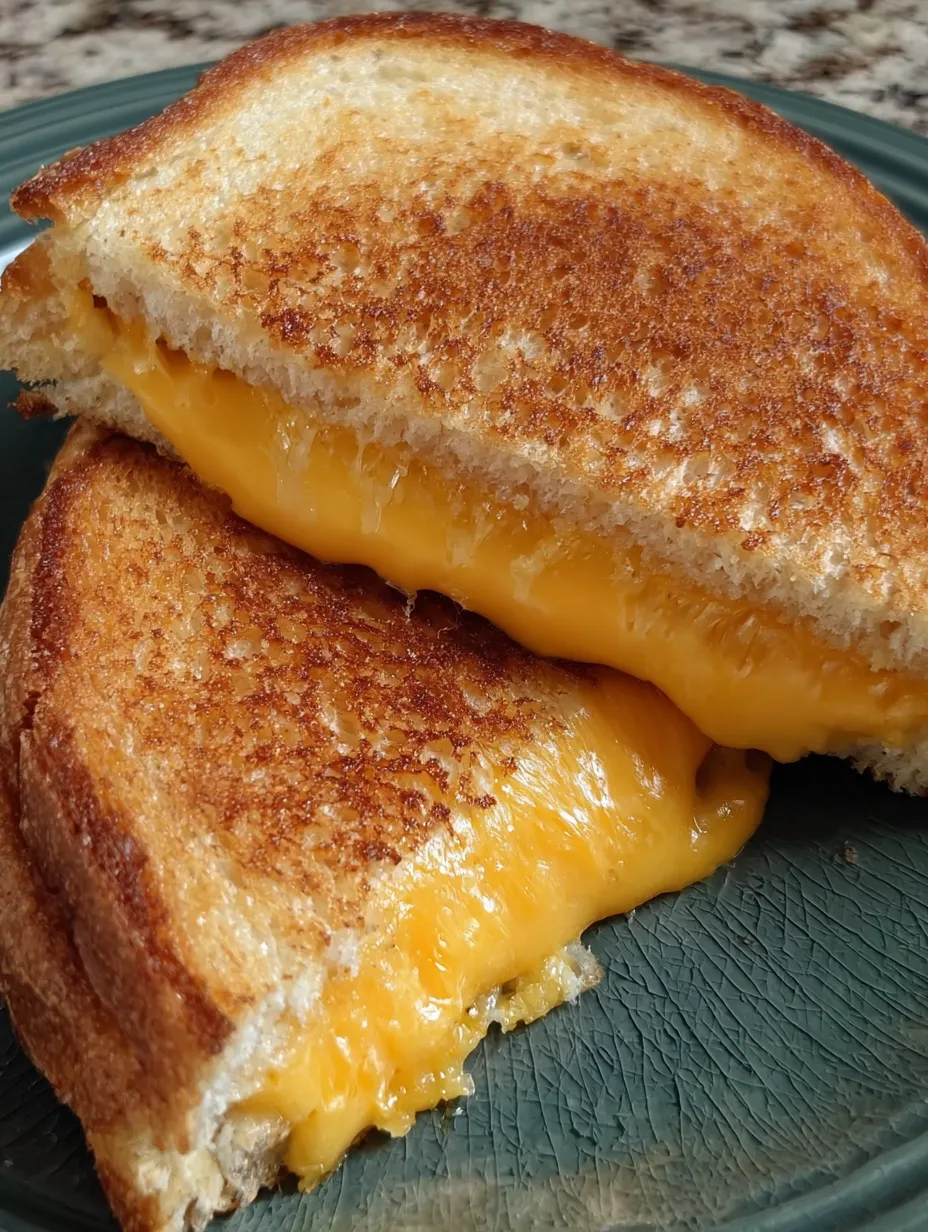
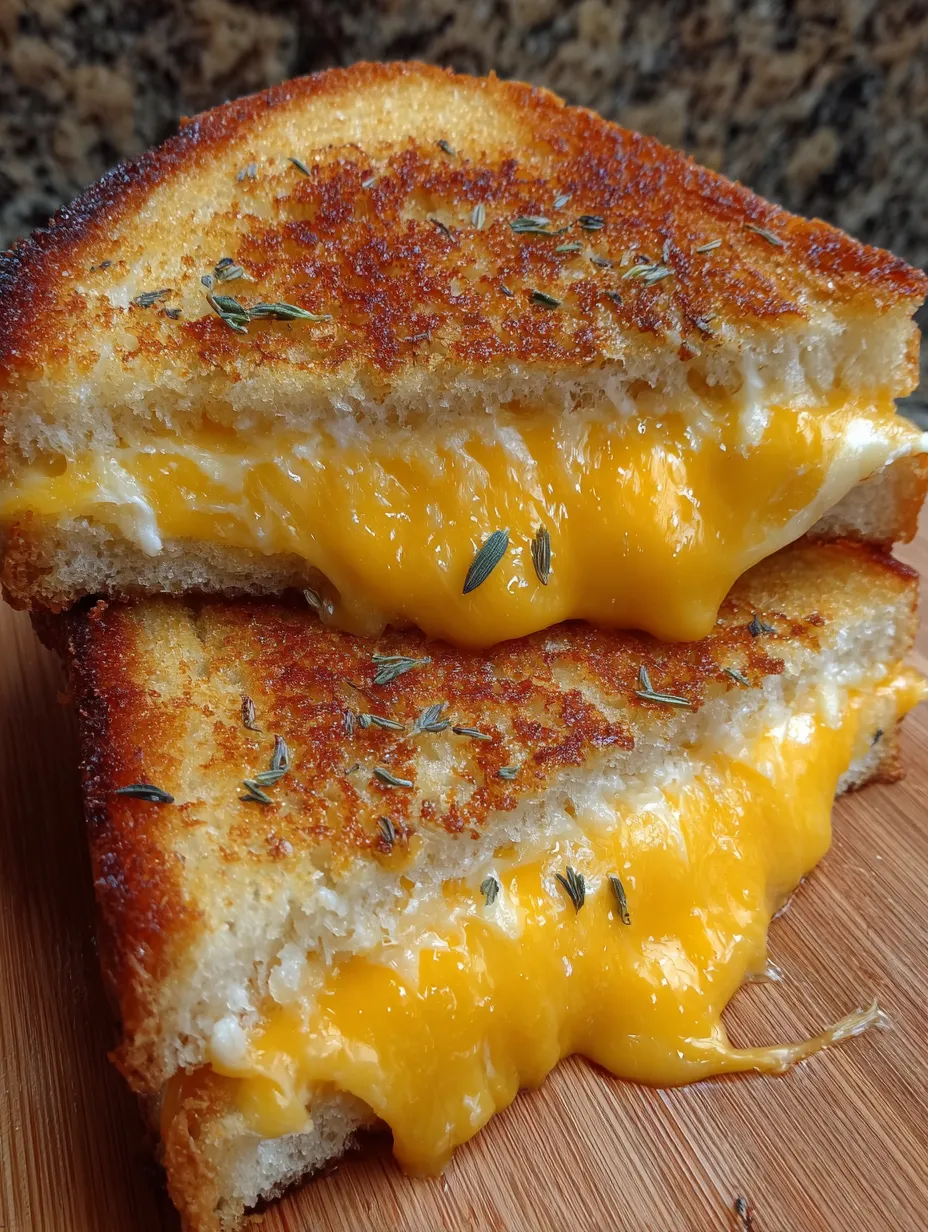
Honestly, nothing makes me happier than biting into a crispy, melty grilled cheese with golden crunchy bread and stretchy cheese. It’s always my go-to when I want to chill out, especially on lazy weekends. Grilled cheese hits all the cozy vibes and reminds me why I always come back to it.
I used to fix this after exhausting school days, and now my niece always begs for it first thing when she’s over. The gooey cheese and crunchy outside gets everyone grinning, every time.
Tasty Ingredients
- Butter: Use the real stuff, softened on your counter so it spreads nicely. Salt-free means you’re in charge of the flavor and it’s got that real-deal taste.
- Cheese: Cheddar packs a punch, while American melts like a dream. Mix them together for more oomph. Freshness shows up in a nice smell and flexibility, so check before you use.
- Bread: Go for thick slices, like sourdough for crunch, or white for the classic throwback. Don’t pick slices that are too squishy so they can handle all the filling.
Simple How-To Guide
- Let It Rest:
- Take the sandwich out of the pan and chill for a minute. This helps the cheese settle in so you won’t lose all the gooey stuff once you cut it open.
- Flip and Finish Up:
- After you see that classic golden bottom, gently flip your sandwich with a spatula. Toast the other side for a couple more minutes for full-on melt and even browning.
- Cooking Time!:
- Set the pan over medium-low heat. Give it time. Slow cooking keeps the cheese perfectly soft and the outside evenly crispy. Impatience means burnt bread or unmelted cheese.
- Building the Sandwich:
- Lay a bread slice, buttered part facing down, in an unheated skillet. Add your cheese, then close it up with the other slice, butter outwards. Starting cold means it won’t stick and every side browns evenly.
- Butter Your Bread:
- Spread softened butter over each slice. Get right to every edge for a cheese toastie that’s crisp all over and never dry.
I’m all about sharp white cheddar for bold flavor. One time, my brother dared me to throw in chopped pickles and now we can’t have family movie night without it. Game changer.
Keeping Leftovers Fresh
If there’s some left, cool it down and wrap in foil. The fridge keeps it good for two days. Warm it up uncovered in a pan or toaster oven to get that crunch back. Skip the microwave or you’ll end up with soggy bread.
Swaps & Alternatives
Go with non-dairy butter or lactose-free cheese if that’s what you need. Rye or multigrain bread will level it up, and mozzarella or a little smoked gouda is awesome when you want something different.
Serving Ideas
A hot bowl of tomato soup beside your sandwich really makes it. I like to add a handful of arugula or some zesty pickles on the side to cut the richness and round things out.
Fun Backstory
This classic got its start in the Depression-era U.S. because the ingredients were cheap and easy to get. It’s stuck around as a fan favorite, and now just about every culture has their own tasty version.
Common Recipe Questions
- → What kind of bread should I use?
Breads like sourdough, plain white, or your favorite bread with some weight can make a sturdy, crisp base.
- → What cheese works best here?
Soft cheeses like cheddar, American, or even a mix melt well and deliver creamy, flavorful goodness. Skip dry ones.
- → Why butter just one side of the bread?
Spreading butter on one side gets a golden finish on the outside, while the inside allows perfect cheese melting.
- → What’s the best temperature to cook it?
Stick to medium-low heat to avoid burning the bread while giving the cheese enough time to melt properly.
- → How do I cut the sandwich without spilling cheese?
Let it sit for a moment after cooking so the cheese stays put when you slice it.