
 Save
Save
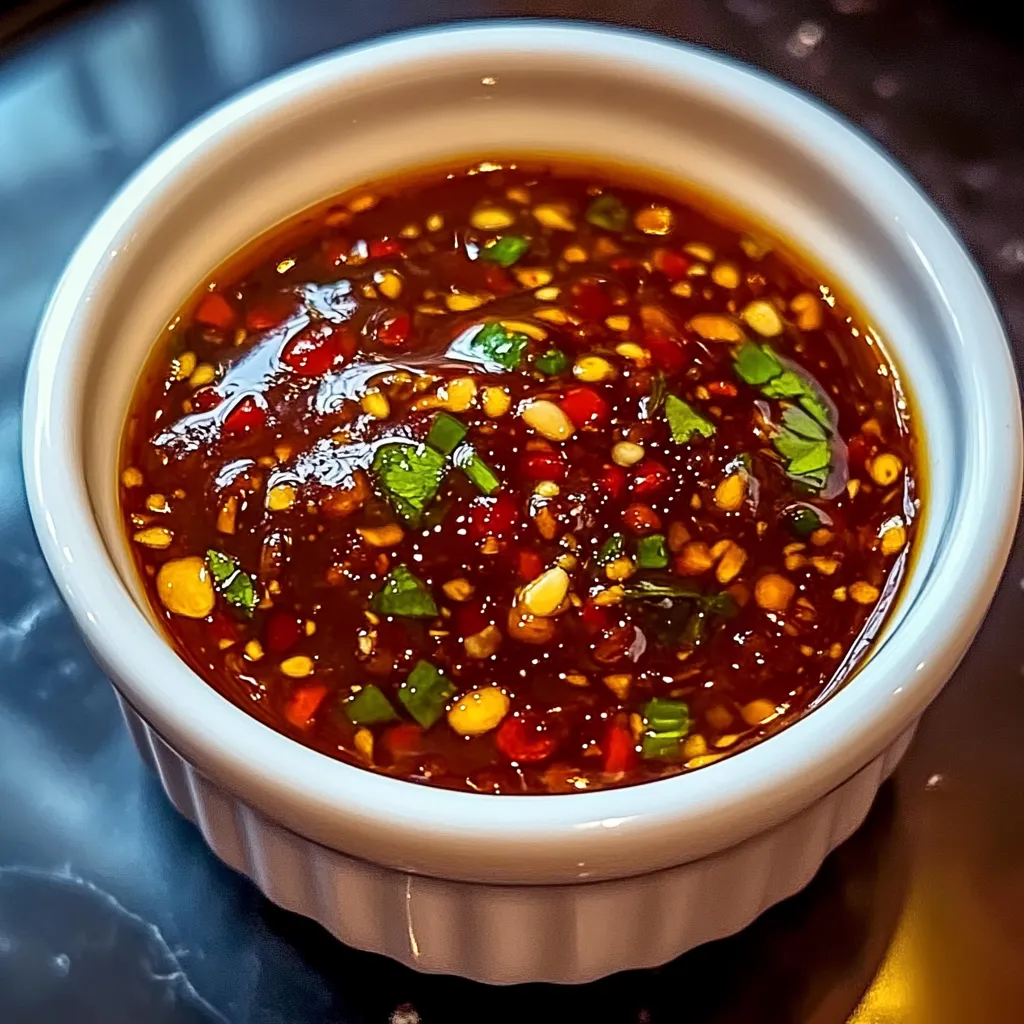
This vibrant chili garlic sauce transforms simple ingredients into something that'll wake up any dish it touches. After lots of experimenting with heat levels and garlic amounts, I've found this combination creates the perfect balance of spice and savory depth. It's fresher and more vibrant than anything you'll find in stores, with a kick that you can control.
The first time I made this, my kitchen smelled amazing for hours. Now it's become my secret weapon for elevating everything from stir-fries to marinades.
Fresh Ingredients Matter
- Red chilies: Choose firm, bright ones
- Fresh garlic: Not pre-minced
- Good vinegar: Rice or white works
- Neutral oil: For proper cooking
- Sea salt: Enhances flavors
- Touch of sugar: Balances heat
- Olive oil: For finishing touch
Creating Sauce Magic
- Chili Prep:
- Start by choosing your chilies carefully - removing stems but keeping some seeds for heat. Remember to wear gloves or wash hands really well after. The brighter the chilies, the prettier your sauce will be.
- Blending Time:
- Throw everything except the oil in your blender. Pulse until you get a rough paste - you want some texture here, not baby food smooth. Scrape down the sides as needed.
- Cooking Process:
- Heat your pan until you can feel warmth hovering above it. Add oil, then carefully slide in your chili paste - it might sputter, so stand back. Keep stirring as it cooks down and deepens in color.
- Final Touch:
- Let it cool completely before tasting and adjusting. Sometimes it needs a touch more salt or vinegar to really make it sing.
First time I made this, I skipped the cooking step and ended up with raw garlic flavor. Now I know that gentle heat transforms everything, mellowing the garlic while keeping the chili's brightness.
Perfect Pairings
This sauce brightens up almost anything it touches. I love adding a spoonful to noodle soups, stirring it into mayo for a spicy sandwich spread, or using it as a marinade base for grilled meats. For dumplings or spring rolls, I'll mix it with a bit of soy sauce and sesame oil. Sometimes I'll even add a dab to scrambled eggs - sounds weird but trust me.
Creative Variations
Over time, I've played with different versions. Sometimes I'll add ginger for an extra kick, or roast the garlic first for deeper flavor. Using different chilies changes both the heat and color - Thai birds eye chilies make it fiery hot, while fresno chilies give a milder, fruity heat. Once I added fermented black beans - that batch was amazing with stir-fries.
Keeping Fresh
Store your sauce in a clean glass jar in the fridge. A layer of oil on top helps preserve it. It'll keep for about two weeks, though the heat level might increase over time. The color might darken a bit - that's normal. Give it a good stir before using.
This sauce started as a way to use up extra chilies from my garden, but now I plant extra chilies just to make it. There's something satisfying about creating your own condiments, especially one this versatile. Remember, the recipe is just a starting point - adjust the heat and garlic to make it your own personal kitchen staple.
Common Recipe Questions
- → How long does this sauce keep?
- Store in refrigerator for up to 2 weeks in airtight container.
- → What type of chilies should I use?
- Any fresh red chilies work - adjust amount based on desired heat level.
- → Can I make it milder?
- Yes, use fewer chilies or remove seeds before blending.
- → Why add sugar?
- Optional sugar helps balance the heat and acidity.
- → Can I use dried chilies?
- Fresh chilies work best for this recipe.