
 Save
Save
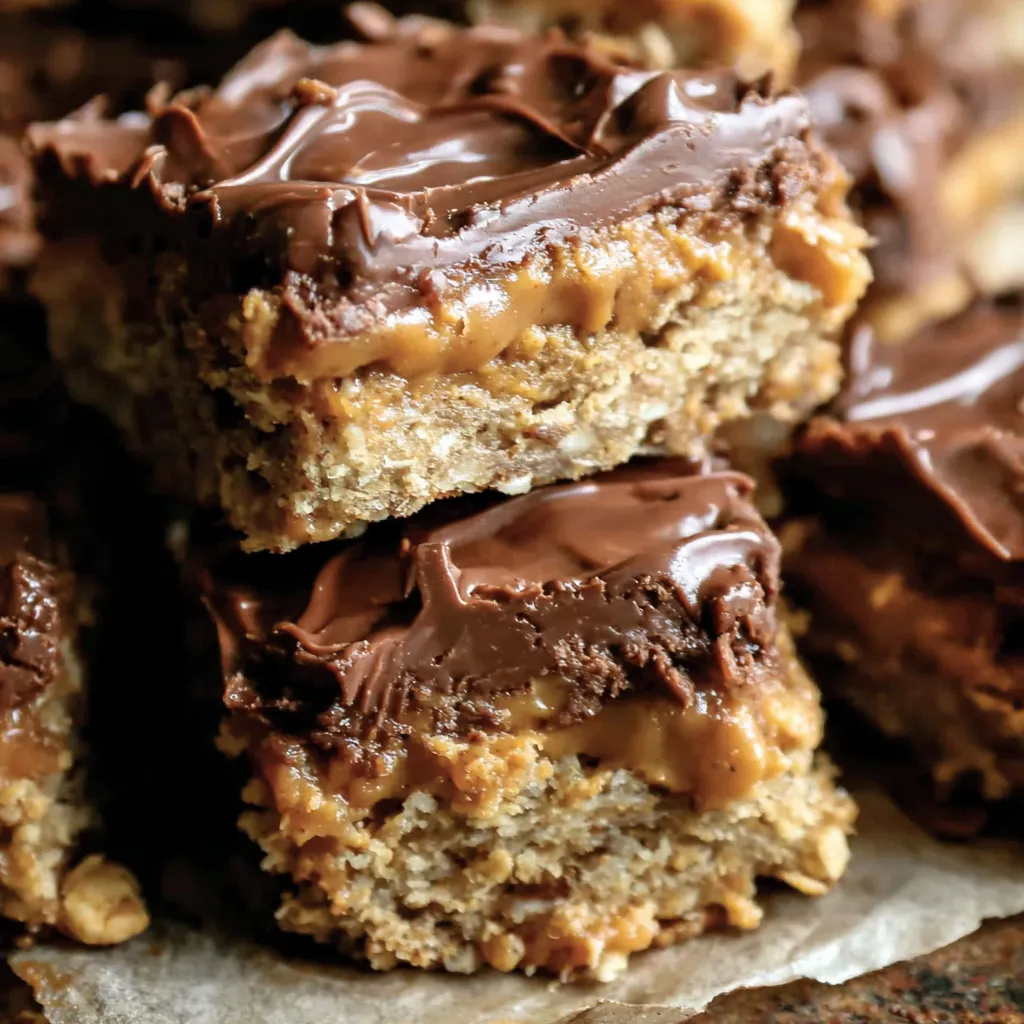
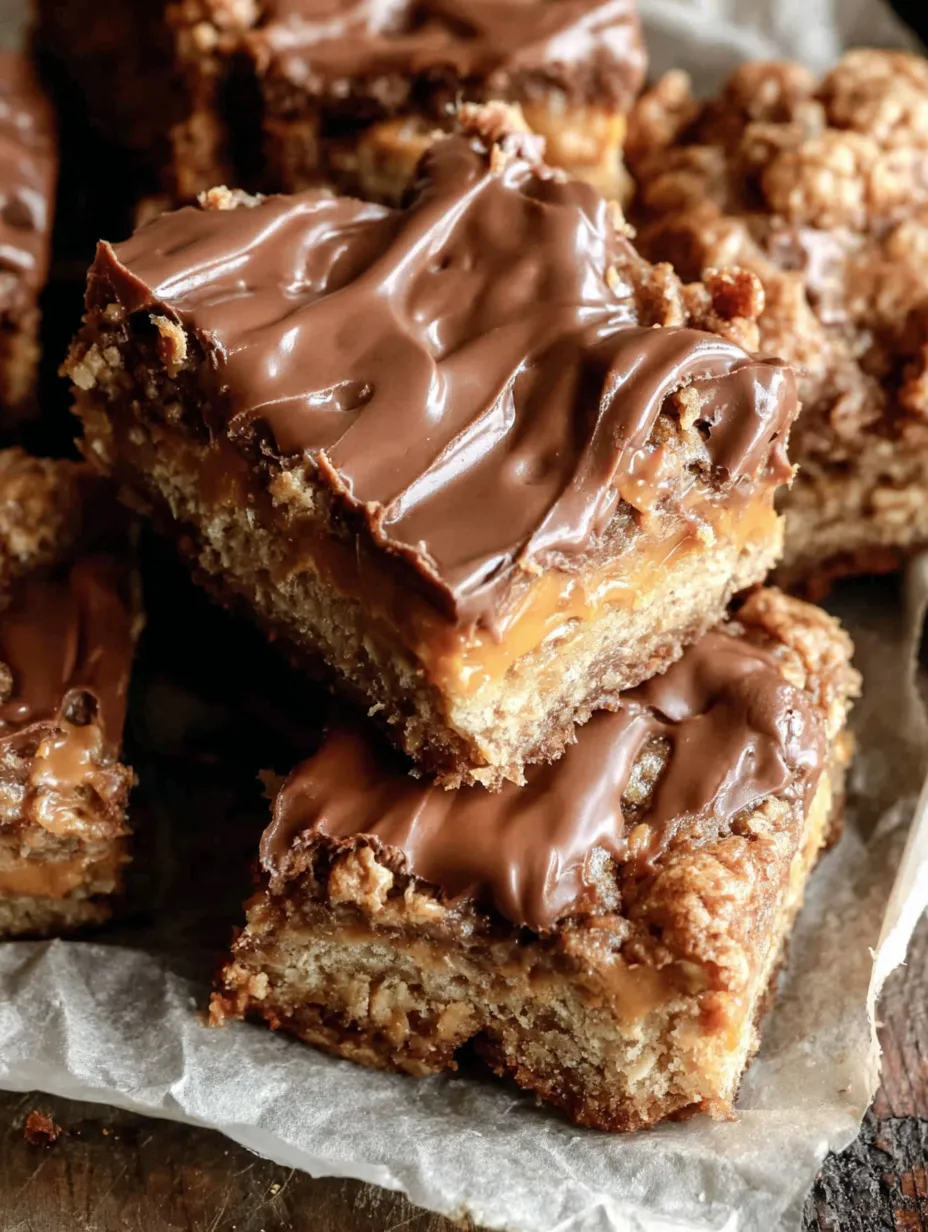
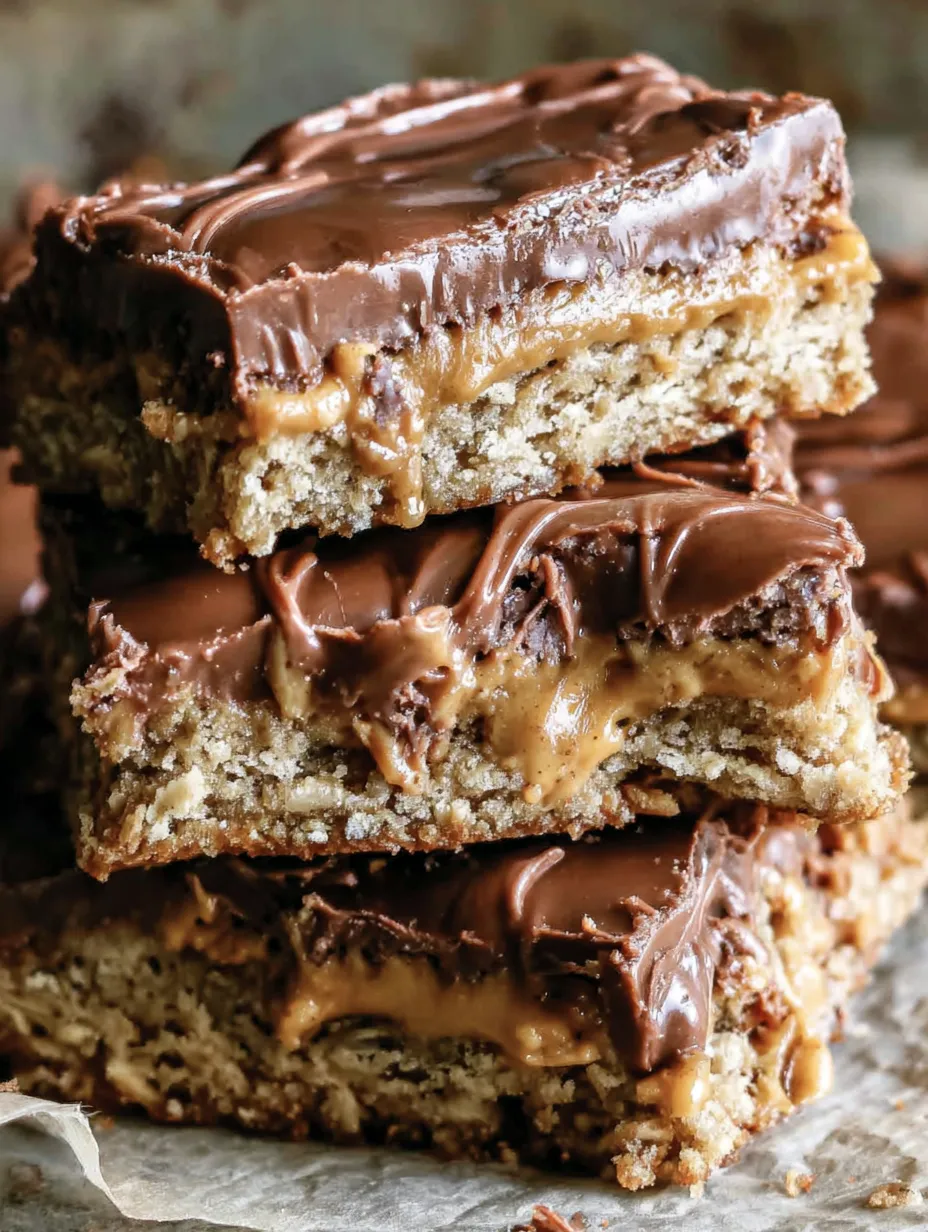
These Bake Sale Peanut Butter Oat Bars capture the rich layered taste of old-fashioned school bake sales with a chewy oat base and a chocolate-peanut butter icing. When fall hits and nostalgia calls for something sweet yet hearty this recipe always brings back memories of crowded gymnasiums and tightly wrapped cellophane treats.
I brought these to my child’s bake sale last year and not a single bar was left for the car ride home. Every time I make them my family insists I make a double batch.
Ingredients
- Salted butter at room temperature: gives richness to the oat base and helps everything blend easily
- Creamy peanut butter: is essential for smooth texture and that classic peanut flavor Use a fresh jar for the icing so it stays spreadable
- Brown sugar: adds deep caramel notes and helps the bars stay chewy Look for soft not dried out brown sugar
- Large eggs at room temperature: bind everything for a soft bake
- Vanilla extract: boosts everything with a warm aroma Try to use real vanilla for best flavor
- All-purpose flour: creates structure in combination with the oats Choose unbleached for a tender crumb
- Old fashioned oats: give chew and classic texture Avoid instant oats which will make the bars gummy
- Baking soda: provides a gentle rise Double-check freshness for best results
- Salt: lifts the sweet flavors Use fine sea salt for even mixing
- Powdered sugar: forms the silky icing without grittiness Sift if lumpy
- Unsweetened cocoa powder: deepens the chocolate layer Choose Dutch-processed for rich color
- Dark or milk chocolate melted: blends into the icing Use high-quality bars for easier melting
- For the icing only add water slowly: for the right consistency
Step-by-Step Instructions
- Prep the Pan:
- Line a 9 by 13 inch or half sheet pan with parchment paper including enough for overhanging edges for easy removal later
- Make the Bar Dough:
- Beat together the room temperature butter brown sugar peanut butter and vanilla in a large mixing bowl until creamy and fully combined Scrape down the sides for even mixing Add the eggs one at a time beating just until incorporated Stir in the flour oats baking soda and salt until you have a thick evenly mixed dough
- Bake the Bars:
- Press and spread the dough evenly into your prepared pan Take care to get the dough into the corners but keep the top level for even baking Bake at 350 F for about twenty minutes The edges will look set and golden and the center will feel just firm to a light touch Remove from the oven
- Layer the Peanut Butter:
- While the bars are hot drop tablespoons of peanut butter over the surface Gently spread with a spatula or offset knife for an even layer Allow the bars to cool completely before icing To speed this chill the pan in the fridge
- Prepare the Icing:
- While waiting for the bars to cool combine powdered sugar cocoa powder vanilla and three tablespoons of water in a bowl Whisk until totally smooth Stir in the melted chocolate Mix well The mixture should look thick but spreadable Add extra water one tablespoon at a time if needed for fluffier icing
- Finish and Slice:
- Spread the chocolate icing generously over the cooled bars Let the icing set at room temperature or chill for an hour to firm up When fully set lift the bars out using your parchment paper Slice into twenty four squares Enjoy cold or at room temperature
My favorite part is the moment when the chocolate icing just starts to set and my kids line up in the kitchen just waiting for the first corner piece I have brought these to nearly every bake sale since my college days and the melt-in-your-mouth layer of peanut butter never disappoints.
Storage tips
Store leftover bars in a well-sealed container They stay fresh for four to five days at room temperature or up to a week in the fridge For longer storage freeze between layers of wax paper and thaw before serving The texture remains chewy even after freezing
Ingredient substitutions
Swap almond butter for peanut butter if allergies are a concern and use gluten free flour blend with certified GF oats for a gluten free version If you prefer a more bitter chocolate dust extra unsweetened cocoa over the finished bars
Serving suggestions
Serve these bars cut into small squares for lunchboxes or large rectangles as a dessert Warm slightly and serve with vanilla ice cream for an extra indulgent treat They also make a great after school snack or easy potluck dessert
Cultural notes
Layered oat bars with peanut butter and chocolate echo the classic treats found at Midwestern bake sales and school events Peanut butter and oats have long been popular in American baking especially for fundraising treats Young bakers often start with recipes like this for their first crowd-pleasing experience
Common Recipe Questions
- → How do I achieve chewy bars without drying them out?
Don't overbake; remove the bars when the center is just set and cool completely before slicing.
- → Can I use crunchy peanut butter instead of creamy?
Yes, crunchy peanut butter adds extra texture and works well in both the base and topping.
- → Is it possible to make these bars gluten-free?
Substitute a 1:1 gluten-free flour blend for the all-purpose flour for similar results.
- → What’s the best way to store these oat bars?
Keep bars in an airtight container at room temperature for up to three days, or refrigerate to extend freshness.
- → Can I freeze peanut butter oat bars?
Yes, wrap bars tightly and freeze for up to three months. Thaw at room temperature before serving.