
 Save
Save
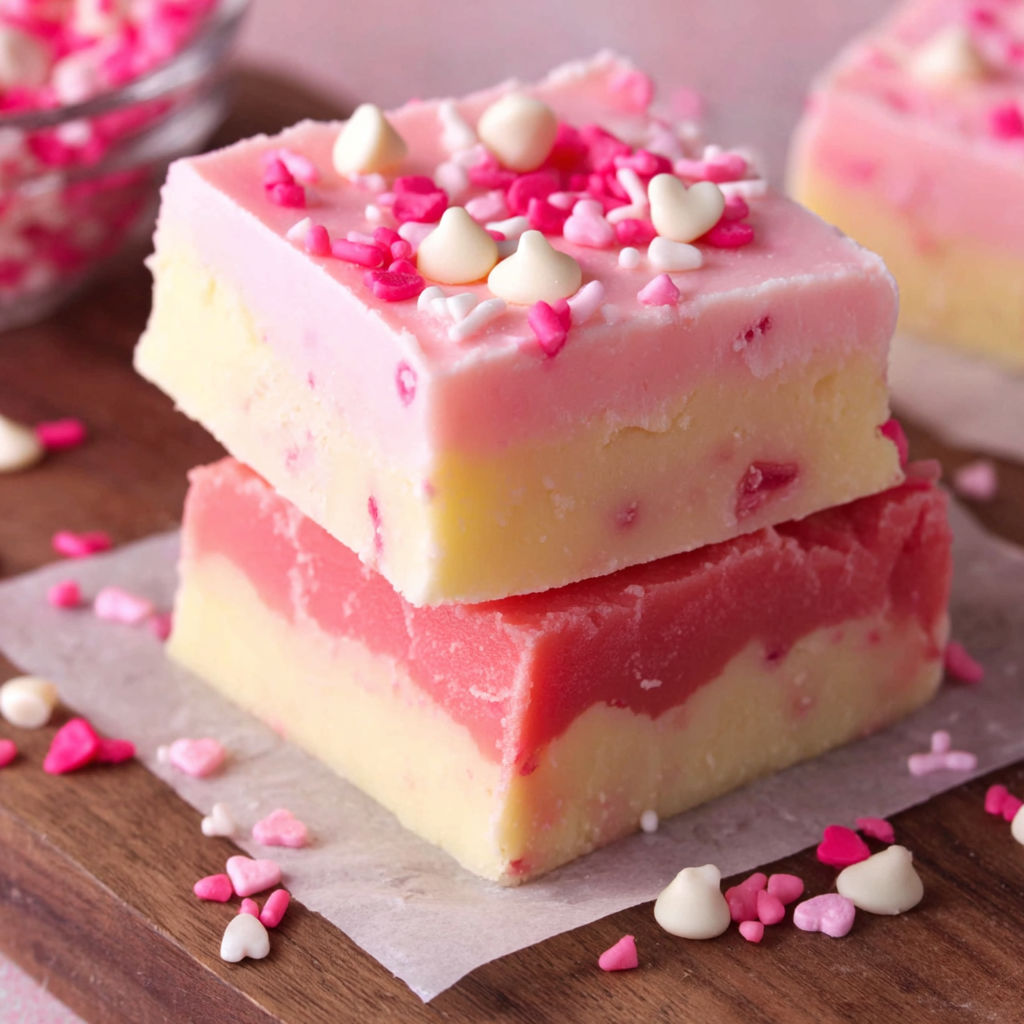
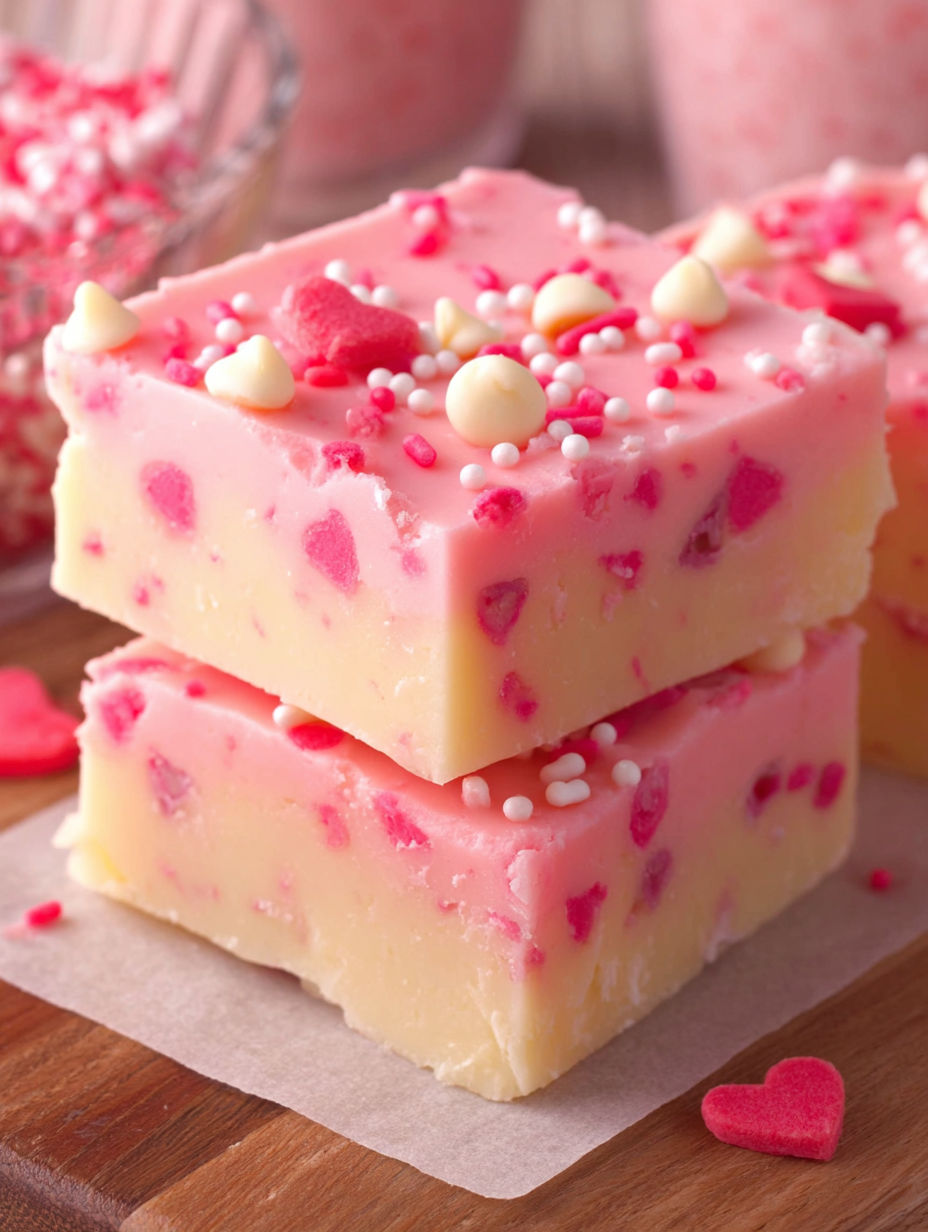
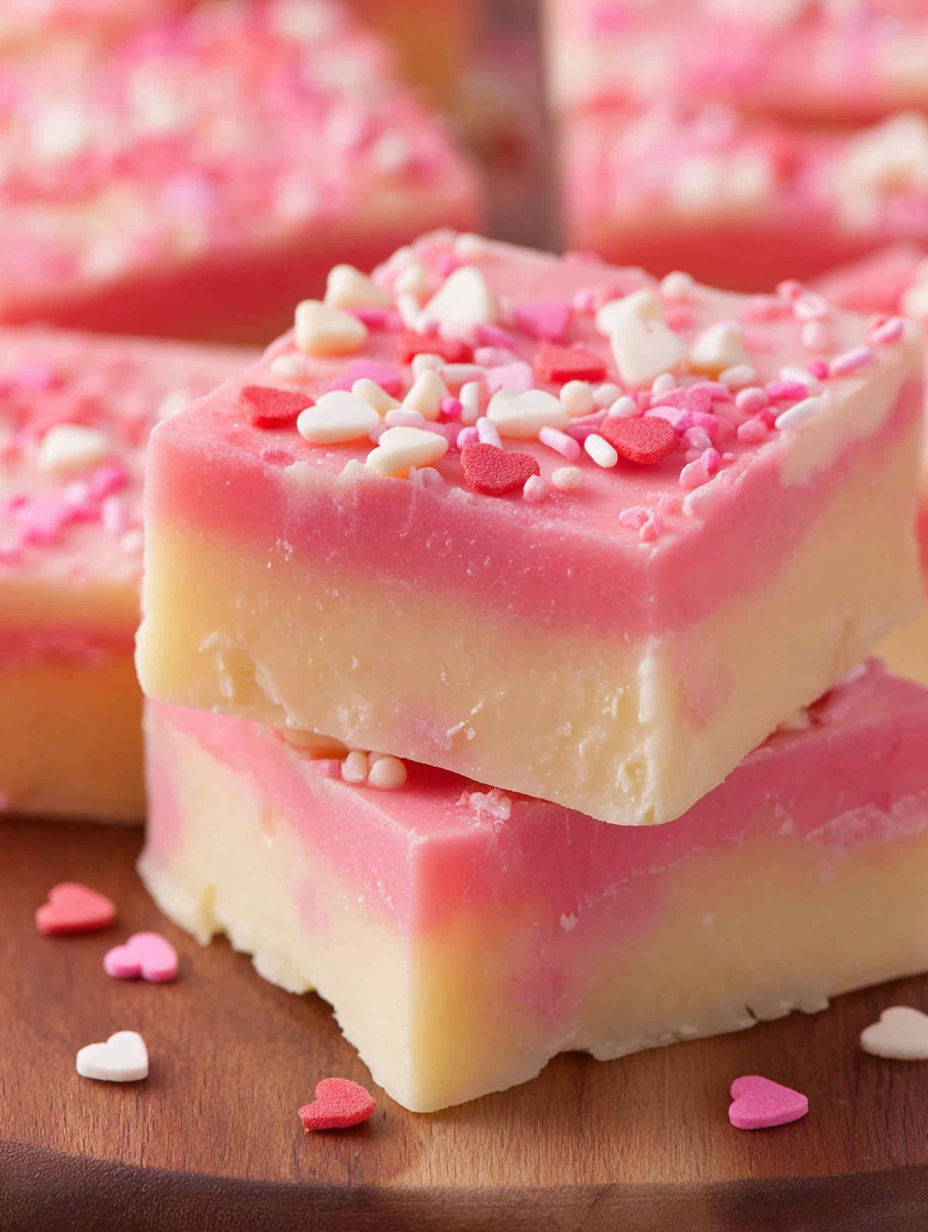
White chocolate valentine fudge is a sweet and playful treat perfect for sharing with someone special or brightening up any February afternoon. These cute pink-and-white squares come together fast with just a handful of everyday ingredients and always disappear quickly at potlucks or family gatherings.
I made this fudge on a whim for a classroom party and it became the talk of the event. My daughter always sneaks extra sprinkles onto her piece for extra sparkle.
Ingredients
- White chocolate chips: Give the fudge its creamy flavor and melt beautifully for that lush texture. Choose good-quality chips without waxy fillers if you can
- Sweetened condensed milk: Adds luscious sweetness and keeps the fudge soft. Use a fresh can for the best smoothness
- Salt: A pinch is essential to draw out the chocolate flavor and balance the sweetness
- Red food coloring: Creates that gently pink layer. Gel colors give a bolder shade but liquid drops work too
- Vanilla extract: Rounds out the flavors and gives the fudge a bakery-style aroma. Use pure vanilla if possible
- Valentine sprinkles: Finish each piece with a cheerful pop of color and crunch. I like using a mix of red pink and white shapes
Instructions
- Line the Pan:
- Line an eight inch square baking pan with parchment paper making sure the paper hangs over the edges so you can lift the fudge out easily later
- Melt the White Chocolate and Milk for Bottom Layer:
- In a large microwave safe bowl combine one and a half cups white chocolate chips with half of the sweetened condensed milk and a pinch of salt. Microwave for twenty seconds at a time stirring in between until it is fully melted and smooth. This ensures the mixture does not burn or separate
- Tint and Flavor the Bottom Layer:
- Stir in half a teaspoon of vanilla extract and two drops of red food coloring to get a bright pink shade. Stir well so the color is even. Add another drop for deeper pink if you like
- Spread and Cool the First Layer:
- Pour the pink fudge mixture into your prepared pan and spread it evenly with a spatula. Let it cool at room temperature for about thirty minutes so the next layer goes on smoothly
- Melt and Prepare the Top White Layer:
- Take the remaining white chocolate chips and the rest of the condensed milk with a pinch of salt in a clean microwave safe bowl. Heat in twenty second bursts stirring until melted and glossy. Be patient microwaving in short intervals prevents scorching
- Add Vanilla to White Layer:
- Stir in the last half teaspoon of vanilla extract for a mellow finish
- Layer and Sprinkle:
- Gently spread this white layer over the now cooled pink base smoothing it all the way to the edges. Top right away with your valentine sprinkles so they stick while the fudge is still soft
- Chill and Slice:
- Chill the fudge in the fridge until it is completely firm about two hours. Lift the whole block out using the parchment and cut into neat squares for serving
- Store:
- Keep your fudge tightly covered at room temperature for up to a week to maintain softness and flavor
I absolutely adore the subtle pink hue of the bottom layer which always reminds me of making valentines with my kids around the kitchen table. Their favorite part is always adding the sprinkles and sneaking little tastes from the bowl.
Storage Tips
Fudge will keep best stored in a tightly covered container at room temperature. If you want firmer fudge for stacking or shipping chill it in the fridge then let it come to room temperature before enjoying. Avoid storing in overly warm places or the chocolate may soften or look greasy.
Ingredient Substitutions
For a dairy free option use coconut condensed milk and vegan white chips. Swap out vanilla for almond extract for a slightly nutty lift. Change up sprinkle colors for any holiday or celebration theme.
Serving Suggestions
Slice fudge into tiny cubes for topping cupcakes or ice cream. Arrange on a tray with berries and other valentine sweets for a dessert board. Wrap individual squares in wax paper and tuck into small boxes for charming gifts.
Cultural and Seasonal Twist
Valentine fudge recipes can be traced back to American home cooks looking to create easy no bake treats. You can use green and red sprinkles for Christmas a dash of gold for birthdays or pastel shades for Easter. Swapping food coloring means you can serve this any time of year.
Giving this fudge as a gift always brings smiles. Make it ahead for stress-free entertaining and festive fun!
Common Recipe Questions
- → Can I use colored sprinkles other than valentine-themed?
Absolutely, any sprinkles you enjoy work great for a personalized touch or seasonal variation.
- → How do I store the fudge for freshness?
Keep the fudge covered tightly at room temperature. It stays fresh for several days when well-sealed.
- → Can I melt the chocolate on the stovetop instead of microwave?
Yes, gently melt the ingredients over low heat, stirring constantly to avoid scorching the chocolate.
- → Is it possible to add different extracts for flavor?
Swapping in almond or peppermint extract gives an interesting twist to the classic vanilla base.
- → How can I achieve a deeper pink color?
Add a few more drops of red food coloring gradually, mixing well until desired shade is reached.