
 Save
Save
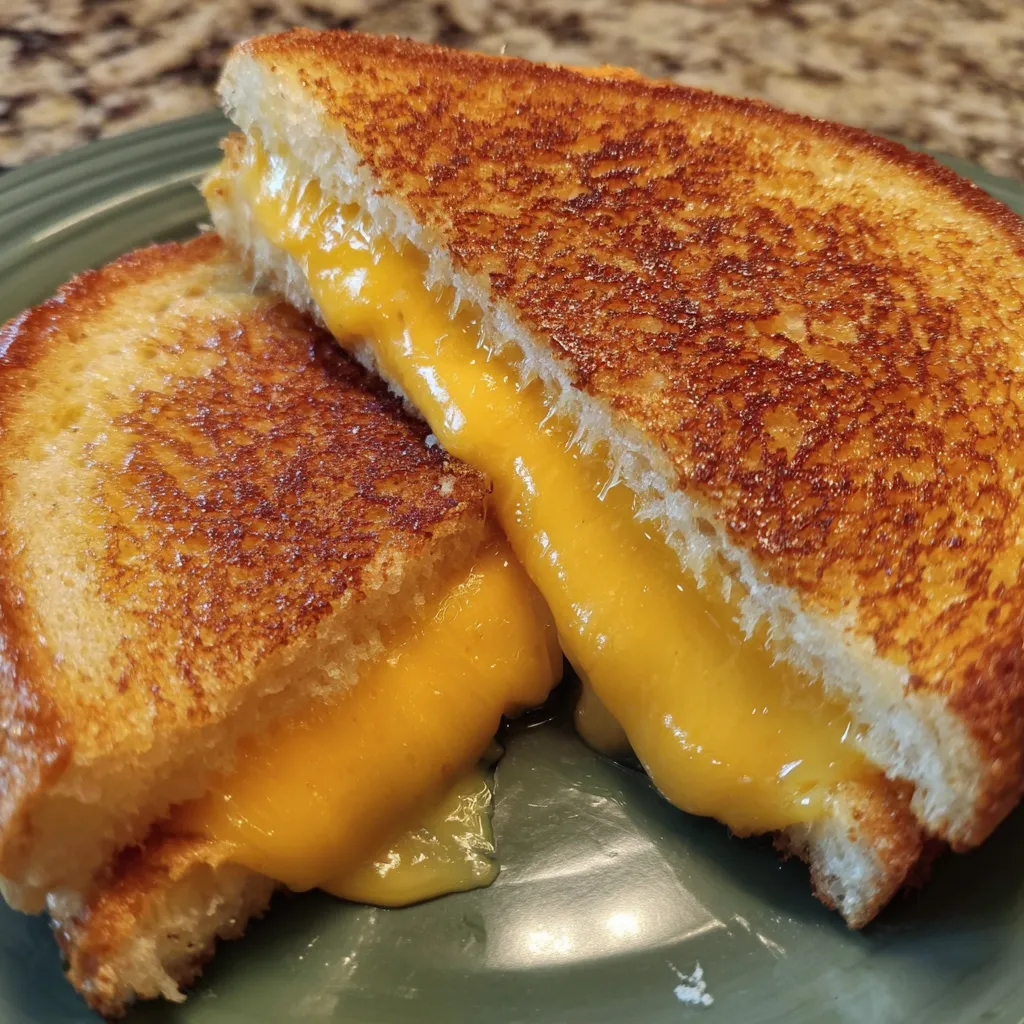
Nothing hits quite like biting into bread that's crunchy outside and gooey inside with loads of cheese melting out. For me, these are the days when something so easy tastes so incredible. On slow Saturday mornings, grilled cheese is my ultimate comfort food. It's simple but never gets old—reminds me of good times every single time.
I used to make this when I was wiped after school, and now it's always the first thing my niece asks for when she's over. That crunchy bite with stretchy cheese? Honestly, it puts everyone in a good mood.
Irresistible Ingredients
- Butter: real deal works best and should be soft so it spreads right on all the bread. Choose unsalted, then add your own dash of salt so it's just the way you like it. Rich flavor guaranteed.
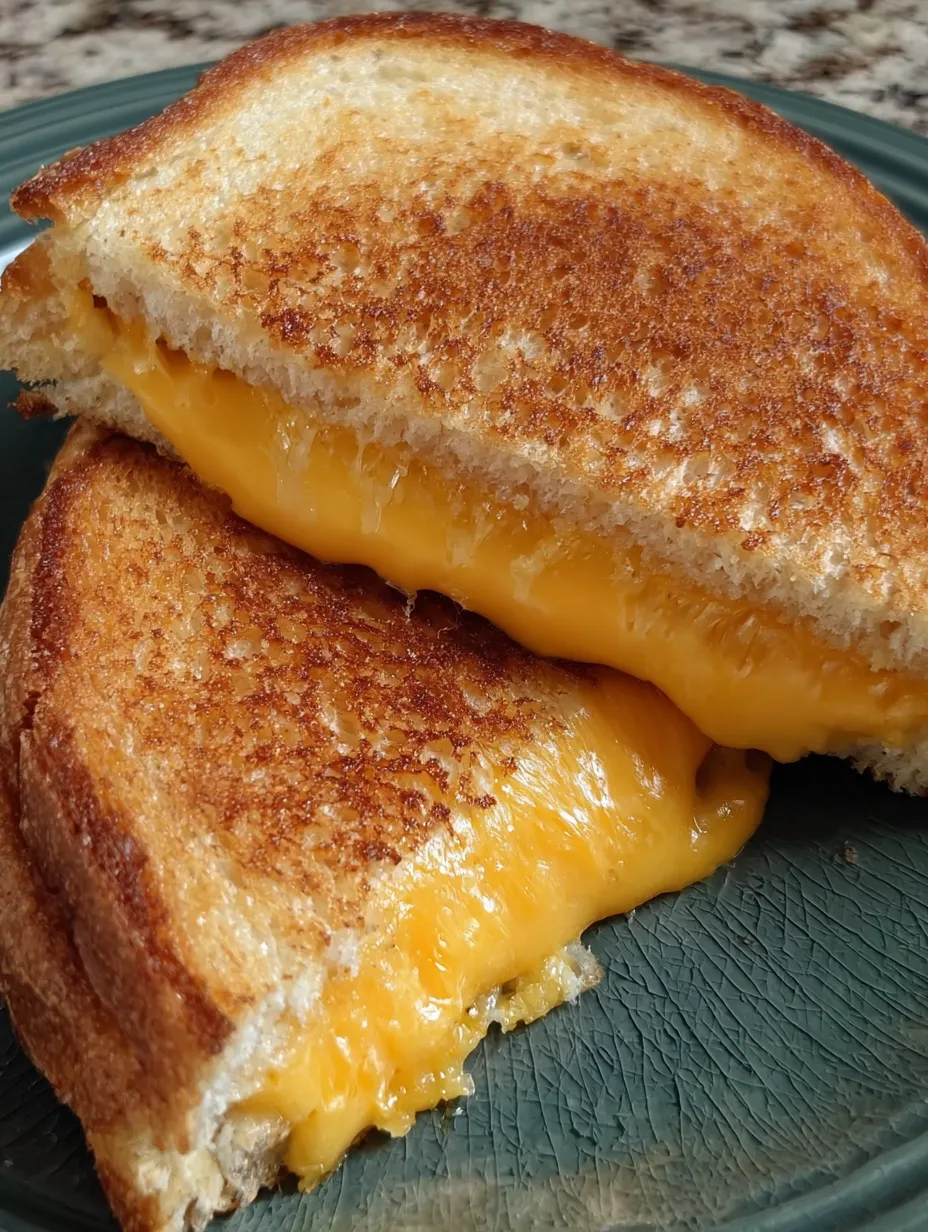
- Cheese: Cheddar brings a zing, and American melts all silky. Throw in both for extra flavor layers. Sniff it and bend it—if it smells pleasant and flexes, it's fresh enough for melting.
- Bread: Sourdough keeps things crunchy while white gives old-school diner vibes. Fresh is best, but avoid super squishy slices—they won't hold all that cheese as well.
Easy Instructions
- Take a Break:
- Don't forget to let the sandwich cool off outside the pan for a minute before you slice it. This keeps all the cheese where it belongs and not leaking everywhere.
- Crispy Finish:
- Once your cheese is almost melted—after two to three minutes on this side—check that it's nicely golden, then slide it out of the pan when it's just right.
- Get Things Sizzling:
- Put your pan over gentle heat—medium-low is good. That lets your cheese melt slowly and stops the outside from burning. If you're patient, you'll see gooey insides and a perfect crust.
- Build it Up:
- Cheese goes on top of your bread, buttered side down in a cold pan. Then drop your other slice on, butter up. That way, you get even browning without any sticking problems.
- Slather the Slices:
- Spread soft butter on one side of each slice. Take it all the way to every edge for a super crispy crunch after cooking.
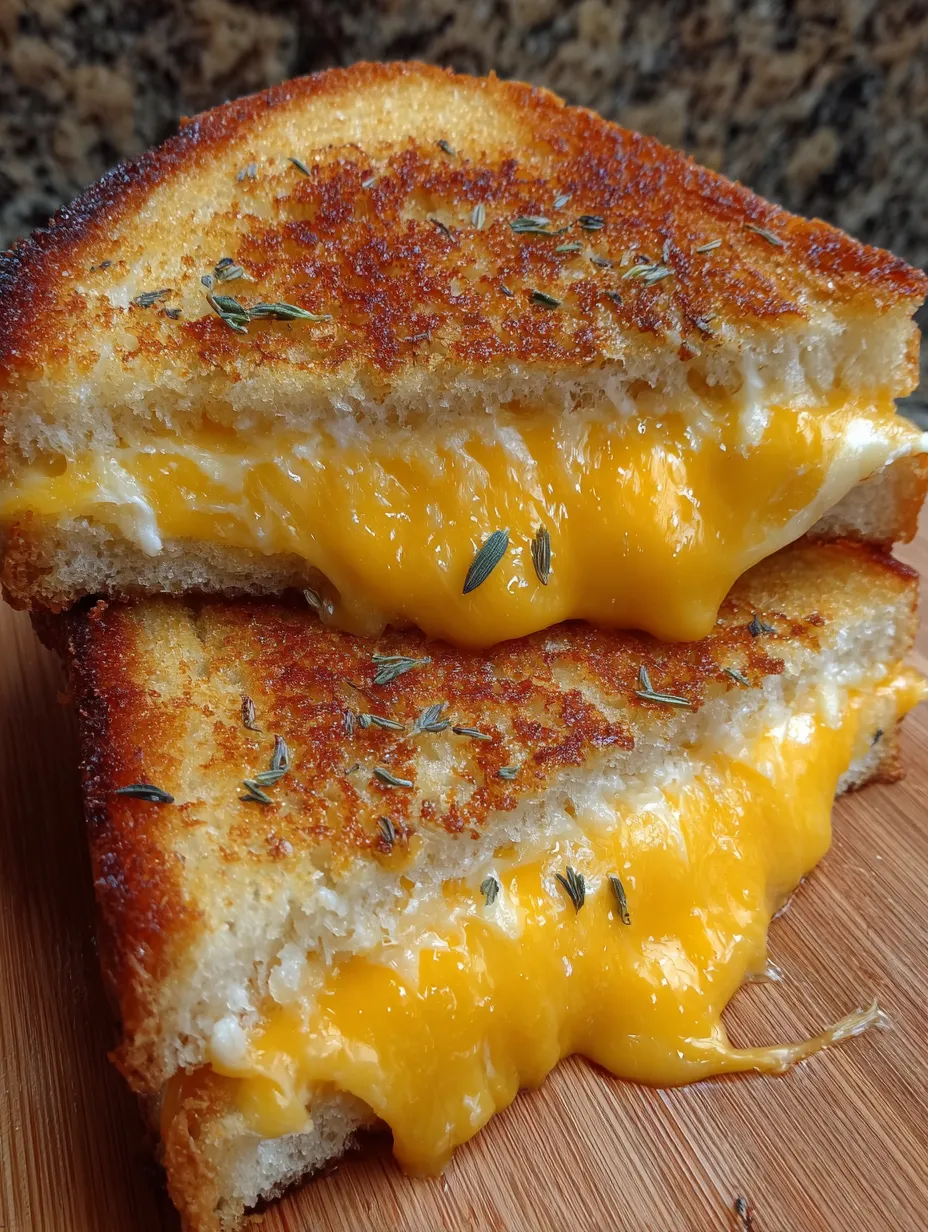
I love using extra sharp white cheddar for a bold kick. My brother once dared me to try pickles in there and now it’s our wild card filling for late night movies. Seriously, don’t knock it till you try it.
Keeping It Fresh
Leftovers? Let them cool completely so the crust stays crisp. Wrap in foil, then stash in your fridge up to two days. Toast up in a skillet or toaster oven to bring back that crunch. Skip the microwave unless you’re okay with soggy bread!
Simple Swap Outs
Need to go dairy free? Try using vegan cheese or plant butter. Want new flavors? Multigrain or rye are awesome, or go wild with mozzarella or smoked gouda for something different.
Tasty Pairings
Try it with a steamy bowl of tomato soup for the perfect comfort fix. A crisp arugula salad or a few crunchy pickles are great too and help balance out cheesy richness.
A Bit of Background
This sandwich took off during tough times, like the Depression, because it was cheap and simple. Now it's an American favorite and you'll see cool versions of it everywhere you go.
Common Recipe Questions
- → Which bread works best for toasties?
Go for white, sourdough, or a sturdy artisan loaf for a crispy base that holds all that gooey goodness.
- → What cheese melts smoothly?
Cheddar, American, or a mix of soft cheeses create creamy, flavorful results. Skip out on crumbly, dry cheeses.
- → Why butter just one side?
Butter only the outside surface to crisp it up beautifully, leaving the inside soft and ready for melting.
- → What temp should I cook at?
Use medium-low heat to help the bread turn golden and give the cheese enough time to melt to perfection.
- → How do I stop cheese from spilling when cutting?
Let it rest after cooking for a bit—the cheese firms up slightly, so cutting is less messy and easier.