
 Save
Save
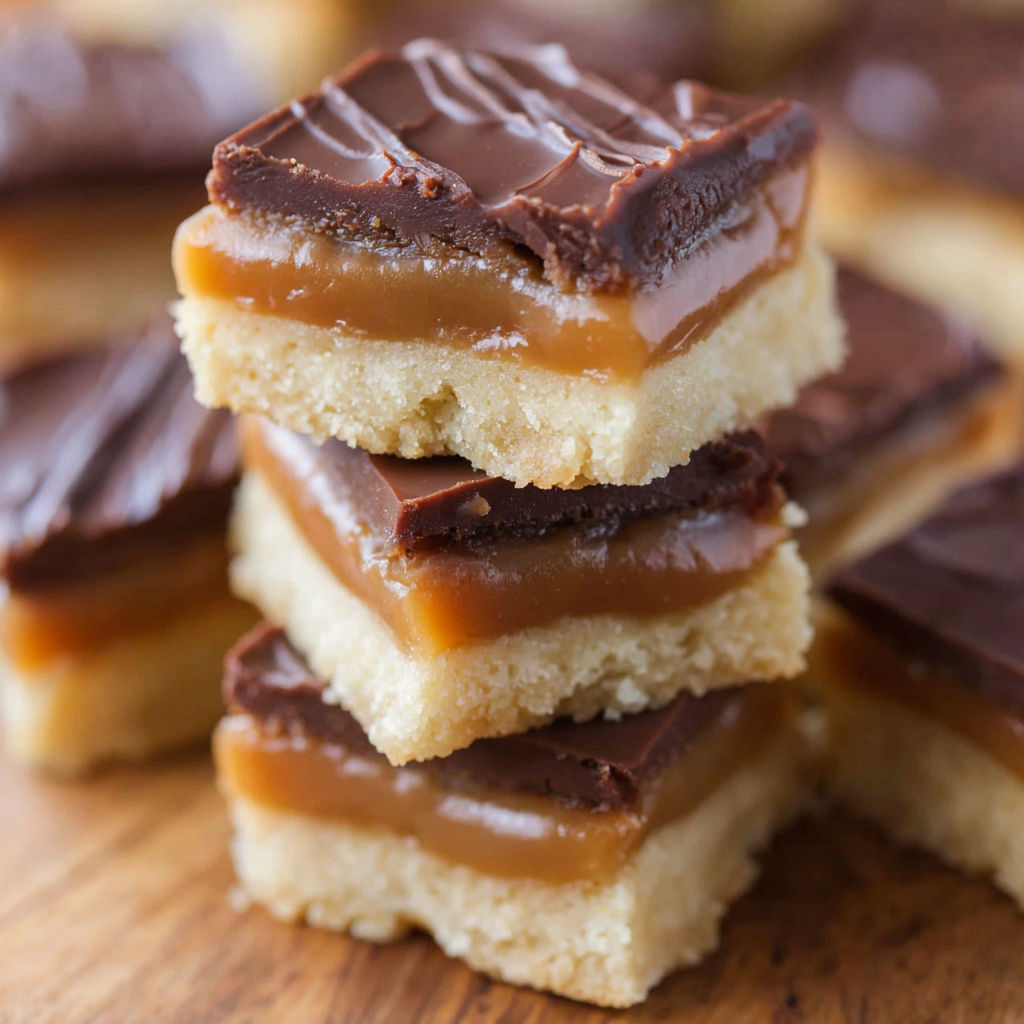
These cookie bars capture all the goodness of the beloved candy bar, turning it into a homemade delight that’s ready to slice and serve. With buttery shortbread, chewy caramel, and a slick layer of chocolate, this dessert is easy to whip up in your kitchen and is a hit at any gathering.
I was a bit anxious about making caramel initially, but after a few attempts, these cookies became my go-to for the holidays. My neighbors even ask for a batch during cookie swap time, which feels awesome.
Ingredients
- Salted butter: provides richness for both the crust and caramel, and you won't need extra salt if you use quality butter
- Powdered sugar: keeps the shortbread tender and crumbly
- All-purpose flour: gives the crust its structure, just make sure it’s fresh with no old smell
- Pure vanilla extract: enhances all three layers with its warm flavor, opt for real for the best results
- Light corn syrup: helps homemade caramel set smooth and shiny
- Granulated sugar: caramelizes into the delicious gooey filling
- Heavy whipping cream: crucial for both caramel and the smooth chocolate topping, avoid low-fat alternatives
- Milk or dark chocolate chips: add that candy bar taste, choose a brand with rich cocoa flavor
- Tin foil: makes it easy to lift and cut the bars with clean edges
Instructions
- Prepare the Crust:
- Begin by blending the softened butter, powdered sugar, flour, and vanilla together in a large bowl using a pastry cutter or fork until it’s crumbly and holds together when pressed. Evenly distribute the mixture into a lined 9 by 13 inch pan, pressing down firmly into all corners for uniformity. Bake at 300 degrees Fahrenheit for around 40 minutes until the edges turn a light golden. Allow it to cool as you make the caramel.
- Make the Caramel Layer:
- While the crust is baking, combine butter, salt, corn syrup, sugar, and half a cup of cream in a saucepan over low heat. Warm it up for about ten minutes until everything mixes well and the butter melts. Gradually increase to medium low heat, bringing it to a gentle simmer. Cook undisturbed for twenty to thirty minutes, keeping an eye on it to prevent burning as it thickens. Stir in the rest of the cream and swirl just a bit. Keep simmering for another ten to fifteen minutes until thick and glossy, paying attention to your elevation for perfect temperature. Remove from heat, mix in vanilla, and pour over the cool shortbread, spreading evenly. Chill until set before adding the chocolate on top.
- Make the Chocolate Layer:
- Mix chocolate chips and cream in a microwave-safe bowl and heat in short bursts, stirring until smooth and just melted. Don’t let it overheat or it may seize up. Pour over the chilled caramel layer and use an offset spatula to spread it evenly. Pop the pan back in the fridge for three to four hours until fully firm before slicing.
- Cut and Serve:
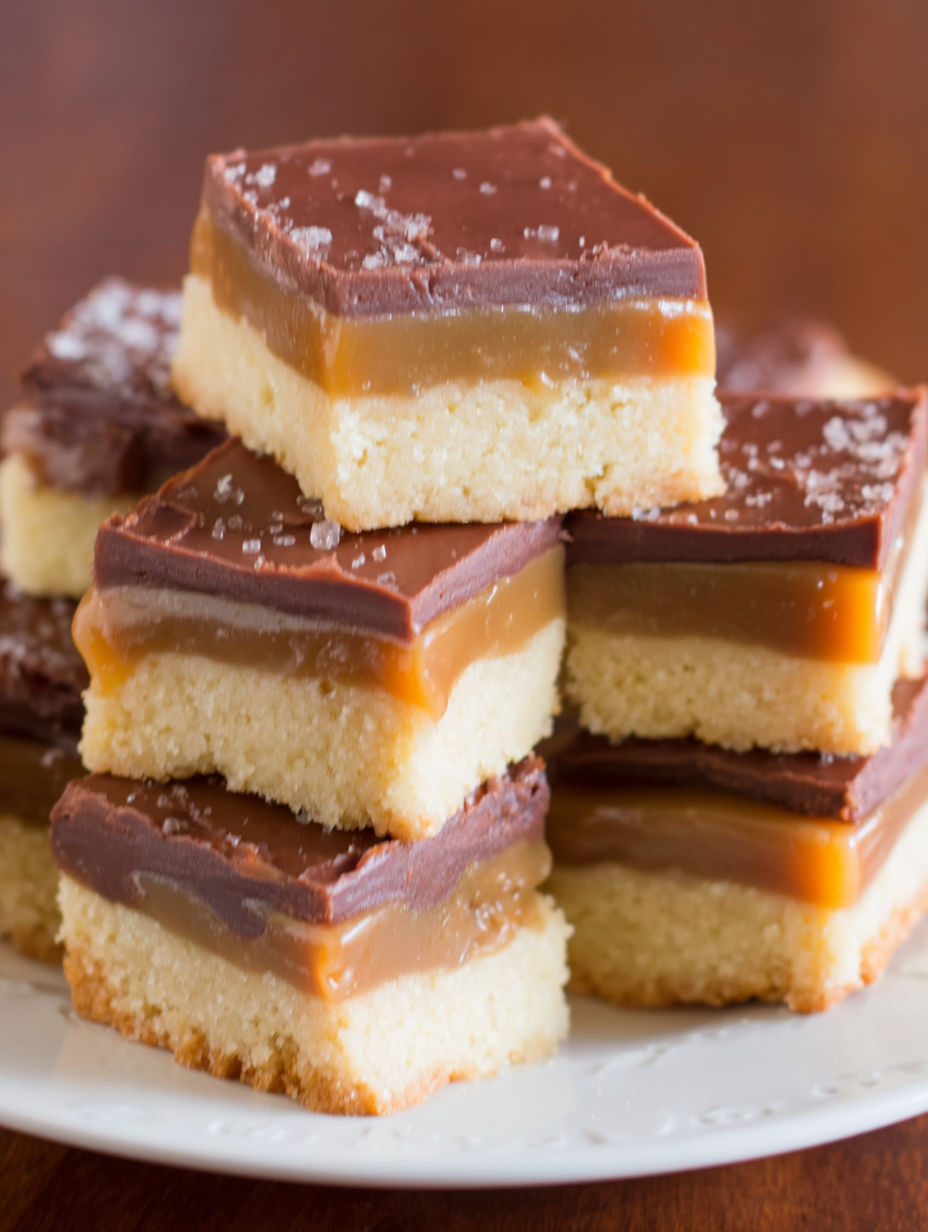
- When the bars are totally set, lift the entire slab out using the foil edges. Take off the foil and use a sharp knife to cut four long strips and then slice each strip into eight smaller bars, making a total of thirty-two pieces.
Real vanilla is my hidden gem. Its warm fragrance blending into the caramel takes me back to my grandma’s kitchen, where she always insisted on using the best. Opening that bottle brings back all those cherished memories.
Storage Tips
Keep sliced bars in an airtight container in the fridge for up to two weeks. Use parchment between layers to stop them from sticking. For long-term storage, freeze them in a single layer before stacking to keep the bars intact. Let them sit out or come to room temperature before serving to soften the caramel just right.
Ingredient Swaps
If you don't have salted butter, you can use unsalted and just add a small pinch of salt to the crust and caramel. Swap milk chocolate with dark, or mix them together for a more refined taste. While corn syrup is best for smooth caramel, golden syrup can work as a good alternative.
Serving Ideas
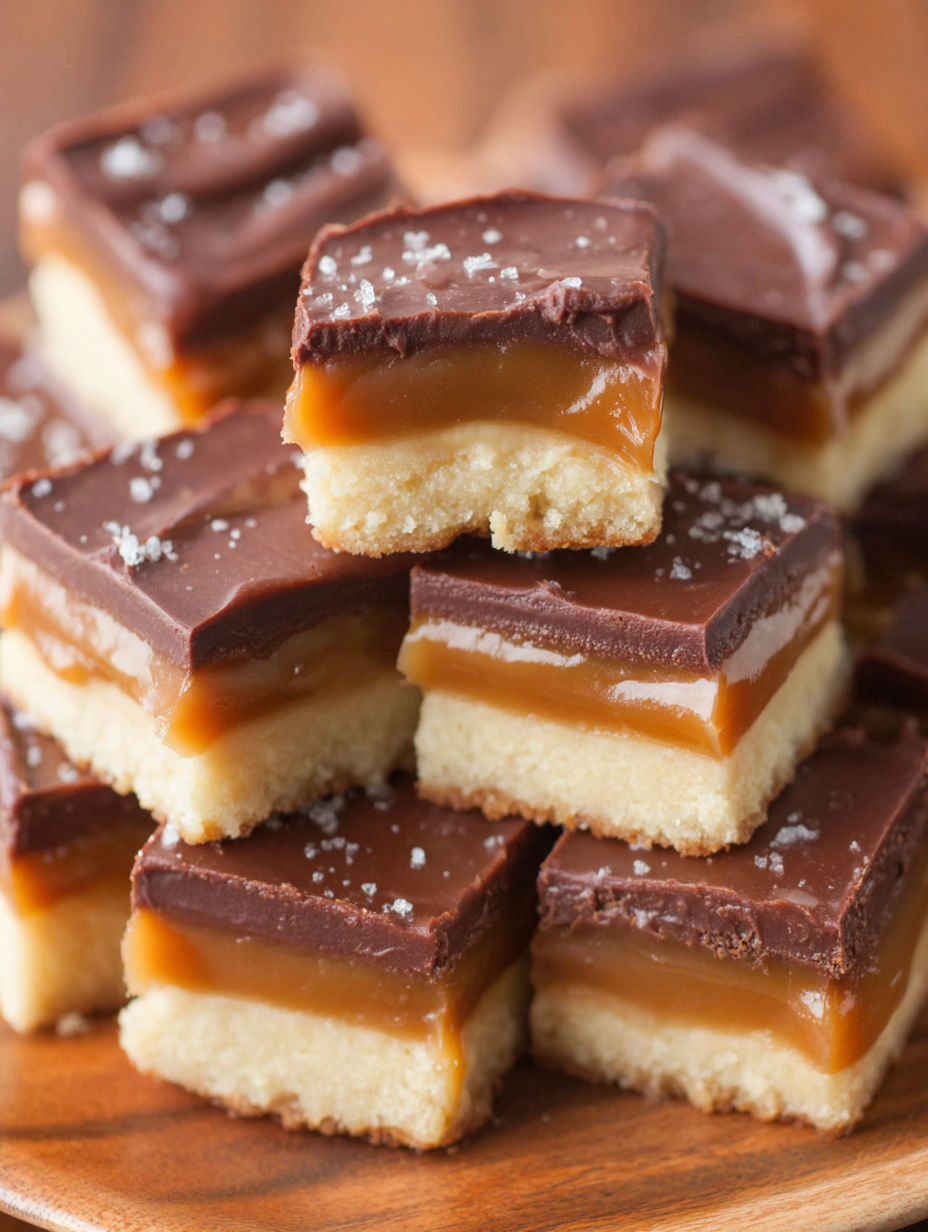
These bars look great on a dessert platter with brownies or lemon squares. You can slice them smaller for bite-sized treats or sprinkle a bit of flaky salt on top of each piece for a trendy touch that balances the sweetness.
Cultural and Historical Context
Taking inspiration from the classic candy bar, these bars bring the nostalgia of store-bought treats right into your home. Twix bars have been a part of American candy culture since the late 1970s, but there’s something uniquely satisfying about making them from scratch. Baking them yourself lets you control every layer for just the right taste and texture.
Seasonal Variations
During the cooler months, dark chocolate adds a rich touch. In summer, drizzle melted white chocolate on top for a light finish. You can also toss some toasted nuts over the chocolate during the holidays for added crunch.
Success Stories
Many readers have shared how their fears of making caramel vanished with this recipe. One friend shared a photo of her smiling daughter next to their first batch of Twix bars, and it made my day. These treats tend to vanish even when you think you’ve made enough to share with everyone on the block.
Freezer Meal Conversion
These bars are perfect for making ahead. Just freeze the finished and cut bars in layers with wax or parchment paper in between. When you’re ready to serve, let them sit at room temperature for thirty to forty-five minutes, and nobody will know they were made days or even weeks before.
This treat truly embodies the joy of recreating something classic and nostalgic right at home. Share it with friends and watch them go for seconds each time.
Common Recipe Questions
- → How do I know when the caramel is done?
Check that the caramel reaches 235°F, which is the soft-ball stage. A candy thermometer will help, but you might need to tweak the temperature based on your altitude.
- → Can I use dark chocolate instead of milk chocolate?
Definitely! Both dark and milk chocolate work great as toppings. Go with your favorite or combine them for a nice flavor balance.
- → What's the best way to cut the bars cleanly?
Grab a sharp knife and warm it under hot water, then dry it off. Slice in one smooth motion and clean the blade between cuts for neatness.
- → How should I store these bars?
Store the bars in an airtight container in the fridge for up to two weeks or freeze them for longer. Let them sit at room temperature before serving for the best texture.
- → Can I make the crust ahead of time?
Sure! You can bake the shortbread base a day in advance. Just let it cool completely before covering it until you're ready to add the caramel and chocolate.
- → How do I adjust caramel temperature for high altitude?
For every 500 feet above or below 4500 feet elevation, add or subtract 1 degree from the target temperature.