
 Save
Save
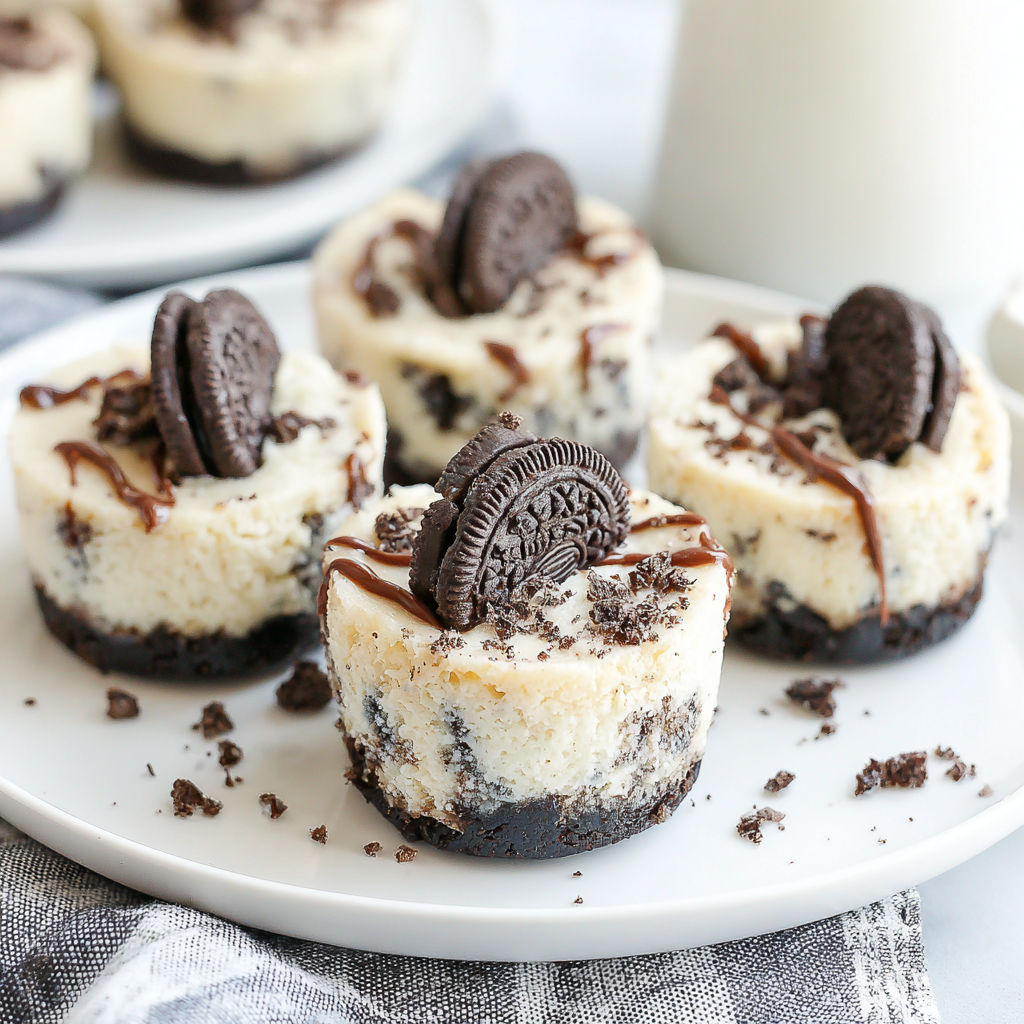
When I need something quick and loved by everyone, I whip up these mini Oreo cheesecake bites. They're irresistible and take just five simple ingredients, ready in under thirty minutes. You get the rich, creamy taste of classic cheesecake in a fun single bite, and those cookie pieces? Total magic for Oreo fans.
The first time I made these was for a potluck, and they vanished before dinner. Now, I double the amount to avoid disappointment!
Ingredients
- Oreo cookies: These give a classic chocolate crunch for the base; fresh, crispy Oreos work best
- Cream cheese: Adds a tangy, creamy richness; make sure it’s soft for the smoothest batter
- Sugar: Sweetens the mix without being overpowering; use regular granulated sugar and ensure it’s clump-free
- Eggs: Help set and bind the cheesecakes; large eggs at room temp blend in better
- Vanilla extract: Complements the flavors; go for pure vanilla for the best taste and aroma
- Extra cookie chunks: Stirred in and sprinkled on top for extra flavor; chop them by hand for varied texture and avoid blending too finely
Instructions
- Prepare the Pan:
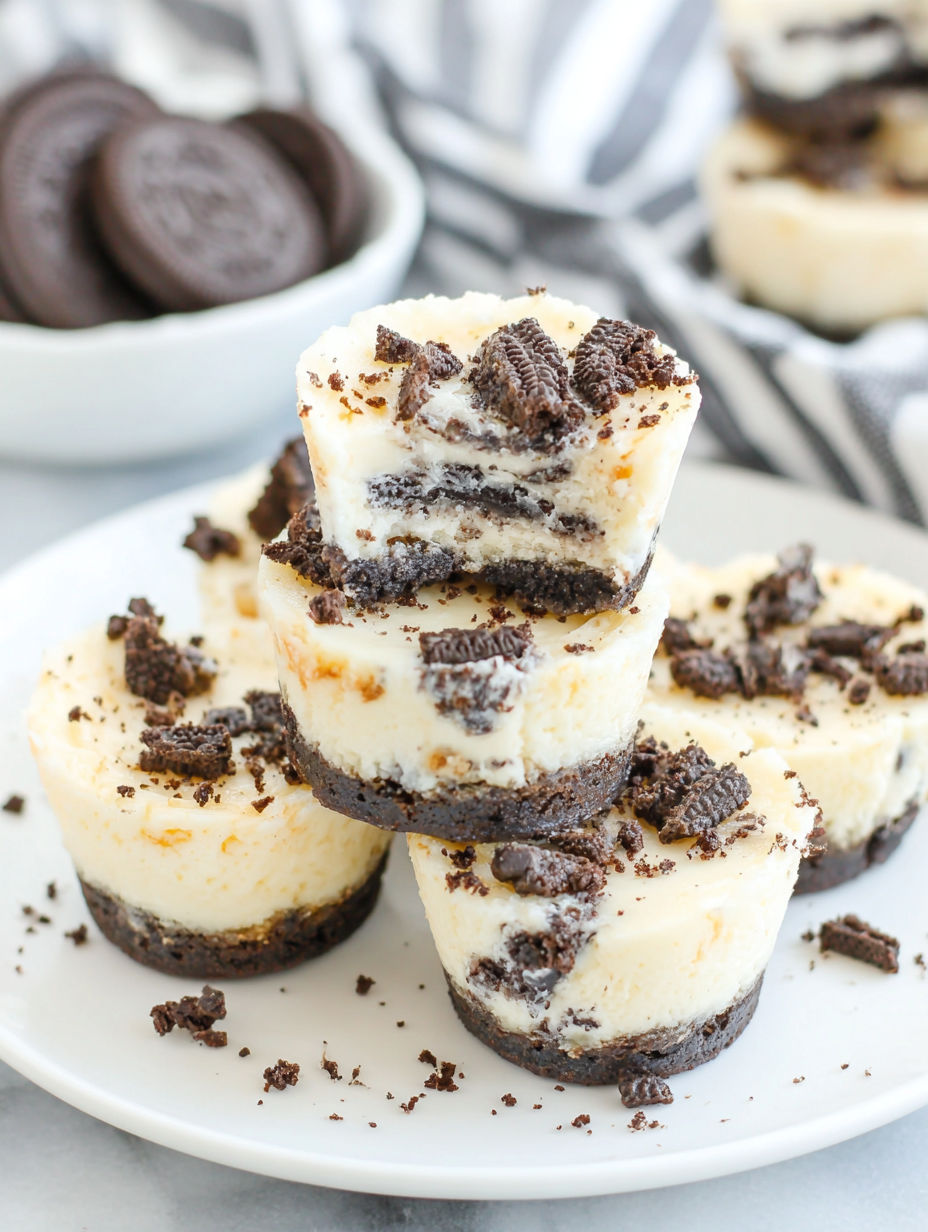
- Start by lining a standard muffin tin with sixteen paper liners. Place one whole Oreo cookie in each liner, forming the crunchy base.
- Beat the Batter:
- Let your cream cheese warm up to room temperature. In a big mixing bowl, beat together the softened cream cheese, sugar, eggs, and vanilla extract using an electric mixer. Mix for two to three minutes, scraping down the bowl until it's silky and smooth.
- Fold in Cookie Chunks:
- Cut up extra Oreos into a mix of large and small bits to get nice texture. Add these to the cheesecake batter and gently fold in with a spatula. Save a few spoonfuls to sprinkle on top later.
- Fill the Liners:
- Scoop out the cheesecake batter into each liner evenly. Aim for about two tablespoons in each, covering the Oreo base. Smooth the tops a little with the back of your spoon.
- Add Toppings:
- Top each cheesecake bite with some of the reserved cookie chunk mix for extra crunch and that classic Oreo look after baking.
- Bake:
- Preheat your oven to 350 degrees Fahrenheit. Bake the cheesecakes for about 14 to 16 minutes. Keep an eye on them; they should look set in the middle without drying out. You want them just firm for a creamy texture.
- Cool and Chill:
- Let the bites cool in the pan for at least thirty minutes. Then gently take them out of the liners. Chill them in the fridge for at least two hours for the best texture and flavor; they’ll be even creamier as they sit.
- Optional Garnish:
- Right before serving, top with a dollop of whipped cream and some extra Oreo crumbs if you like. That fluffy touch with crunchy bits is pure dessert joy.
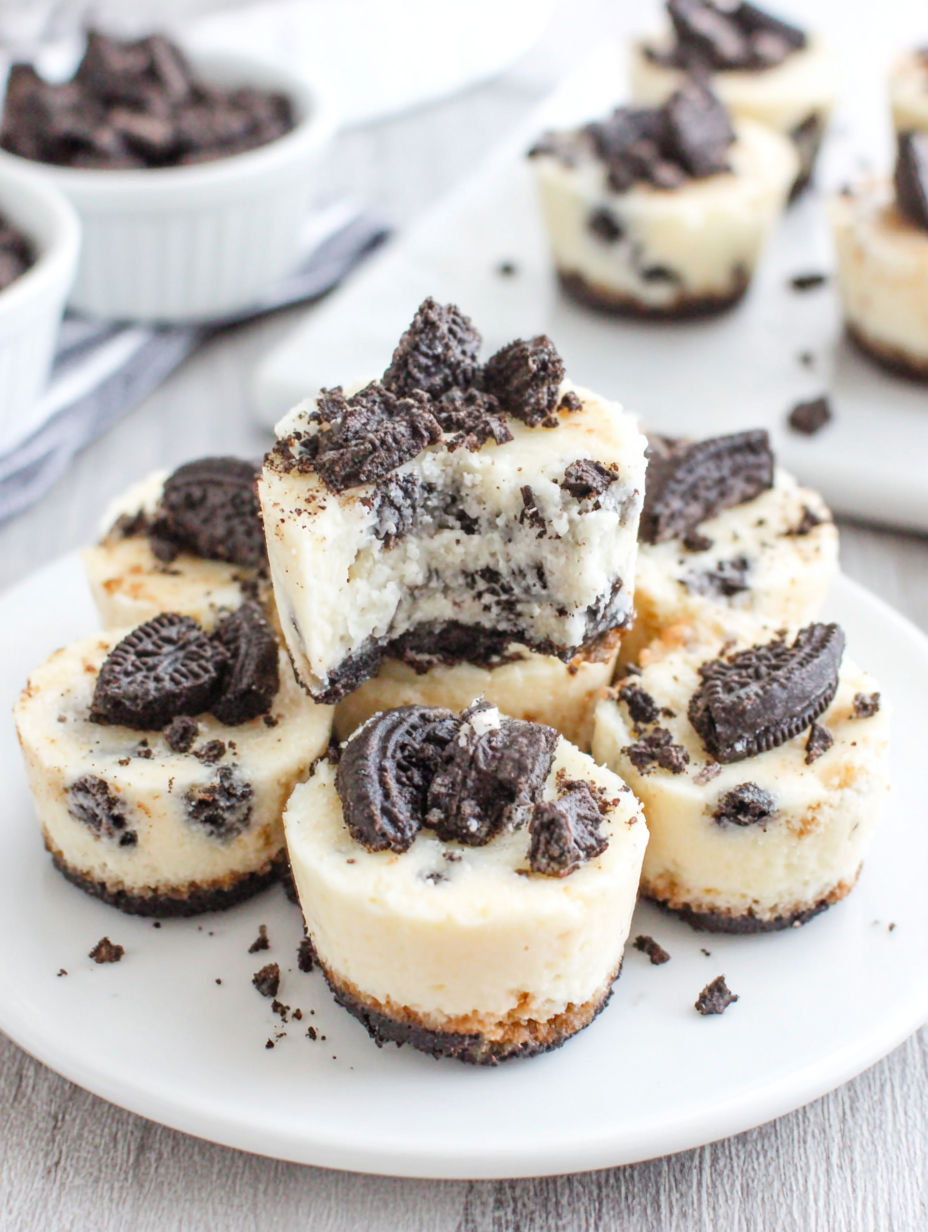
I love chopping up the cookies since mixing big and small chunks makes each bite a little surprise. My niece helped with the toppings last time, and we ended up laughing with powdered sugar everywhere.
Storage Tips
Keep the cheesecake bites in an airtight container in the fridge for up to a week. They're still tasty after a few days and make for an easy grab-and-go snack after school or late at night. For longer storage, wrap each cooled bite in plastic wrap, then foil, and put them in a freezer-safe container. They defrost really well on the counter in just a couple of hours.
Ingredient Substitutions
For a lighter version, swap regular Oreos for golden Oreos. If you're looking for gluten-free, use a gluten-free chocolate sandwich cookie instead, and make sure your cream cheese is gluten-free too. For a low-sugar option, a stevia blend can replace sugar, but the texture might be a bit different.
Serving Suggestions
Add a swirl of whipped cream and a mini Oreo on top of each cheesecake bite for a stunning dessert display. These are also great for kids’ parties or a make-your-own sundae bar. For an adult twist, drizzle with caramel or chocolate sauce and serve with espresso.
Cultural Inspiration
Cheesecake's history goes all the way back to ancient Greece, but this fun take is unapologetically American. Oreos, which debuted in the early 1900s, give it that familiar cookies and cream vibe that feels nostalgic.
Seasonal Adaptations
Use seasonal sandwich cookies like pumpkin or peppermint to give it a festive twist. Choose pastel cupcake wrappers and sprinkles for springtime gatherings. Crush in a few chocolate eggs or holiday-themed candies for a seasonal flair.
Success Stories
These mini cheesecakes are my go-to for bake sales. They always disappear and never come back home. New bakers are often surprised at how easy they are, and friends love that they’re easy to transport. My neighbor now asks for these every family birthday.
Freezer Meal Conversion
Wrap each cooled cheesecake bite tight in plastic wrap, then cover with foil for added protection. Freeze them stacked in a container for up to three months. When it's time to enjoy, just defrost on the counter for a few hours, and they taste like they’re fresh from the bakery.
Whenever I serve these at parties, both adults and kids rush to grab one. They disappear quickly, so make some extras if you want to snag one for yourself!
Common Recipe Questions
- → What kind of pan should I use?
Use a standard muffin pan lined with paper for easy portion control and removal.
- → How can I make the filling smooth?
Let your cream cheese soften at room temperature, then mix it with an electric blender for a creamy, smooth result.
- → Can I prepare them beforehand?
Absolutely! Keep the finished bites in the fridge for up to a week or freeze for longer. Just thaw them out before serving.
- → How do I maintain the cookie crust?
Place a whole Oreo at the bottom of each liner before adding the batter. This helps keep the crust intact during baking.
- → Any suggestions for toppings?
Top with crushed Oreo bits or a dollop of whipped cream to boost both taste and presentation before serving.