
 Save
Save
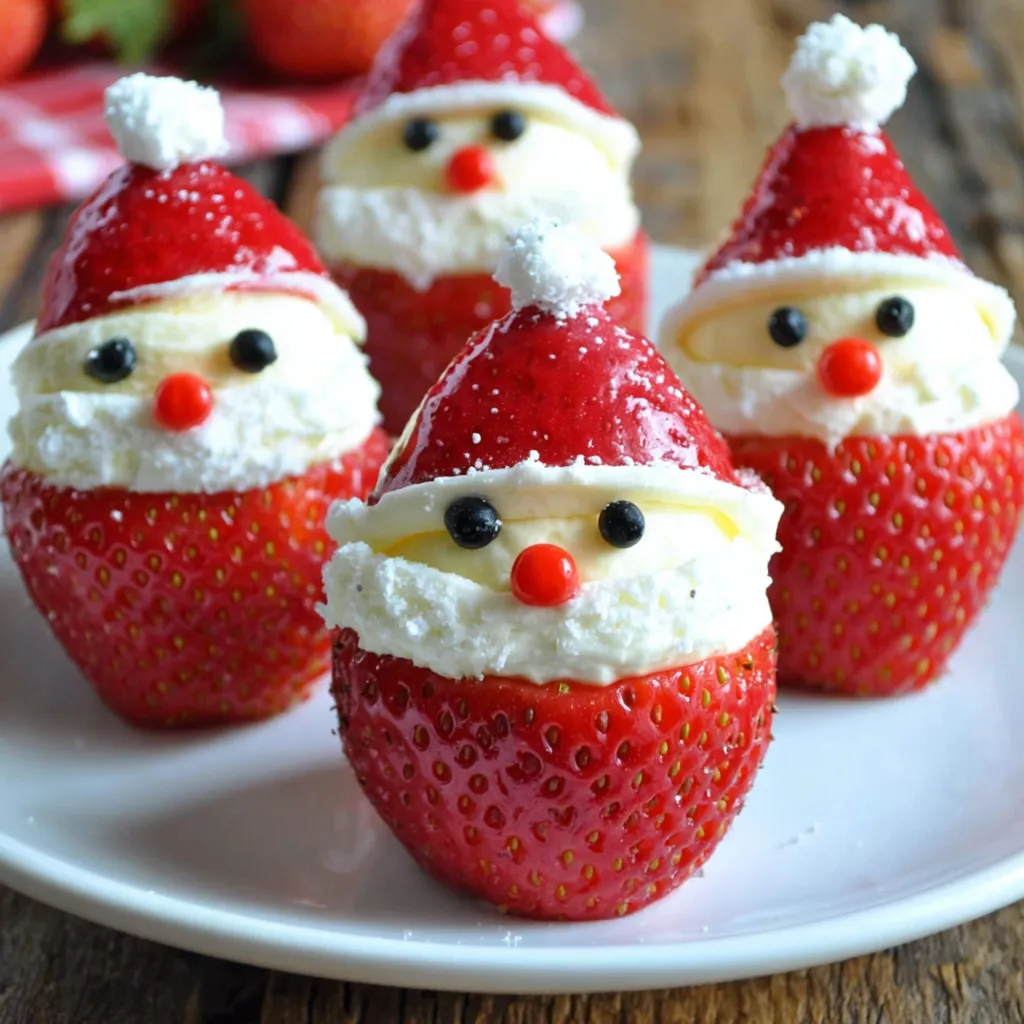
Strawberry Santas with creamy cheesecake filling are my favorite holiday treat to whip up when I want something festive and cute but do not want to turn on the oven. These cheery little no-bake desserts come together in just minutes and never fail to bring smiles to both kids and grownups at any Christmas party.
I remember the first time I brought these to a family get-together the kids all wanted to help decorate and the adults could not get enough of the creamy filling
Ingredients
- Large strawberries: Fresh ripe strawberries are best for sweet flavor and a sturdy base for the Santas
- Whipped cream cheese: Choose a spreadable cream cheese for smooth texture
- Powdered sugar: Just enough to sweeten the filling without making it heavy
- Vanilla extract: Rounds out the flavor with a touch of warmth
- Decorative red and black icing: Pick gel or icing pens for neat little faces and easy application
Step-by-Step Instructions
- Prepare the Strawberries:
- Wash each strawberry well then pat them completely dry so the filling will stay in place Cut off the stem end to create a flat base for each Santa Next cut each strawberry in half with the top part to be used as the Santa hat
- Mix the Cheesecake Filling:
- In a small mixing bowl beat the cream cheese with powdered sugar and vanilla until silky smooth This step is key for an evenly sweet filling that pipes out beautifully
- Fill the Piping Bag:
- Scoop the mixture into a piping bag or zip-top bag with a corner snipped off Make sure the filling is soft but not runny for easy piping
- Assemble the Strawberry Santas:
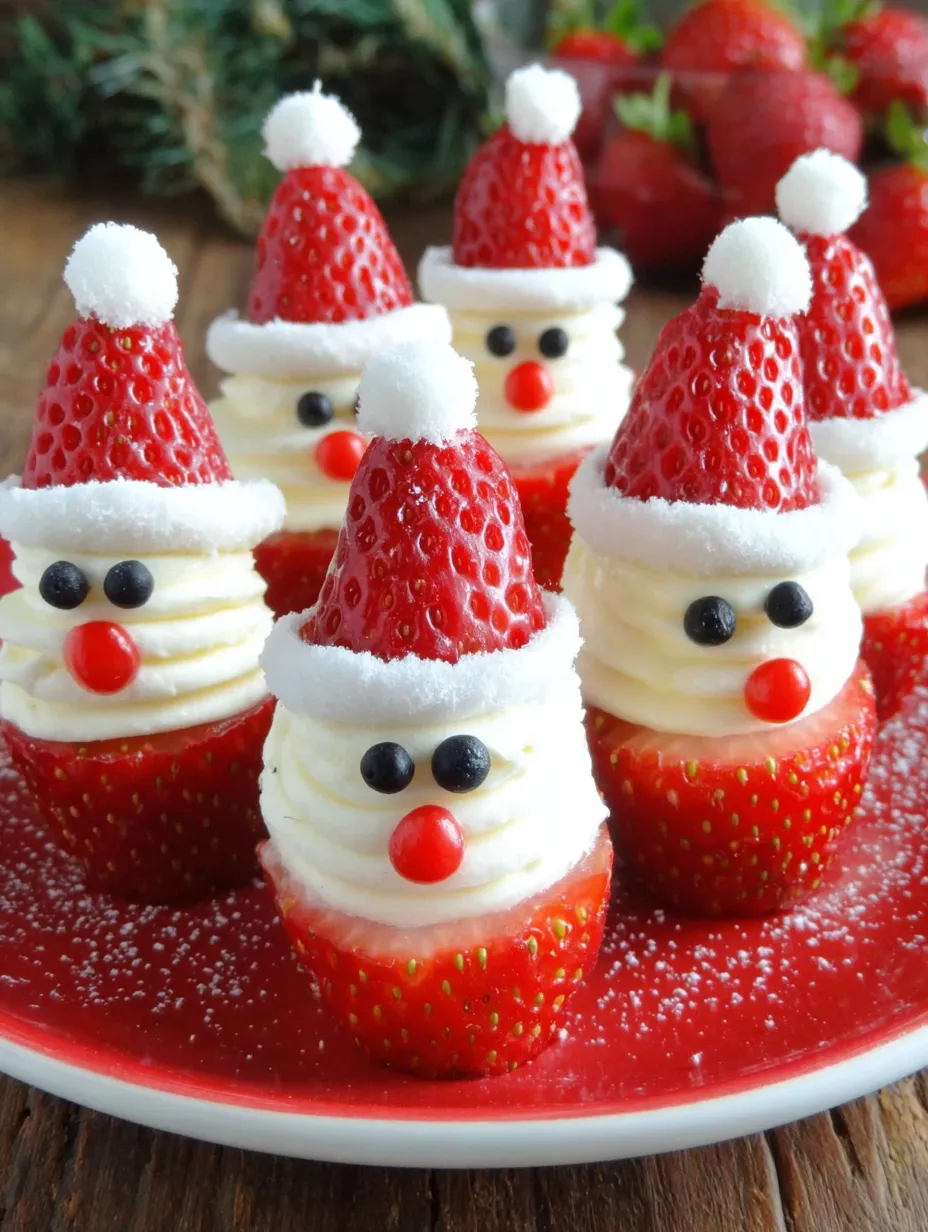
- Place each strawberry base flat side down on your serving plate Pipe a generous swirl of filling on top tall enough for a face
- Add the Santa Hat:
- Set the strawberry top on the piped filling then add a little extra dollop of filling as the white puff ball of the hat
- Decorate the Face:
- Dot on eyes and a smile with the black and red icing Take your time so each Santa has a unique expression
- Chill and Serve:
- Enjoy right away or pop them in the fridge for up to a couple of hours so they hold their shape until serving
My favorite part is choosing the plumpest strawberries at the store and seeing which one turns out the cutest My niece and I compete to make the most charming Santa face and it makes for some sweet memories every Christmas
Storage Tips
Keep leftover Strawberry Santas in an airtight container in the refrigerator for up to two days After that the strawberries will soften and the filling may loosen a bit so they are best enjoyed fresh
Ingredient Substitutions
If you want a dairy free option try using a whipped plant based cream cheese and swap the regular powdered sugar for a touch of coconut powdered sugar If strawberries are out of season kiwi or peeled grapes make funny elf or Grinch faces too
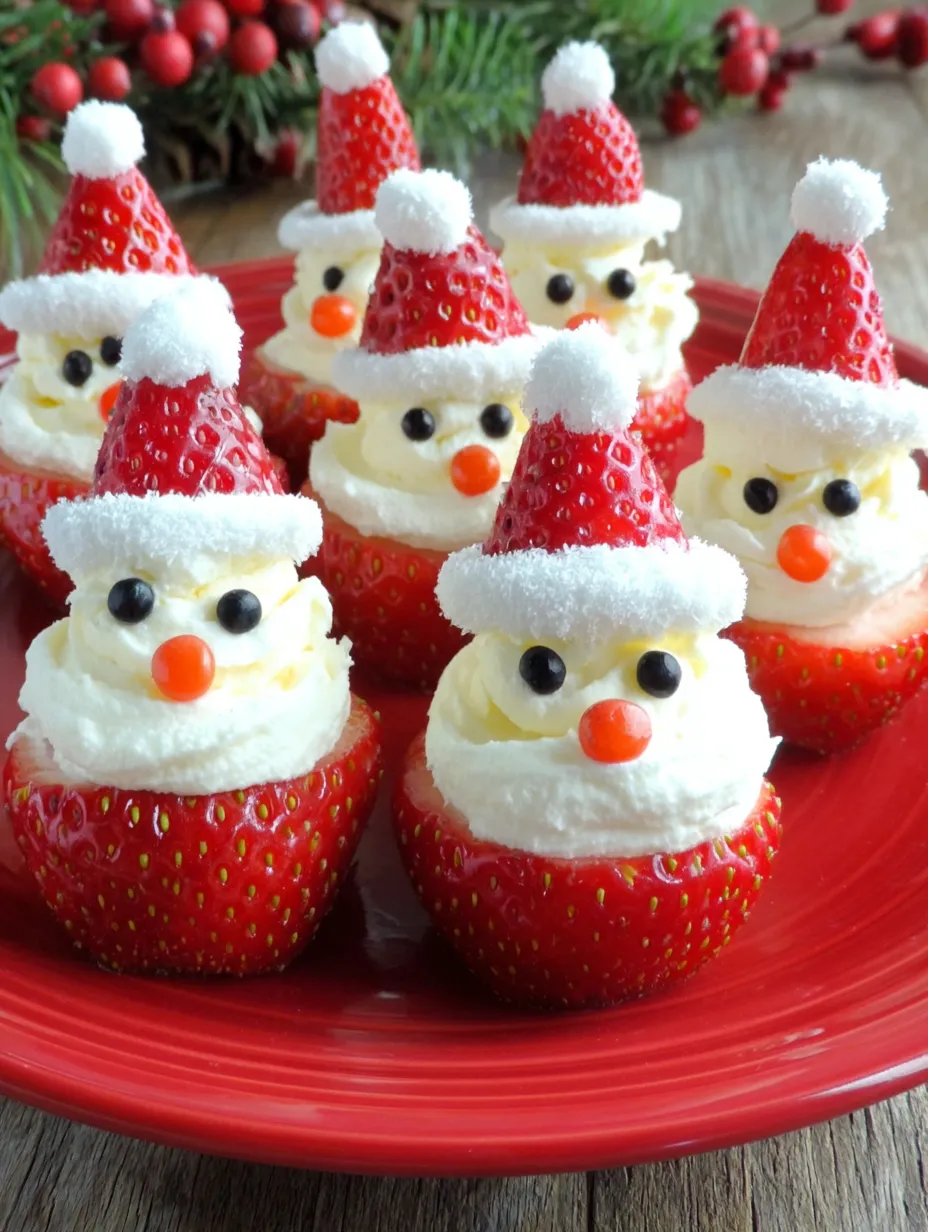
Serving Suggestions
Arrange these Strawberry Santas on a holiday platter with green grapes or mint leaves for extra festive color They go beautifully alongside cookies for a dessert board or as a fun little snack for kids in the afternoon
A Brief Note on Holiday Treats
Making edible Santa treats is a relatively new tradition at my house but it has quickly become a favorite The simple ingredients and hands on steps make it the perfect activity for kids during the busy season Plus nothing beats having healthy and fun sweets on the table
Common Recipe Questions
- → What type of cream cheese works best?
Whipped cream cheese offers a smooth and light texture, making piping and spreading easy when creating these Strawberry Santas.
- → How can I make the filling sweeter?
Adjust the sweetness by adding a little extra powdered sugar or a drop of vanilla extract to the cream cheese mixture to suit your taste.
- → Can I prepare Strawberry Santas ahead of time?
They are best served fresh, but you can store them in an airtight container in the fridge for up to two days. Assemble close to serving time for the best presentation.
- → What is the best way to pipe the filling?
Use a piping bag for precise results, or improvise with a zip-top bag by snipping off one corner for easy application of the cream cheese filling.
- → How should I decorate the faces?
Decorative red and black icing is usually used for the face, but melted chocolate or edible markers also work for adding details.
- → Are there dairy-free alternatives for the filling?
You can substitute with plant-based cream cheese and a dairy-free whipped topping to achieve a similar result.